
Fertilization
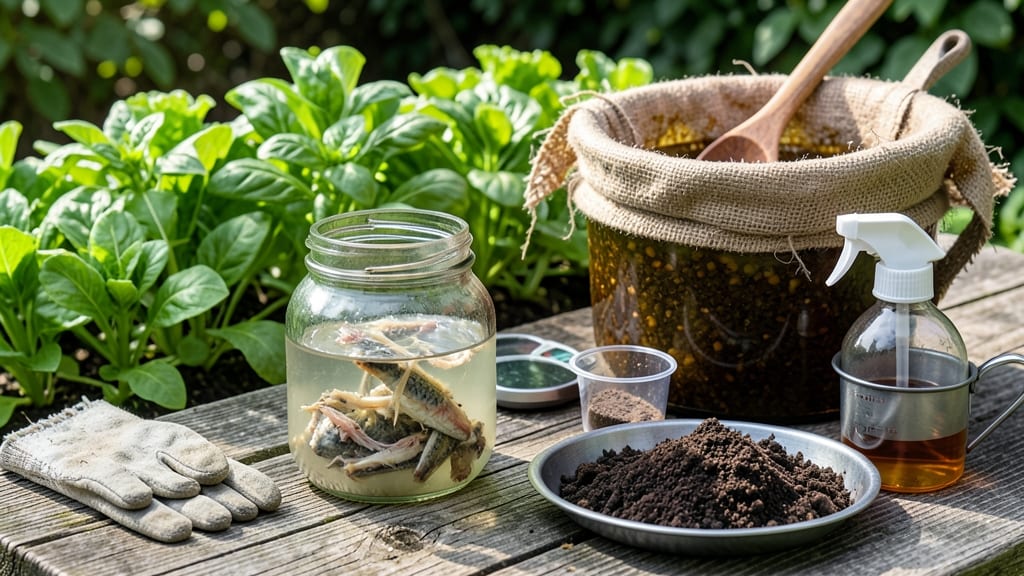
How to make fish fertilizer for plants transforms your kitchen scraps into a nutrient powerhouse that turns dull soil into vibrant, productive earth—without breaking the bank or harming the environment. 🌱 Making fish fertilizer at home takes what would be waste and turns it into a liquid gold that boosts growth, improves soil structure, and keeps plants thriving all season.
The process is simpler than you think: gather fish scraps (heads, bones, or leftover fillets), mix them with water and oxygen, and let nature break them down into a nutrient-rich liquid.
No fancy equipment needed—just a bucket, some breathable material, and patience. The result? A homemade compost tea packed with nitrogen, phosphorus, and micronutrients that store-bought fertilizers can’t match.
The best part? It’s 100% organic, safe for pets, and made from materials you’d otherwise toss. Plus, your garden will reward you with stronger roots, greener leaves, and bigger harvests—all from something that was once trash.
Works for vegetables, flowers, and even houseplants, and the method scales from a small balcony setup to a full backyard. Ready to turn waste into wealth? Let’s get started with the exact steps that actually work.
📚 In This Guide
- What you need
- Instructions
- Tips and common mistakes
- Wrapping up and next steps
What you need
- ● Fresh fish scraps: 1–2 lbs (450–900g) of clean, non-oily fish remains (heads, bones, tails, or trimmings). Avoid processed or seasoned fish.
- ● Water: 5 gallons (19 liters) of dechlorinated water (let tap water sit for 24 hours or use rainwater).
- ● Container: A 5-gallon bucket with a lid (or a breathable burlap sack for traditional compost tea).
- ● Stirring tool: A wooden stick or non-metal spoon (to avoid chemical reactions).
- ● Breathable cover: Cheesecloth, an old pillowcase, or a lid with small holes (to allow airflow).
- ○ Optional accelerants (boost nutrient breakdown): 1 tbsp molasses or brown sugar (for microbial activity).
- ● 1 cup worm castings or compost tea (to jumpstart decomposition).
- ● Gloves: Rubber or nitrile gloves (fish scraps can be slippery and may harbor bacteria).
- ● Scale: Kitchen scale (to measure fish scraps accurately).
- ○ Strainer or cheesecloth: For filtering the finished fertilizer (optional but handy).
- ○ Water testing kit: (Optional) To monitor pH and nutrient levels if you’re a fertilizer science enthusiast.
- ● Safe disposal plan: A trash bin with a lid (for fish scraps after use—never pour unused mix down drains!).
Tips & tricks for perfect fish fertilizer
Between us, these little details make all the difference when crafting nutrient-rich fish fertilizer that won't harm your plants. Here's what nobody tells you about getting it right.
Temperature Matters: The 70-80°F range is critical for proper fermentation—this is why I keep my bucket on the back porch. If your climate stays below 65°F, consider moving the bucket indoors near a sunny window or even using a small heating pad wrapped in a towel underneath. Too cold and fermentation slows dramatically, while above 85°F can create ammonia buildup that burns plants. A simple indoor thermometer helps monitor this.
Fermentation Timeline Secret: Those 3-5 days of daily stirring are non-negotiable for breaking down proteins effectively. I use a clean wooden spoon because it's easy to see when the mixture changes color. After day 5, you should see dark brown liquid with no visible fish pieces—this is your signal to move to straining. If you skip stirring, you risk uneven decomposition and potential mold growth. The strong fishy smell is normal, but if it smells like rotten eggs, you've gone too far.
Dilution Strategy: The 1:10 dilution ratio is your safety net against plant burn, but I always test on a small area first. For sensitive plants like citrus or succulents, start with 1:20 and watch for reactions. One trick I learned: add a splash of molasses (1 tablespoon per gallon) to the diluted fertilizer—this feeds beneficial microbes and enhances nutrient availability. It's completely optional but gives that extra boost to your plants.
Pro Tips for Make Fish Fertilizer For Plants
- Between us, these little details make all the difference when crafting nutrient-rich fish fertilizer that won't harm ...
- Temperature Matters: The 70-80°F range is critical for proper fermentation—this is why I keep my bucket on the back p...
- Fermentation Timeline Secret: Those 3-5 days of daily stirring are non-negotiable for breaking down proteins effectiv...
Frequently asked questions
Got questions about making fish fertilizer?
You’re not alone! Here are some of the most common concerns—and their answers—to help you get the most out of your DIY plant boost.
Can I use any type of fish for fertilizer?
While most fish scraps (like salmon, tilapia, or trout) work, avoid raw fish from wild-caught sources—it may contain parasites or harmful bacteria. Cooked fish (bones, heads, or scraps) is safest. If using raw, freeze it for 7+ days to kill pathogens. Pro tip: Smoked or cured fish (like bacon) can also be used but may alter the compost’s pH slightly.
How long does it take for fish fertilizer to work?
Results vary! If you’re using fish compost tea (liquid form), plants may show benefits in 1–2 weeks. For composted fish scraps, it takes 3–6 months to fully break down. Test soil pH first—ideal levels are 6.0–7.0. Patience pays off: Over time, the nutrients release slowly, feeding plants for months.
What if my fish fertilizer smells bad?
A strong odor usually means anaerobic decomposition (no oxygen). To fix it:
- Stir the compost daily to aerate.
- Add brown materials (dry leaves, straw) to balance moisture.
- Reduce water—it should be damp, not soggy.
- If using a bucket, poke holes in the lid for airflow.
Can I use fish fertilizer on all plants?
Fish fertilizer is great for most plants, but avoid:
- Acid-loving plants (like blueberries or azaleas) if your compost isn’t acidic enough.
- Seedlings—use it sparingly (1:10 dilution) to prevent burning.
- Vegetables like potatoes or tomatoes—apply 2–3 weeks before harvest to avoid fishy flavors.
Is store-bought fish fertilizer better than homemade?
Homemade fish fertilizer is cheaper, customizable, and often richer in nutrients (like omega-3s and trace minerals). Store-bought versions may lack the microbes and enzymes from natural decomposition. Win-win: If you fish often, homemade is a zero-waste superpower!
What’s the best way to store unused fish fertilizer?
Store composted fish scraps in a sealed container in the fridge for up to 2 weeks or freeze for 3+ months. For liquid fertilizer, keep it in a dark, airtight jug and use within 5 days (or freeze in ice cube trays). Label it! Safety first—fish fertilizer isn’t for human consumption.
Wrapping up and next steps
Making your own fish fertilizer is a simple, cost-effective way to give your plants the nutrient boost they deserve! 🌱 With just a few easy steps—like collecting fish scraps, fermenting them properly, and diluting the mixture—you’ll create a powerful, organic fertilizer that promotes lush growth and vibrant blooms.
Plus, you’re reducing waste while supporting sustainable gardening.
Ready to see your garden thrive? Start small—try a batch for your herbs or veggies first, then expand as you gain confidence. Happy gardening, and may your plants flourish with this nutrient-packed elixir! 🌿✨