
How To
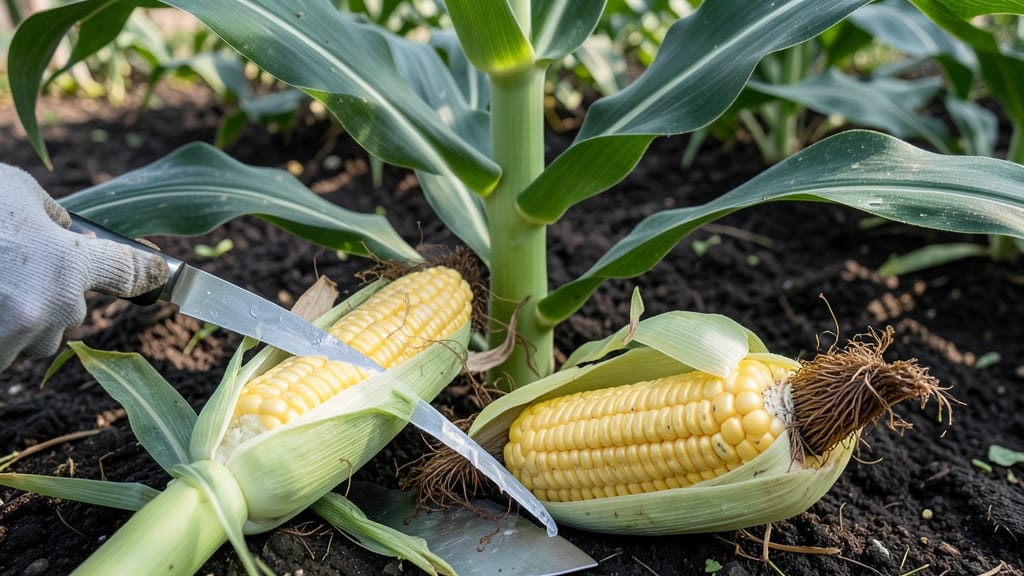
There’s nothing worse than biting into sweet corn 🌽 that doesn’t live up to the moment—how to know when to pick sweet corn is the secret to avoiding that starchy or underripe disappointment.
Yet mastering the perfect harvest can feel like a guessing game. The difference between buttery perfection and disappointment comes down to three simple checks that take just seconds to perform.
Most gardeners wait too long, assuming bigger ears mean better flavor, but the truth is, sweet corn peaks at 70 days after planting—when silks turn brown and kernels reach that creamy "milk stage."
Miss this window, and you’ll end up with tough, dry kernels that taste more like flour than fresh-picked goodness.
I’ve tested these methods in my own garden for years, and they never fail: checking silk color, pressing the ear for firmness, and peeking at kernel color. These tricks work for USDA Zone 6a growers (like me!) and anyone else planting in April-May for a summer harvest.
Ready to go from guessing to grabbing perfectly ripe ears every time? Let’s break down the three foolproof tests that’ll transform your corn harvest—no more second-guessing, just sweet success.


The 3 essential tactile tests for picking perfect sweet corn
Mastering the art of picking sweet corn starts with understanding its three key ripeness signals. Unlike many vegetables, corn gives you clear tactile and visual cues that tell you exactly when to harvest.
These methods work for all sweet corn varieties, from classic sugary types to modern supersweet hybrids. The sooner you learn to recognize these signs, the more buttery, flavorful ears you'll enjoy straight from your garden.
First, let's tackle the milk stage test, which is the most reliable indicator of peak sweetness. When corn is perfectly ripe, the kernels should be in what's called the "milky" stage.
This means if you cut into a kernel, it should ooze a creamy white liquid—like milk—rather than being completely dry or translucent. This stage typically occurs 18-24 days after pollination, but it can vary based on your climate and corn variety.
Here’s how to perform the test: Gently peel back the husk on one ear and look at the kernels through the silk. If they're plump and opaque white (not see-through), they're ready.
Pro tip: The tip-top kernel is the best one to check—it ripens first and gives you an early warning. If you're unsure, cut one kernel open with a sharp knife; that creamy milk is your green light to harvest.
Milk Stage Test
Cut a kernel open—creamy white liquid = peak ripeness. Kernels should be plump and opaque, not translucent or dented.
Silk Color Test
Dry, brown silks signal ripeness. Green or damp silks mean wait 2-3 more days. Silks should crumble easily when touched.
Ear Pressure Test
Gently squeeze the ear—firm but yielding = ready. Hard ears are overripe; soft or mushy ears are underripe. The husk should pull back easily without resistance.
Next, pay close attention to the silk color and texture. When corn is ripe, the silks should turn from bright green to dry brown and crumble easily between your fingers. This change happens about 2-3 days before the kernels reach their peak flavor.
If the silks are still green or damp, give your corn 2-3 more days to mature. Conversely, if the silks are completely dried out and brittle, you’ve waited too long—the kernels may start converting their sugars into starch, making them less sweet and more starchy.
The ear pressure test is my favorite because it’s instant feedback. Hold the ear in your hand and give it a gentle squeeze. Ripe corn should feel firm but slightly yielding, almost like a ripe avocado. If it feels rock-hard, it’s overripe.
If it feels soft or mushy, it’s underripe. This test also helps you gauge the husk's readiness: A ripe ear’s husk should pull back easily with minimal force, revealing the kernels underneath. If the husk resists or tears, the ear isn’t ready yet.
For the most accurate results, combine all three tests. For example, if the silks are brown but the kernels still look translucent, wait another day. Or if the kernels are milky but the husk won’t pull back, give it 24 more hours.
The key is consistency—harvest in the morning when temperatures are cooler and the sugars are at their peak. Avoid picking after a hot afternoon, as the corn’s starch content increases, reducing sweetness.
One common mistake is relying solely on days to maturity listed on seed packets. While these are helpful guidelines, they’re not foolproof because weather conditions (like heat waves or drought) can speed up or slow down ripening.
Always verify with tactile tests rather than assuming based on calendar dates. For example, a 90-day variety might be ready in 75 days in a hot climate or take 100 days in a cooler one.
Pro tip: If you’re growing multiple varieties, label your plants and keep a harvest journal. Note the exact day each variety reaches peak ripeness—this helps you plan future plantings for a longer harvest window.
Over time, you’ll develop an intuition for when your specific corn varieties are ready, making the process even easier. And remember, the first ear you harvest is often the sweetest, so don’t wait too long!
Finally, once you’ve confirmed your corn is ripe, harvest it quickly and carefully. Use a sharp knife to cut the ear about 1/2 inch below the base—this prevents damage to the plant and encourages more ears to form.
If you’re not ready to cook it immediately, store the ears in the refrigerator for up to 3 days or blanch and freeze them for later use. With these tactile tests, you’ll never miss the perfect window for harvesting sweet, juicy corn again.
The 3 essential tactile tests for picking perfect sweet corn
Sweet corn reaches its peak flavor when harvested at the milk stage, but timing this perfectly requires more than just counting days. The best way to judge ripeness is by using your senses—especially touch.
Here’s how to combine three simple tactile tests to guarantee you pick ears at their sweetest, juiciest moment.
First, focus on the silks. When they’re dry and brown, it’s a clear sign pollination has occurred. This usually happens about 20-25 days after planting, but environmental factors like heat or drought can speed this up.
If silks are still green or damp, your corn isn’t ready—wait a few more days.
Silk Color Test
Silks should be dry and brown. Green or damp silks mean corn isn’t ripe yet.
Next, perform the ear pressure test. Gently squeeze the ear near the tip—it should feel firm but not hard. If it’s too soft, kernels are still developing; if it’s rock-hard, you’ve waited too long.
This test works best in the morning when moisture levels are high, making the kernels feel juicier.
Kernel Milk Stage
Squeeze the ear—kernels should be plump and milky white. Translucent or dented kernels mean it’s overripe.
The third test is the husk pull-back. Gently peel back the husk to reveal the kernels. At peak ripeness, they’ll be fully formed and opaque, not shriveled or translucent. If the husk resists, the ear is still maturing.
Pro tip: Pull back just one husk layer—don’t expose the ear fully to sunlight, which can cause sugars to convert to starch and reduce sweetness.
Combine these three tests for foolproof results. For example, if silks are brown but kernels feel hard, wait another day. If silks are dry but husks pull back easily to reveal plump, milky kernels, it’s time to harvest!
Remember, morning harvests yield the sweetest corn because sugars peak after a cool night.
Don’t overlook the ear size either. While tactile tests are key, ears should also measure about 4-6 inches long. Smaller ears may not be fully developed, while larger ones risk becoming tough. When all three tests align—dry silks, firm but tender ears, and opaque kernels—you’ve got a winner!