
Vegetables
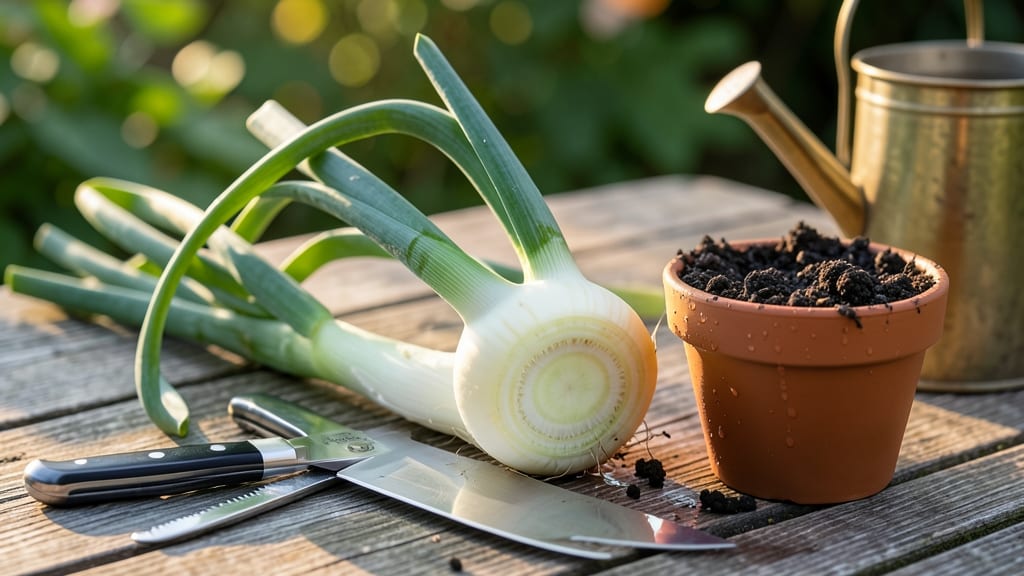
Cutting green onions to regrow saves money and keeps fresh herbs on your counter. 🌱 After my first harvest, I realized how simple it is—just trim, soak, and watch them bounce back in water. The secret lies in how you cut and where you place them after trimming.
Start by leaving about 1-2 inches of the white bulb at the base when cutting. This stump holds the magic for regrowth. Place the trimmed onions in a shallow dish of water, changing it every 2-3 days.
Within 5-7 days, you'll see fresh green shoots pushing through, ready for another harvest.
You can repeat this process 3-5 times before the onion peters out. The key is patience—each regrowth cycle gives you more tender greens. For best results, keep them in a sunny spot and avoid overcrowding the container.
Common mistakes include cutting too short or letting the water sit too long without changing. If the onions rot, start fresh with new ones. This method works for both store-bought and homegrown green onions, making it a sustainable way to enjoy fresh herbs year-round.
📚 In This Guide
- What you need
- Instructions
- Tips and common mistakes
- Wrapping up and next steps
What you need
- ● Fresh green onions (scallions) – 1 bunch (about 10-12 stalks) (the more, the merrier!)
- ● Sharp chef’s knife – 8-inch or longer (for clean cuts and safety)
- ● Cutting board – Medium to large size (preferably with a non-slip base)
- ● Shallow container – Wide-mouth glass jar, small vase, or bowl (3-4 inches deep)
- ● Water – Room-temperature tap water (1-2 inches deep)
- ● Paper towels or clean cloth – For drying and cleanup
- ● Food-safe scissors – For trimming roots if you’re not confident with a knife.
- ● Small mesh strainer or colander – To rinse roots before regrowing.
- ● Plant food or diluted apple cider vinegar – 1 tsp per quart of water (speeds up growth!).
- ● Label or marker – To track regrowth progress (because science!).
Step-by-Step instructions for regrowing green onions at home
Here's how I keep my green onions growing strong with minimal effort—ready for fresh harvests in just a few weeks.
🌱 Step 1: Select and Prepare the Green Onions
Pick a bunch of green onions with 2-3 inches of white bulb still attached to the roots. Avoid any that look wilted or have soft spots. I like to use organic ones because they tend to have healthier roots. Cut the bunch into 1-2 inch sections, making sure each piece has both the white bulb and some green stems.
Trim off any yellowed or damaged leaves—this keeps the regrowth clean and vibrant. The key is to leave at least ½ inch of white bulb on each piece. If your green onions have no roots left, don’t worry—just save the white bulbs and move to Step 3.
💧 Step 2: Soak the Roots to Encourage Growth
Fill a shallow dish or bowl with room-temperature water and place your green onion sections in it. The water should cover the white bulb but not the green stems. I like to use a clear container so I can watch the roots start to sprout—it’s like seeing magic happen!
Let them soak for 12-24 hours in a warm spot, like a sunny windowsill. You’ll notice tiny root hairs beginning to appear within a few hours. Change the water after 12 hours to keep it fresh and prevent bacteria buildup. This soaking jumpstarts the regrowth process.
☀️ Step 3: Transfer to a Jar for Regrowth
After soaking, transfer your green onions to a clean 8-12 ounce jar filled with fresh water. Make sure the white bulb is submerged, but the green stems stay above water. I use a small mason jar because it’s easy to monitor and keeps the water contained.
Place the jar in a spot with bright, indirect light—like a kitchen counter near a window. Avoid direct sunlight, which can cause the water to heat up too quickly. Change the water every 2-3 days to keep it clean and oxygenated. You’ll see new growth within 5-7 days.
🌿 Step 4: Maintain and Harvest Your Regrown Onions
Once the green onions reach 4-6 inches tall, they’re ready to harvest. Simply snip the stems just above the water line with clean scissors. The roots will continue growing, so you can keep harvesting the same bunch for 2-3 weeks before they start to weaken.
To keep them growing, trim the stems back to 2 inches and return them to the jar with fresh water. I like to use the same jar for multiple cycles—just rinse it well between uses. This method gives me fresh green onions on demand, with almost no effort!
⏰ Step 5: Transition to Soil for Long-Term Growth
If you want to keep your green onions growing beyond the water method, transplant them to soil after 3-4 weeks of regrowth. Fill a small pot with well-draining potting mix and plant the bulb about ½ inch deep, leaving the green stems above the soil.
Water lightly and place the pot in a sunny spot. Keep the soil moist but not soggy. You’ll get another harvest in 2-3 weeks, and the plant may even produce new green onions for months if cared for properly. This is how I keep a steady supply all year round!
Tips & tricks for perfect green onion regrowth
Here's what I've learned after regrowing green onions for years—these small details make all the difference between success and disappointment.
Selection Matters: In Step 1, choose green onions with firm, white bulbs that are at least 2-3 inches long. The thicker the bulb, the better chance you have of regrowth. I've found that organic green onions tend to have healthier roots, so they're worth the extra cost if you're serious about regrowing. Avoid any with soft spots or yellowing—these won't regrow properly no matter what you do.
Soaking Strategy: The 12-24 hour soak in Step 2 is where the magic happens. Place your container in a warm spot—like near your oven while it's off—to encourage faster root development. I like to use a clear glass bowl so I can watch those tiny root hairs appear within just a few hours. Remember to change the water after 12 hours to prevent bacteria buildup, which can rot your bulbs before they even get a chance to grow.
Lighting is Critical: When you transfer to your jar in Step 3, position it where it gets bright but indirect light. Direct sunlight can heat up the water too quickly, creating an environment that encourages bacterial growth rather than root development. I've had the best success with jars placed on kitchen counters near windows with sheer curtains. Rotate your jar every few days to ensure even growth all around the bulb.
Harvesting Technique: In Step 4, when harvesting your regrown green onions, use clean scissors to snip just above the water line. This prevents damage to the growing bulb below. I like to harvest only what I need and leave at least 2 inches of green stems to keep the plant producing. The more you cut back, the bushier your green onions will grow—it's like giving them a little haircut that encourages new growth!
Pro Tips for Cut Green Onions To Regrow
- Here's what I've learned after regrowing green onions for years—these small details make all the difference between s...
- Selection Matters: In Step 1, choose green onions with firm, white bulbs that are at least 2-3 inches long. The thick...
- Soaking Strategy: The 12-24 hour soak in Step 2 is where the magic happens. Place your container in a warm spot—like ...
Frequently asked questions
Got questions about regrowing green onions from scraps? You’re not alone! Here are some of the most common queries—and their easy answers—to help you grow fresh green onions like a pro.
How often should I change the water when regrowing green onions?
Change the water every 2–3 days to prevent bacterial growth and keep your scraps fresh. Fresh water ensures oxygen reaches the roots and discourages mold. If the water looks cloudy or smells funky, it’s time for a swap!
How long does it take for green onions to regrow?
With consistent care, you’ll see new green shoots in about 1–2 weeks, and they’ll be ready to harvest in 3–4 weeks total. Patience is key—keep the scraps in bright, indirect light and change the water regularly for the fastest growth!
Can I regrow green onions in soil instead of water?
After trimming, let the scraps dry for a day, then plant them 1–2 inches deep in well-draining soil. Keep the soil moist (not soggy) and place the pot in sunlight. They’ll regrow just like in water, but soil may yield slightly sturdier stems.
Why aren’t my green onion scraps regrowing?
If your scraps aren’t sprouting, check these fixes:
- Not enough light: Move them to a sunny windowsill or under grow lights.
- Dirty water: Rinse the roots and use fresh, room-temperature water.
- Rotten roots: Trim any mushy or black parts before replanting.
- Old scraps: Use scraps within 1–2 weeks of cutting for best results.
How do I harvest regrown green onions without killing the plant?
Snip the outer green leaves just above the waterline or soil, leaving the inner shoots and roots intact. This encourages continuous regrowth for weeks! Avoid cutting more than ⅓ of the foliage at once to keep your plant happy.
Wrapping up and next steps
Regrowing green onions from scraps is a simple, rewarding way to save money and reduce waste—plus, you’ll always have fresh herbs on hand! 🌱 By following these easy steps—trimming the roots, soaking them in water, and keeping them in a sunny spot—you can enjoy a continuous harvest in just a few weeks.
Now that you’re armed with this green-thumb hack, why not try it today and share your success with friends or family? Happy growing!