
Pests and Diseases
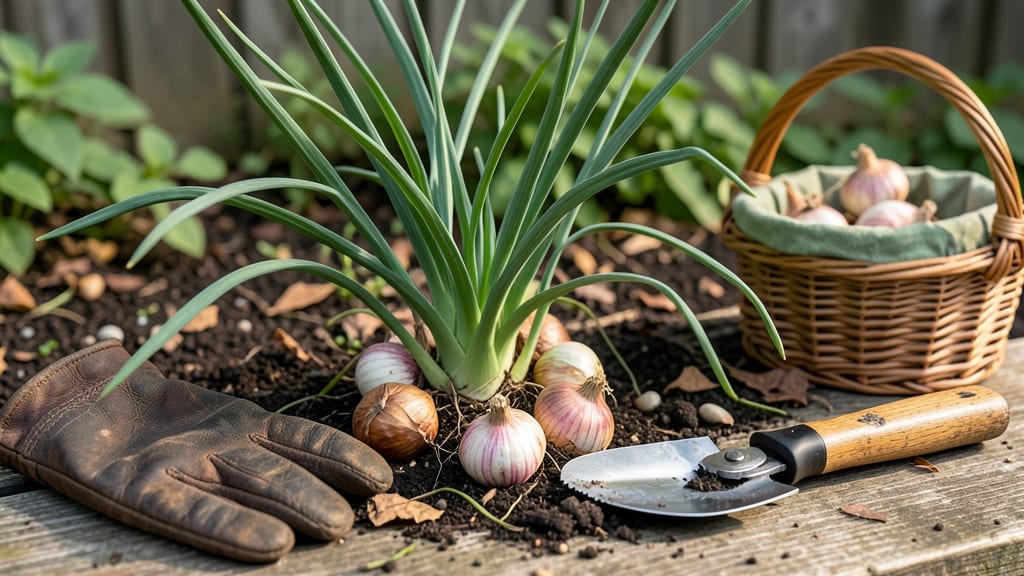
Shallots turn bitter when stored wrong—but curing them right unlocks months of sweet, crisp flavor. 🌱 I’ve cured hundreds of pounds, and the difference between a sad, shriveling bulb and one that lasts until spring comes down to just a few key steps.
The goal? Preserve that perfect texture and mild, oniony punch without any rot or mold creeping in.
You only need three things: a dry, airy spot (think garage or basement), a breathable mesh bag or paper sack, and patience. Skip the plastic—it traps moisture, and that’s how mold wins.
After harvesting, let the shallots dry in the sun for a full day, then move them to your curing spot. The process takes about 2-3 weeks, but every day counts toward that long shelf life.
When done right, your cured shallots will stay firm, flavorful, and pest-free for 4-6 months—no refrigeration needed. The skins will be papery, the bulbs compact, and every slice will taste like you just pulled them from the garden.
This isn’t just storage; it’s a way to turn summer’s harvest into winter’s secret ingredient.
Fair warning: overcrowding or humidity will ruin your batch. Test one bulb after a week to check for soft spots—if it’s still crisp, you’re on the right track. Here’s how to troubleshoot if things go wrong (and trust me, I’ve had my share of moldy disappointments).
📚 In This Guide
- What you need
- Instructions
- Tips and common mistakes
- Wrapping up and next steps
What you need
- ● Fresh shallots: 1–2 lbs (450–900g) of firm, dry shallots (avoid soft or sprouting ones). Choose organic or pesticide-free if possible.
- ● Clean, breathable mesh bags: 2–4 (depending on quantity). Use food-grade, well-ventilated bags (like onion curing bags or small burlap sacks).
- ● Drying rack or sturdy tray: Wooden or plastic rack with elevated slats (or a clean, flat surface covered with a wire mesh).
- ○ Fan or dehumidifier: (Optional but highly recommended) for airflow. A small box fan on low works great!
- ○ Hygrometer: (Optional) to monitor humidity levels (ideal: 60–70%).
- ● Sharp knife or pruners: For trimming shallots (sterilize with rubbing alcohol).
- ● Paper towels or clean cloth: For gentle drying before curing.
- ● Temperature: 60–70°F (15–21°C) (avoid direct sunlight or heat sources).
- ● Humidity: 60–70% (too dry = shriveled; too humid = mold risk).
- ● Airflow: Gentle and consistent (prevents moisture buildup).
- ● Location: A cool pantry, basement, or garage (not the fridge—condensation is the enemy!).
- ● 💡 Use a food dehydrator: Set to 95°F (35°C) for 4–6 hours if your space lacks airflow.
- ● 🌡️ Avoid plastic bags: They trap moisture and cause rot—mesh or paper bags only!
- ● 🔍 Check for pests: Inspect shallots for mites or mold before curing (discard any damaged ones).
Step-by-step instructions for curing shallots
Here's how I preserve homegrown shallots for months—keeping them firm, flavorful, and ready whenever you need them.
🪴 Step 1: Harvest at Peak Ripeness
Wait until the tops yellow and flop over—this signals the bulbs have fully matured. Gently pull shallots from the soil, being careful not to bruise them. Shake off excess dirt but don't wash yet; moisture speeds up spoilage during curing. You'll know they're ready when the papery skins feel dry and papery to the touch.
Cut the tops back to about 1 inch above the bulb using clean shears. This prevents rot while allowing the remaining stem to dry and seal the neck. Leave the roots intact—they help the bulb draw up remaining moisture during curing.
☀️ Step 2: Dry in Ideal Conditions
Spread shallots in a single layer on a clean, dry surface in a spot with good airflow and indirect sunlight. A screened porch, garage, or even a well-ventilated kitchen counter works. The goal is to dry them slowly over 2-3 weeks—too fast causes mold, too slow invites rot.
Turn them every few days so all sides dry evenly. You'll see the skins darken slightly and feel crisp when fully cured. If humidity is high, prop a small fan nearby to keep air moving. Avoid direct sun—it can scorch the skins and make them tough.
🌿 Step 3: Store in Optimal Conditions
Once completely dry, trim any remaining roots and store in a cool, dark place with 50-60% humidity. A mesh bag or open basket works best—it allows airflow while keeping pests out. Check periodically for soft spots or mold; discard any affected bulbs immediately.
Cured shallots last 4-6 months this way. For longer storage, freeze them whole or chop and freeze in ice cube trays. The curing process concentrates their sweet, robust flavor—perfect for cooking or eating raw months after harvest.
⏰ Step 4: Test for Doneness
Before storing, test one shallot by pressing a fingernail into the skin. If it feels firm and the skin doesn't give, it's ready. If it feels soft or the skin dents easily, return it to dry for another day or two. Properly cured shallots should rattle slightly when shaken—the dry papery skins create that telltale sound.
I like to store mine in small batches by variety so I can use them gradually. The first ones I store will be the last to spoil, giving you a steady supply all winter long. This method works for garlic too—just adjust the drying time to 3-4 weeks for garlic's larger bulbs.
Tips & tricks for perfectly cured shallots
These simple strategies will help you transform fresh shallots into flavor-packed winter treasures that last for months.
The Harvesting Factor: Don't wash your shallots before curing! The outer skins protect the bulbs during drying. If you must remove dirt, gently brush it off with a dry cloth or use a soft brush. Any moisture on the skins will create the perfect environment for mold growth during the 2-3 week curing process.
Airflow is Everything: Position your curing rack or board in a spot where air can circulate freely—this prevents uneven drying and spoilage. A well-ventilated porch or covered patio works great, but avoid enclosed spaces where humidity builds up. I've learned this the hard way after losing entire batches to mold in my damp basement!
Temperature Matters: Maintain that 70-80°F range consistently. If your kitchen runs cooler, consider using a small fan on low setting to circulate warm air around the shallots. Avoid direct sunlight which can scorch the skins and make them tough—think gentle warmth, not intense heat.
Storage Wisdom: Once cured, store your shallots in a breathable container like a mesh bag or cardboard box. Plastic bags trap moisture and cause premature spoilage. Check your stash monthly and remove any bulbs that feel soft or develop mold spots—they'll ruin the whole batch if left unattended.
Pro Tips for Cure Shallots
- These simple strategies will help you transform fresh shallots into flavor-packed winter treasures that last for months.
- The Harvesting Factor: Don't wash your shallots before curing! The outer skins protect the bulbs during drying. If yo...
- Airflow is Everything: Position your curing rack or board in a spot where air can circulate freely—this prevents unev...
Frequently asked questions
Got questions about curing shallots? You’re not alone—this process can feel tricky at first! Below, we’ve rounded up the most common queries to help you troubleshoot and perfect your technique. Whether you’re worried about timing, storage, or what to do with leftovers, we’ve got you covered.
How long does it take to cure shallots?
Curing shallots typically takes 2 to 4 weeks, depending on your climate and humidity levels. In dry, warm conditions (60–70°F), they’ll cure faster—sometimes in just 10–14 days. Check them weekly: they’re ready when the skins wrinkle and the roots shrink slightly. Pro tip: Avoid rushing the process, or they may spoil!
Can I cure shallots in a humid climate?
Humidity is the biggest enemy of curing shallots—it encourages mold and rot. If you live in a damp area, try these fixes:
- Use a dehumidifier near your curing spot.
- Opt for a food dehydrator (set to 95°F) for faster, controlled drying.
- Hang them in a well-ventilated, shaded area (like a garage with a fan).
How do I know when shallots are fully cured?
Fully cured shallots have three key traits:
- Wrinkled, papery skin (no longer smooth or glossy).
- Shriveled roots (they’ll pull away from the bulb slightly).
- Lightweight feel (they’ll be noticeably lighter than fresh shallots).
What can I do with shallots that didn’t cure properly?
If your shallots are partially cured but not fully dried, don’t toss them! Use them in:
- Cooked dishes (soups, stews, or sauces—heat kills bacteria).
- Pickling (the acidity preserves them safely).
- Freezing (peel and chop them, then freeze in airtight bags for up to 6 months).
How should I store cured shallots long-term?
Once cured, store shallots in a cool, dark, and dry place (like a pantry or root cellar) for up to 6 months. For maximum freshness:
- Keep them in mesh bags or breathable fabric (not airtight containers—trapped moisture causes spoilage).
- Avoid the fridge—cold temps make them absorb odors and lose flavor.
- Check monthly for soft spots or mold.
Wrapping up and next steps
Curing shallots is a simple yet rewarding process that unlocks their full potential for long-term storage and flavor. By following the right steps—selecting healthy bulbs, drying them properly, and storing them correctly—you can enjoy their aromatic goodness for months.
Don’t let pests or mold ruin your harvest; a little patience and care go a long way!
Ready to take your shallot game to the next level? Start with a small batch, experiment with your preferred curing method, and soon you’ll be the go-to chef for fresh, flavorful shallots year-round. Happy curing! 🌱✨