
Succulent
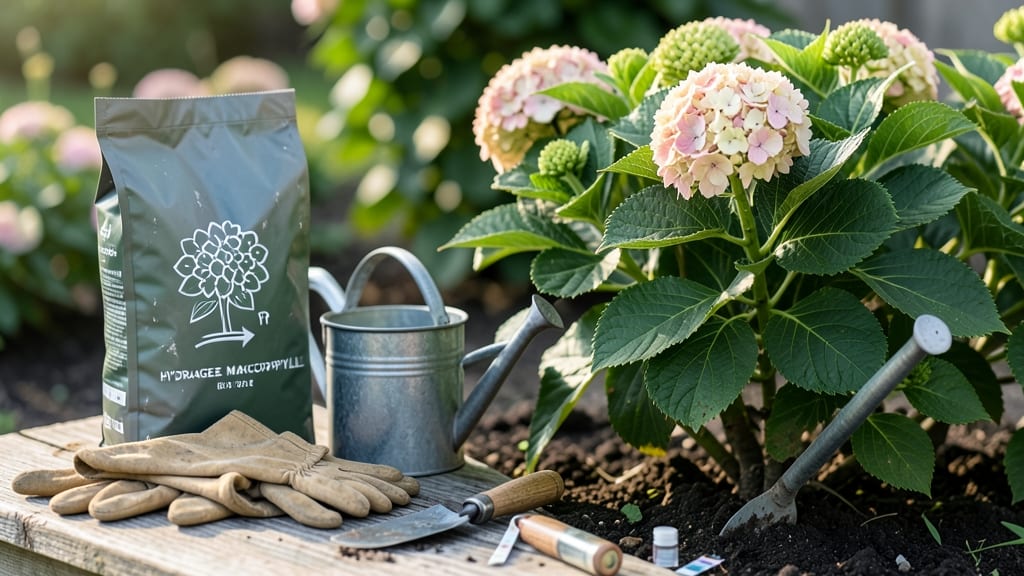
How to change hydrangea color to blue—your plants could be stunning sapphire blue by next summer. 💙 The secret isn't magic—it's science. Hydrangea color shifts with soil pH, and with the right adjustments, you'll transform pink blooms into deep, rich blue without buying expensive plants. The key is aluminum, not acid. Aluminum sulfate (the safest option) lowers pH, unlocking blue pigments in hydrangeas. Test your soil first—most garden centers sell affordable kits. Aim for pH 5.0-5.5 for best results, and apply treatments in early spring before new growth appears. You'll see the first hints of blue within 6-8 weeks, with full transformation by summer. The blooms stay vibrant all season, and your neighbors will ask for your secret. Just avoid overdoing it—too much aluminum can harm roots. Works for mophead, lacecap, and bigleaf hydrangeas. Let's get those blooms turning blue!
📚 In This Guide
- What you need
- Instructions
- Tips and common mistakes
- Wrapping up and next steps
What you need
- ● pH Test Kit – A digital or liquid test kit (e.g., LaMotte or MySoil) to measure soil pH accurately.
- ● Aluminum Sulfate – Granular or powder form (e.g., Espoma Soil Acidifier); 1–2 lbs per 100 sq ft of garden bed.
- ● Garden Gloves – Nitrile or rubber gloves to protect your hands from chemicals.
- ● Garden Fork or Tiller – For evenly mixing amendments into the soil.
- ● Watering Can or Hose – With a fine spray nozzle for gentle application.
- ○ Rain Gauge (Optional but Helpful) – To monitor watering consistency, especially in dry climates.
- ● Peat Moss or Pine Needles – Natural acidifiers (1–2 inches mixed into the topsoil) for gradual pH adjustment.
- ● Lime (Calcium Carbonate) – Only if your soil is too acidic (pH ½ lb per 100 sq ft).
- ● Mulch (Pine Straw or Oak Leaves) – Helps maintain soil acidity over time.
- ● pH Buffer Solution – For calibrating your test kit if needed.
Step-by-Step instructions for turning hydrangeas blue through soil science
Here's how I transform pink hydrangeas into stunning blues—no dyes or guesswork involved.
🌱 Step 1: Test Your Current Soil pH
Before making changes, grab a soil pH test kit (available at garden centers) and test your hydrangea's current soil. Most hydrangeas bloom pink in pH 6.0-7.0 and blue in pH 5.0-5.5. Dig a sample near the plant's dripline—where roots spread horizontally—and follow kit instructions for accurate results.
If your pH reads 6.5 or higher, you're starting with the most common scenario: pink blooms. The goal is to lower it 0.5-1.0 points over time. If it's already 5.5 or lower, your hydrangea may already have the right chemistry—just needs confirmation. I always test twice: once in spring and again in early summer to track progress.
💧 Step 2: Apply Elemental Sulfur for Gradual pH Adjustment
For reliable blue blooms, I use elemental sulfur—the gold standard for lowering pH. Sprinkle 1 pound per 100 square feet of soil around your hydrangea, working it into the top 6 inches of soil. Water thoroughly after application to activate the sulfur. This method takes 4-6 weeks to show results, but it's the safest way to avoid shocking roots.
The key here is patience. Don't overdo it—too much sulfur at once can harm beneficial soil microbes. I like to split applications: half in early spring and half in early summer. You'll see the first color shift in new blooms (hydrangeas only color their current year's flowers), so don't expect instant transformation.
☀️ Step 3: Use Aluminum Sulfate for Faster Results (With Caution)
When I need color changes faster, I turn to aluminum sulfate—it works in 2-3 weeks but requires careful dosing. Use 1/4 pound per plant (never exceed this amount). Sprinkle evenly around the dripline, then water deeply. Aluminum sulfate dissolves quickly, so timing matters: apply it after a rain or when you know watering is scheduled.
Here's the thing—aluminum sulfate can be harsh if overused. I only recommend it for established plants with healthy roots. If your hydrangea looks stressed (yellowing leaves, wilting), flush the soil with extra water to prevent aluminum buildup. Always follow up with a soil test 2 weeks after application to monitor pH.
✂️ Step 4: Maintain Proper Watering and Mulching
Blue hydrangeas thrive in consistently moist but well-drained soil. Water deeply 2-3 times per week during dry spells, aiming for 1-2 inches of water per session. Let the top 2 inches of soil dry between waterings—this prevents root rot while keeping pH-stabilizing microbes happy.
Add a 2-inch layer of pine bark mulch (not cedar or dyed mulch) around the base, keeping it 6 inches away from the stem. Pine bark slowly acidifies the soil over time, giving you an extra nudge toward blue blooms. Replenish mulch annually in early spring to maintain its benefits.
🪴 Step 5: Monitor and Adjust for Future Seasons
After your first successful blue blooms, retest soil pH in late summer to see if adjustments are still needed. I keep a garden journal noting pH levels, sulfur applications, and bloom colors—it helps me predict future needs. If blooms revert to pink, it's usually a sign the pH crept back up, requiring another sulfur application.
For long-term blue results, I make elemental sulfur a part of my spring fertilizer routine. Mix 1/2 pound sulfur with balanced 10-10-10 fertilizer when feeding hydrangeas in early May. This two-for-one approach keeps roots fed while maintaining the perfect acidity for blue blooms.
Tips & tricks for turning hydrangeas blue
These science-backed strategies will help you transform your pink hydrangeas into stunning blues without guesswork.
Soil Test Accuracy: When using a soil pH test kit, take multiple samples from different areas around your hydrangea—especially if your yard has varied soil conditions. I’ve seen cases where one side of the plant tested neutral while the other was alkaline, leading to inconsistent blooms. Mix the samples together before testing for a more accurate reading of the overall environment. This attention to detail prevents wasted effort on partial solutions.
Amendment Application Technique: For Step 2, when mixing sulfur or aluminum sulfate into the soil, focus on the top 6 inches where roots actively absorb nutrients. Use a garden fork to loosen the soil first, then sprinkle the amendment evenly and water deeply. I’ve found that applying amendments directly to the surface without proper incorporation can create localized hot spots that burn roots. Think of it like mixing baking soda into batter—it needs to be evenly distributed for consistent results.
Organic Maintenance Strategy: In Step 3, when using peat moss or pine needles every 2-3 months, consider layering them over mulch rather than directly on the soil. This creates a slow-release acid barrier that mimics natural forest floor conditions. Plus, it reduces the risk of the amendments washing away during heavy rains. The key is consistency—hydrangeas thrive when their soil stays in the ideal 5.0-5.5 pH range year-round.
Visual pH Indicators: Watch for these subtle signs that your acidification is working: new leaves should develop a deeper green hue, and stems may appear slightly softer to the touch. These changes typically appear within 4-6 weeks after your first application. I’ve seen gardeners miss these early indicators and assume nothing’s working when the soil is actually responding perfectly. Patience pays off—full color transformation usually takes 1-2 growing seasons for established plants.
Pro Tips for Change Hydrangea Color To Blue
- These science-backed strategies will help you transform your pink hydrangeas into stunning blues without guesswork.
- Soil Test Accuracy: When using a soil pH test kit, take multiple samples from different areas around your hydrangea—e...
- Amendment Application Technique: For Step 2, when mixing sulfur or aluminum sulfate into the soil, focus on the top 6...
Frequently asked questions
Got questions about turning your hydrangeas blue? You’re not alone! Here are some of the most common queries—and expert answers—to help you achieve those stunning blue blooms with confidence.
How long does it take for hydrangeas to change color after adjusting soil pH?
Patience is key! Hydrangeas typically show color changes within 4–6 weeks of adjusting soil pH. For best results, test soil pH again after 2–3 weeks to confirm the change, then wait for new growth. Older blooms won’t shift—focus on new buds and leaves for the magic to happen.
What if my hydrangeas still don’t turn blue after adding aluminum sulfate?
If your hydrangeas stay pink or purple, check these troubleshooting steps:
- Soil pH test: Aim for 5.2–5.5 (blue range). Use a reliable kit if results are unclear.
- Aluminum levels: Some soils lack aluminum. Mix in 1–2 tbsp of aluminum sulfate per gallon of water as a foliar spray for extra boost.
- Organic matter: Amend soil with peat moss or pine needles to lower pH naturally over time.
- Watering: Overwatering can dilute pH. Ensure proper drainage to maintain acidity.
Can I use vinegar to change hydrangea color to blue? Is it safe?
Vinegar (acetic acid) can lower pH temporarily, but it’s not ideal for hydrangeas. Why? It’s too harsh and can harm beneficial soil microbes or burn roots. Instead, opt for organic amendments like sulfur or pine bark for a safer, long-term solution. Always dilute and apply gradually!
When is the best time of year to adjust soil pH for blue hydrangeas?
The ideal window is early spring (March–April) or early fall (September–October). This gives hydrangeas time to:
- Absorb nutrients before blooming (spring).
- Establish strong roots for next season (fall).
Will blue hydrangeas stay blue forever, or do I need to reapply pH adjustments yearly?
No need for yearly drama! Once your soil pH is balanced (5.2–5.5), hydrangeas will maintain blue blooms for 2–3 years—unless heavy rains or amendments (like lime) alter pH. Retest every 1–2 years and reapply aluminum sulfate or sulfur only if needed.
Pro Tip: Monitor for over-acidification!
While you’re chasing blue, avoid pH below 5.0. This can cause aluminum toxicity, yellowing leaves, or stunted growth. If you suspect over-acidification, amend soil with lime or wood ash to raise pH slightly.
Wrapping up and next steps
Transforming your hydrangeas into stunning blues is simpler than you think—just tweak the soil pH and watch your blooms magically shift! 🌸 With the right tools, patience, and a little science, you’ll enjoy vibrant blue flowers that steal the show. Now’s the perfect time to experiment—start testing your soil today!
🔹 Next step: Grab a pH test kit and get testing! Monitor your hydrangeas over the next few weeks and adjust as needed. Happy gardening—your blue blooms are waiting!