
Tools
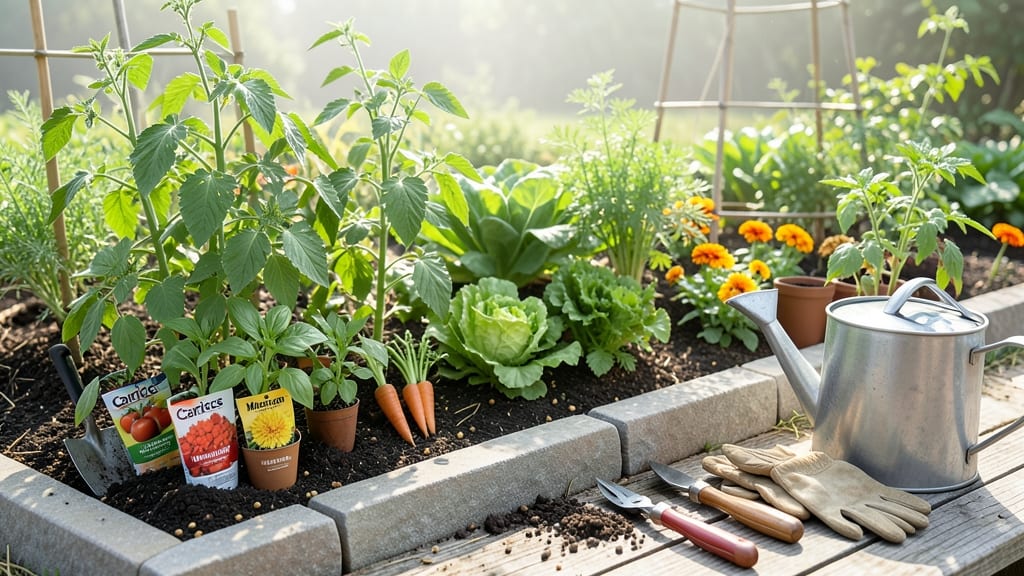
How to build a backyard garden that blooms year-round is easier than you think—just layer plants like a living quilt. 🌸 I designed my first layered garden after realizing my flat, single-season beds were boring and short-lived. The secret isn't fancy: it's matching plants by height, bloom time, and sunlight needs so they support each other all season long.
Start with a simple sketch of your space—note sun patterns, wind direction, and existing plants. Most gardens work with three height layers: tall backdrops (like sunflowers or hollyhocks), mid-height bloomers (roses or salvia), and low-spreading ground covers (creeping thyme or ajuga). This creates vertical interest while keeping maintenance easy.
By summer's end, you'll have a garden that blooms from spring bulbs through fall perennials, with gaps filled by annuals. The best part? Less dead space, more pollinators, and a design that actually thrives—not just looks pretty. I'll show you how to map it out in under an hour.
Works for any size yard, from tiny urban patches to half-acre plots. The same principles apply whether you're digging in-ground beds or building raised containers. Let's get that sketchpad ready!
📚 In This Guide
- What you need
- Instructions
- Tips and common mistakes
- Wrapping up and next steps
What you need
- ● Soil & Amendments: Topsoil (2–3 cubic yards, depending on garden size)
- ● Compost (1–2 bags or 1 cubic yard for nutrient-rich soil)
- ● Organic mulch (straw, wood chips, or shredded leaves, 2–3 bags)
- ● Plants & Seeds: Perennials (3–5 varieties for structure, e.g., hostas, coneflowers)
- ● Annuals (6–10 plants for seasonal color, e.g., marigolds, petunias)
- ● Bulbs (tulips, daffodils, or alliums for year-round interest)
- ● Seed packets (for self-sowing flowers like cosmos or poppies)
- ● Hardware & Structures: Garden beds (raised or in-ground, 4’x8’ or custom size)
- ● Trellises or obelisks (2–4, for climbing plants like clematis or beans)
- ● Garden stakes or labels (50+ for plant ID)
- ● Shovel and spade (for digging and transplanting)
- ● Garden trowel (for precision planting)
- ● Pruners (bypass or anvil type for clean cuts)
- ● Wheelbarrow (for hauling soil and mulch)
- ● Garden gloves (heavy-duty for protection)
- ● Rake (for leveling soil)
- ● Measuring tape (to plan spacing)
- ● Watering can or hose with adjustable nozzle
- ● Drip irrigation kit (for efficient watering)
- ● Soil pH tester (to check and adjust soil health)
- ● Decorative stones or edging (for borders and aesthetics)
- ● Birdhouses or bat boxes (to attract pollinators)
- ● Kneeling pad (for comfort during planting)
- ● Garden journal (to track plant progress and notes)
Step-by-Step instructions for building a layered backyard garden
Here's my foolproof method for designing a visually stunning, functional garden that blooms all year.
🪴 Step 1: Plan Your Garden Layers and Layout
Start by sketching your space with three key layers: tall structural plants (8-12 feet), mid-height shrubs (3-6 feet), and ground covers/bulbs (under 2 feet). I like to place the tallest elements along property lines or fences to create a natural backdrop. Use a tape measure to mark these zones—this prevents overcrowding later.
Consider sun exposure next. Divide your garden into full sun (6+ hours), partial shade (3-6 hours), and full shade (under 3 hours) areas. Label these zones on your sketch. For example, place sun-loving perennials like coneflowers in the full-sun section, while hostas thrive in shade. This ensures every plant gets ideal growing conditions.
🌱 Step 2: Prepare the Soil and Install Drainage
Remove any grass or weeds, then loosen the soil to a depth of 12 inches using a garden fork. I add 2-3 inches of compost to the top 6 inches of soil for nutrients, then mix in 1 cup of bone meal per square foot for phosphorus—this boosts root development. For clay-heavy soil, incorporate 1 part sand to improve drainage.
If your yard has poor drainage, create a slight slope (1-2 inches per foot) away from structures. For low spots, dig a 6-inch deep trench filled with gravel to redirect water. Test drainage by pouring a gallon of water—if it pools after 24 hours, you'll need to amend further with perlite or coarse sand.
☀️ Step 3: Plant Structural Elements First
Begin with your tallest plants—shrubs, small trees, or ornamental grasses—to establish the garden's framework. Dig holes twice as wide as the root ball but only as deep as the container. Gently remove the plant, loosen its roots, and place it in the hole so the top of the root ball sits level with the ground. Backfill with native soil, tamping lightly every 4 inches to eliminate air pockets.
Water deeply to settle the soil, then add a 2-inch layer of mulch (wood chips or bark) around the base, keeping it 3 inches away from the trunk to prevent rot. This mulch layer retains moisture and suppresses weeds. For container-grown plants, score the root ball with a knife before planting—this encourages roots to spread outward.
🌿 Step 4: Add Mid-Layer Plants and Perennials
Fill the middle layer with shrubs, ornamental grasses, and perennials spaced according to their mature size. I use the "rule of thirds"—group odd numbers of plants (3, 5, or 7) for natural-looking clusters. For example, plant 5 lavender bushes in a loose circle with 3 inches of space between each, allowing room for growth.
Dig holes 1.5 times wider than the root ball but only as deep as the container. For bare-root plants, soak roots in water for 15-20 minutes before planting. Place a handful of compost in the hole, then position the plant so the crown sits just above soil level. Backfill with native soil mixed with 10% compost, watering as you go to eliminate air gaps.
✂️ Step 5: Finish with Ground Covers and Mulch
Fill the lowest layer with ground covers, bulbs, or low-growing perennials. For example, creeping thyme or ajuga create lush carpets that suppress weeds. Space bulbs 3-6 inches apart, depending on their mature size—tulips need 4-6 inches, while daffodils thrive 3-4 inches apart.
Apply a 3-inch layer of mulch (cypress or hardwood) across the entire garden, keeping it 2 inches away from plant stems. This conserves moisture, regulates soil temperature, and prevents weed growth. For a polished look, rake mulch into a slightly uneven pattern—this mimics natural forest floors and looks more organic.
💧 Step 6: Install Irrigation and Maintenance Plan
Set up a drip irrigation system with emitters spaced 12-18 inches apart, positioned near plant bases. Run lines along garden edges to avoid tripping hazards. For a low-tech option, use soaker hoses buried 1 inch deep and covered with mulch. Test the system by running it for 30 minutes—adjust flow rates to deliver 1 inch of water per week during dry spells.
Create a simple maintenance schedule: water deeply 2-3 times per week (check soil moisture 1 inch below the surface), fertilize in early spring with a balanced 10-10-10 formula, and prune dead foliage in late winter. I also mark the garden's perimeter with landscape fabric to contain mulch and prevent soil erosion during heavy rains.
Tips & tricks for building a backyard garden
Between us, these garden-building details will save you from common pitfalls—and help your layered design thrive from day one.
Sun Exposure Strategy: When mapping your sun zones in Step 1, walk through your yard at different times of day to observe how sunlight shifts. Morning sun behaves differently than afternoon sun—what looks like full sun at noon might be partial shade in the morning. I always mark my sketch with arrows indicating sun direction, which prevents misplaced sun-loving plants that struggle later.
Soil Prep Pro Tip: For the 12-inch soil loosening in Step 2, don't just dig—break up any compacted layers with your garden fork. The key is creating vertical channels that improve water penetration. If you're working with heavy clay, mix in that 1 part sand to 1 part soil ratio right after loosening, then water deeply to help the sand integrate. This prevents future drainage issues that could drown your plants.
Planting Technique: In Step 3, when scoring container-grown root balls, make 4-6 vertical cuts around the perimeter with a sharp knife. This encourages roots to spread outward immediately rather than circling in the container. For bare-root plants, soaking those roots for 15-20 minutes (as mentioned) is crucial—it jumpstarts hydration before they hit the soil. I always add a handful of mycomrhizal fungi to the planting hole too (optional but game-changing for root health).
Mulch Application: That 3-inch mulch layer in Step 5 deserves special attention. Rake it into a slightly uneven pattern to create micro-ridges that help water pool near plant roots. Keep it 2 inches away from stems to prevent rot, but don't worry about perfect lines—natural variation looks better and helps with water distribution. For newly planted areas, I add an extra 1-inch layer of mulch around the base to protect young plants from temperature swings.
Pro Tips for Build A Backyard Garden
- Between us, these garden-building details will save you from common pitfalls—and help your layered design thrive from...
- Sun Exposure Strategy: When mapping your sun zones in Step 1, walk through your yard at different times of day to obs...
- Soil Prep Pro Tip: For the 12-inch soil loosening in Step 2, don't just dig—break up any compacted layers with your g...
Frequently asked questions
Got questions about turning your backyard into a thriving garden? Here are some common ones—and their practical answers—to help you get started with confidence!
What’s the best time of year to start a backyard garden?
For most regions, spring (after the last frost) or early fall are ideal. Spring kickstarts growth, while fall gives plants time to establish roots before winter. If you’re in a mild climate, you can even plant year-round! Check your local frost dates for precision.
How much does it cost to build a backyard garden?
Costs vary widely! A small, low-maintenance garden with seeds and basic tools might run $50–$200, while a layered, high-end design with raised beds, irrigation, and premium plants could hit $500–$2,000+. Prioritize what you’ll use most—like herbs or veggies—and start small to save.
How do I keep pests away naturally?
Prevention is key! Use row covers, companion planting (like basil with tomatoes), and neem oil for organic pest control. Healthy soil with diverse plants also deters pests. If bugs strike, handpick them or introduce beneficial insects like ladybugs for a chemical-free fix.
Can I build a garden in a small space?
Vertical gardens
, container planters, and raised beds maximize space efficiently. Even a balcony or patio can host herbs, strawberries, or leafy greens. Focus on layered planting—tall plants at the back, medium in the middle, and low-growing up front—to pack in more greenery.
What do I do if my plants freeze in winter?
Don’t panic! Most perennials and cold-hardy plants bounce back. Mulch heavily (3–4 inches) to insulate roots, and cover tender plants with frost cloth or blankets. For veggies, harvest before frost or grow winter crops like kale, spinach, or garlic that thrive in cooler temps.
Wrapping up and next steps
Building a layered backyard garden is an exciting journey that brings beauty, fresh produce, and tranquility to your outdoor space! 🌿 By planning your layout thoughtfully—from soil prep to seasonal blooms—you’ve set the stage for a vibrant, year-round oasis. Remember, every expert gardener started with their first seed or shovel!
Now that you’re armed with knowledge, take the next step: start small. Whether it’s a single raised bed, a few potted herbs, or a cozy corner for perennials, just begin. Your garden will grow—just like your confidence and love for it. Happy planting! 🌱