
Tools
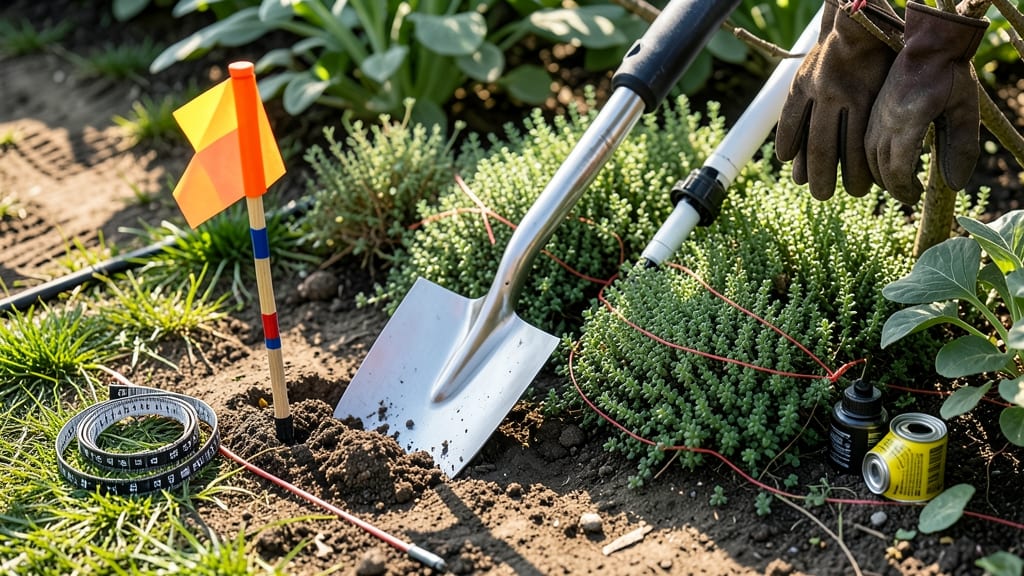
How to avoid sprinkler lines when digging—one wrong swing could ruin your garden and your sprinkler system. 🌱 Before breaking ground, knowing exactly where those buried lines run saves you time, money, and frustration. I’ve dug up more sprinkler lines than I care to admit—until I learned these simple but critical steps.
You don’t need fancy equipment to start. A basic sprinkler line locator tool (around $50) or even a metal detector works. Check your utility maps first—they often mark irrigation lines. Look for subtle clues too: soil discoloration, small mounds, or sprinkler heads that hint at hidden paths.
With just 15 minutes of prep, you’ll mark the lines clearly with spray paint or flags. No more guessing, no more costly repairs. Your garden beds stay intact, and your sprinkler system keeps working like it should.
This method works for any digging project—vegetable beds, fence posts, or even a new shed. Safety first, then dig with confidence. Here’s how to do it right the first time.
📚 In This Guide
- What you need
- Instructions
- Tips and common mistakes
- Wrapping up and next steps
What you need
- ● Sprinkler line locator tool (electronic or magnetic sensor type—rent or buy for ~$50–$200)
- ● Garden stakes or flags (bright orange or neon-colored, 6–12 inches long, at least 20–50 pieces)
- ● String or twine (100+ feet, for temporary marking)
- ● Spray paint (high-visibility, like Day-Glo or orange/yellow)
- ● Measuring tape (25+ feet, for accuracy)
- ● Notepad & pen (to log line locations)
- ● Shovel & hand trowel (for minor adjustments if needed)
- ● Safety gear (gloves, knee pads, and safety glasses)
- ● GPS sprinkler locator app (like Sprinkler Map or DigAlert for digital tracking)
- ● Ground-penetrating radar (GPR) (rental ~$100–$300 for complex projects)
- ● Utility locator service (call 811 in the U.S. before digging—free!)
- ● Waterproof labels (to mark stakes with line depths/IDs)
- ● Reflective tape (for high-traffic areas)
Step-by-Step instructions for marking sprinkler lines before digging
Here's how I locate and mark underground sprinkler lines safely before any digging begins.
🪴 Step 1: Gather Your Detection Tools
You'll need a sprinkler line locator (rent or buy one for about $50), utility flags or paint, and a notebook to record findings. I always double-check the locator's batteries before starting—dead batteries mean wasted time and potential mistakes. If you don't have a locator, call your local water department; many offer free line mapping services.
For larger projects, bring a helper to hold flags while you mark lines. This ensures accuracy and prevents missed sections. I like to work in 5-foot sections at a time, marking each line clearly as I go. Skipping this step can lead to costly repairs if you hit a line accidentally.
🔍 Step 2: Scan the Entire Digging Area
Start by walking the perimeter of your digging zone with the locator, keeping the search coil 12-18 inches above the ground for best detection. Move slowly—sprinkler lines often run in straight lines or gentle curves, but they can zigzag near obstacles like trees or sidewalks. When the locator beeps, pause and mark the spot with a flag or a dot of bright paint (like orange or pink).
I always scan in a grid pattern, moving 2 feet apart between passes to catch every line. Missed lines are the #1 cause of accidents, so don’t rush. If the locator picks up interference (like rebar or electrical wires), move to the next section—you’re not dealing with sprinklers there.
✂️ Step 3: Verify and Double-Mark Critical Zones
Once you’ve marked all detected lines, go back and re-scan each flagged spot to confirm the signal is consistent. I like to draw a simple sketch of the area, labeling each line with its approximate depth (most sprinkler lines run 6-12 inches deep). If a line runs deeper than 18 inches, it’s likely a main line—avoid digging near it entirely.
For high-risk areas (like where you plan to dig deepest), use two flags per line spaced 3 feet apart. This creates a clear visual barrier that’s hard to miss, even in low light. I also snap a photo of the marked area before digging—it’s a lifesaver if you need to reference it later.
📝 Step 4: Document and Protect Markings
Write down the location, depth, and direction of each line in your notebook. Include notes like "Line A: 8 inches deep, runs east-west" or "Line B: 10 inches deep, curves near fence." This record keeps you organized and helps if you need to call a professional for deeper lines. I keep my notes in a waterproof pouch while working to protect them from dirt or rain.
Before digging, cover marked lines with a warning tape (like bright yellow caution tape) if you’ll be working in the area for more than a day. This prevents accidental damage if others (or even you) forget the markings. I also place a sign at the perimeter of the dig site warning of underground utilities—it’s a small habit that saves headaches.
⏰ Step 5: Dig with Precision and Double-Check
When you’re ready to dig, start at least 12 inches away from any marked line and use a hand trowel for the first 6 inches to avoid disturbing deeper lines. If you hit resistance (like a pipe), stop immediately and re-scan the area with your locator. I’ve seen too many close calls where a trowel nicked a line—it’s better to take an extra minute than risk a leak.
For deeper digging, rent a vacuum excavator (about $150/day) if lines run deeper than 18 inches. These machines blow away soil with air while leaving pipes intact. Always call 811 before digging deeper than 4 inches—even if you’ve marked lines, some utilities (like gas or electrical) aren’t always visible on standard locators.
Tips & tricks for precision underground line marking
These practical tricks will help you avoid costly mistakes and dig with confidence every time.
Visual Mapping Matters: In Step 1, when you're marking sprinkler heads, take an extra 5 minutes to sketch a rough layout of your yard. I've found that drawing a simple diagram with measurements helps visualize where lines might run between heads—especially important for curved layouts. This visual reference becomes your roadmap during the detection phase.
Detection Tool Pro Tip: For Step 2, if your pipe locator isn't picking up signals clearly, try moving the transmitter closer to the sprinkler head (within 6 inches) and use the "boost" setting if available. I've had better success with older copper lines when I adjust the frequency to the metal detection setting rather than the default plastic setting. Remember to move in that 2-3 foot grid pattern—skipping areas is how lines get missed.
Safety Marking System: When you're placing those orange/yellow stakes in Step 3, add a small piece of reflective tape to each one. This makes them visible even in low light, which is crucial if you're working near dusk or dawn. For deeper lines (below 12 inches), I like to add a second red stripe to the stakes—this double visual cue helps prevent accidents when working with heavy equipment later.
Shovel Test Technique: In Step 4, when you're doing your shovel test, pay attention to the sound as much as the feel. A dull "thud" often means you've hit something solid, while a sharp "clink" usually indicates metal. I've learned that polyethylene pipes sometimes make a soft "pop" when disturbed—this is your warning to stop immediately. Always dig that 6-inch buffer zone around your marked path, even if the test seems clear.
Pro Tips for Avoid Sprinkler Lines When Digging
- These practical tricks will help you avoid costly mistakes and dig with confidence every time.
- Visual Mapping Matters: In Step 1, when you're marking sprinkler heads, take an extra 5 minutes to sketch a rough lay...
- Detection Tool Pro Tip: For Step 2, if your pipe locator isn't picking up signals clearly, try moving the transmitter...
Frequently asked questions
Got questions about avoiding sprinkler lines while digging?
You’re not alone! Here are answers to the most common concerns to keep your project safe and stress-free.
How do I know if there’s a sprinkler line in my yard before digging?
Start by checking your property’s as-built plans or calling your local utility locator service (often free!). Look for signs like green-painted valves, hills of dirt near sprinkler heads, or plastic flags marking irrigation lines. If unsure, rent a ground-penetrating radar (GPR) unit or hire a professional to scan the area.
Is there a best time of year to dig without hitting sprinkler lines?
While timing doesn’t eliminate risks, late fall or early spring (when sprinklers are often turned off for maintenance) can reduce surprises. Always verify line locations before digging, regardless of season. Avoid digging near active sprinkler heads or during peak watering schedules to minimize disruptions.
What’s the cheapest way to mark sprinkler lines if I don’t have professional tools?
Use brightly colored spray paint (like orange or yellow) to mark the path of your sprinkler lines along the ground. For deeper lines, drive a wooden stake or flag every 3–5 feet. Pro tip: Take a photo of your marked layout to reference later—just don’t rely on memory!
What should I do if I accidentally hit a sprinkler line while digging?
Stay calm and shut off the water supply immediately (locate the main valve or individual zone valve). Call your water provider or a plumber to repair the line—never ignore it, as leaks can damage your yard or foundation. Document the incident and update your property’s records to prevent future accidents.
Can I dig around my sprinkler system without causing damage?
Yes, but with caution! Stick to shallow trenches (under 8 inches deep) and avoid disturbing valves, backflow preventers, or main lines. If you must dig near the system, use a hand trowel and watch for plastic pipes or flexible tubing. For deeper work, call 811 (USA) to have all underground utilities marked—it’s free and legally required!
Wrapping up and next steps
Digging safely doesn’t have to be stressful—just plan ahead and mark with care!
By using tools like color-coded stakes, a metal detector, or professional locator services, you’ll protect your yard (and your wallet) from costly mistakes. 💡 Remember: When in doubt, call 811—it’s free and could save the day!
Now that you’re armed with the right knowledge, grab your tools and get started—your next project is just a few careful steps away! 🚀