
How To
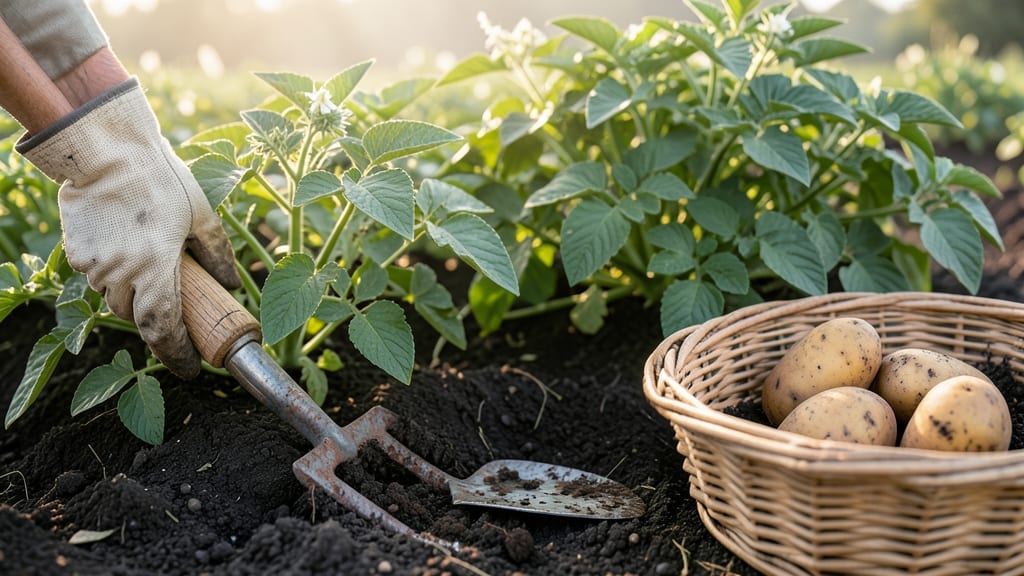
How to know when potatoes are ready to dig can mean the difference between a bountiful harvest and a wasted season. That perfect moment isn't just about days passed—it's about what's happening below the soil, where your 🥔 are maturing in secret.
Most gardeners wait too long, risking split or rotten tubers, while others pull them too soon, ending up with tiny, underdeveloped potatoes. The key lies in three often-missed clues: the plant's flowering stage, the color of its foliage, and how the tubers feel when you test them.
I'll show you exactly how to spot these signs so you can harvest at the ideal time—whether you're growing early varieties for quick meals or storing potatoes for months. No more guessing, just confident digging.
Ready to transform your potato harvest? Let's uncover the underground signals that tell you it's time to dig.


3 Underground signs your potatoes are ready to harvest
Potatoes don’t come with a little "ready" flag, so you’ll need to rely on visual and tactile cues from both the plant’s foliage and the soil itself. The key is to watch for three critical signs that tell you it’s time to dig—without waiting too long and risking tuber damage.
These clues work for both new potatoes (small, tender) and mature potatoes (large, storable), though the timing varies slightly.
First, pay attention to the flowering stage. Most potato varieties bloom with white, pink, or purple flowers, and when these start to fade and drop, it’s a strong signal that tubers below are growing rapidly.
This usually happens around 70-90 days after planting, depending on your climate and variety. Don’t wait until the flowers are completely gone—act when they’re just beginning to wilt.
The second clue is the foliage’s color and health. As the plant matures, the leaves will gradually yellow and die back, a process called "senescence." This isn’t the same as disease—it’s nature’s way of telling you the plant is redirecting energy to the tubers.
When about 50-70% of the foliage has turned yellow or brown, it’s time to start checking for readiness. If you wait until the plant is completely dead, you risk splitting the tubers.
Here’s where it gets interesting: the soil and tuber texture will give you the final confirmation. Gently probe the soil around the base of the plant with your fingers or a small trowel. If you feel firm, golf-ball-sized tubers (about 1.5 inches in diameter), they’re likely ready.
For mature potatoes, aim for baseball-sized or larger tubers. Press a tuber gently with your thumbnail—if it doesn’t leave an indent, it’s ready to harvest.
🌱 3 Key Signs Your Potatoes Are Ready
-
1. Flowers Fade
White/pink/purple blooms turn brown and drop—act within 1-2 weeks of this sign. -
2. Foliage Yellows
50-70% of leaves turn yellow/brown—don’t wait for full death. -
3. Tubers Feel Firm
Press with thumbnail—no indent = ready; golf ball to baseball size for mature potatoes.
Pro Tip: Dig a test tuber to confirm—if it’s small and hard, wait a week.
One common mistake is assuming all potatoes are ready at the same time. Early varieties like 'Red Pontiac' or 'Yukon Gold' may be ready in as little as 70 days, while late varieties like 'Russet Burbank' can take up to 120 days.
Always check the seed packet for your specific variety’s days to maturity and adjust your timing accordingly. For example, if your 'Yukon Gold' is listed for 90 days and you planted in early May, start checking around late July.
Don’t overlook the soil conditions either. If your area has experienced dry spells followed by heavy rain, the tubers may have split or cracked. In this case, dig immediately to salvage what you can.
Conversely, if the soil is waterlogged or too dry, it can stress the plant and delay maturity. Aim for consistent moisture—about 1-1.5 inches per week—to keep the tubers growing steadily.
For container-grown potatoes, the signs are the same, but you’ll need to monitor more closely since space is limited. When the foliage starts yellowing and you can see tubers poking through the soil surface, it’s time to empty the pot.
Gently sift through the soil to check for readiness—if most tubers are 1.5 inches or larger and firm, harvest the entire plant. Containers dry out faster, so they often produce smaller tubers, but they’re still delicious when harvested at the right time!
Finally, trust your instincts and experience. The first few times you harvest potatoes, you might feel unsure, but over time, you’ll recognize the subtle differences between ready-to-harvest and not-quite-there tubers.
Keep a gardening journal to note when you planted, when flowers appeared, and when you harvested—this will help you refine your timing for future seasons. The more you practice, the easier it becomes to spot those underground clues that lead to a bountiful harvest.
Remember, the goal is to dig potatoes when they’re firm, well-sized, and at peak flavor. If you harvest too early, you’ll end up with small, underdeveloped tubers; if you wait too long, you risk splitting, disease, or poor storage quality.
By mastering these three signs—flower fading, foliage yellowing, and tuber firmness—you’ll never guess again. Your future harvests will thank you!
How to test potato readiness without damaging the crop
Testing potato readiness without harming your crop is all about gentle exploration. You don’t want to dig up every plant prematurely—just a few strategic checks will reveal whether your tubers are ready for harvest.
Start by selecting 2-3 healthy plants from different areas of your garden bed. This gives you a representative sample without risking the entire harvest.
Use a hand trowel or garden fork to carefully loosen the soil around the plant’s base. Work slowly to avoid puncturing tubers. If you’re worried about damaging the crop, focus on one side of the plant first. This lets you peek underground without committing to a full harvest.
Gently brush away soil to expose tubers. If they’re larger than a golf ball (1.5+ inches), they’re likely ready. Smaller tubers need more time.
Press a tuber gently with your thumbnail. If it feels firm but not hard (no indent), it’s mature. Hard tubers need more time.
Look for a brown, shriveled stem end. Green and firm stems mean the tuber isn’t ready yet.
If your sample tubers meet these criteria, it’s time to harvest. But if they’re still small or hard, cover the plants with soil to protect them and give them more time. This method is perfect for new potatoes (harvested early) or mature potatoes (harvested later).
For new potatoes, you can harvest when tubers are 1-2 inches in diameter, even if the plant is still green.
After testing, replenish the soil around the plants you sampled. This minimizes disruption and keeps your crop healthy. If you’re harvesting mature potatoes, wait until the foliage yellows and dies back—this is nature’s signal that the tubers are fully developed and ready for storage.
For container-grown potatoes, gently tip the pot to check tuber size. If the tubers are visible through the drainage holes, they’re likely ready. This method is especially useful for compact varieties like 'Yukon Gold' or 'Red Pontiac'.
Remember, timing is everything. Harvesting too early means tiny potatoes, while waiting too long can lead to split or diseased tubers. By mastering these gentle tests, you’ll know exactly when to dig for a bountiful harvest—without the guesswork.