
How To
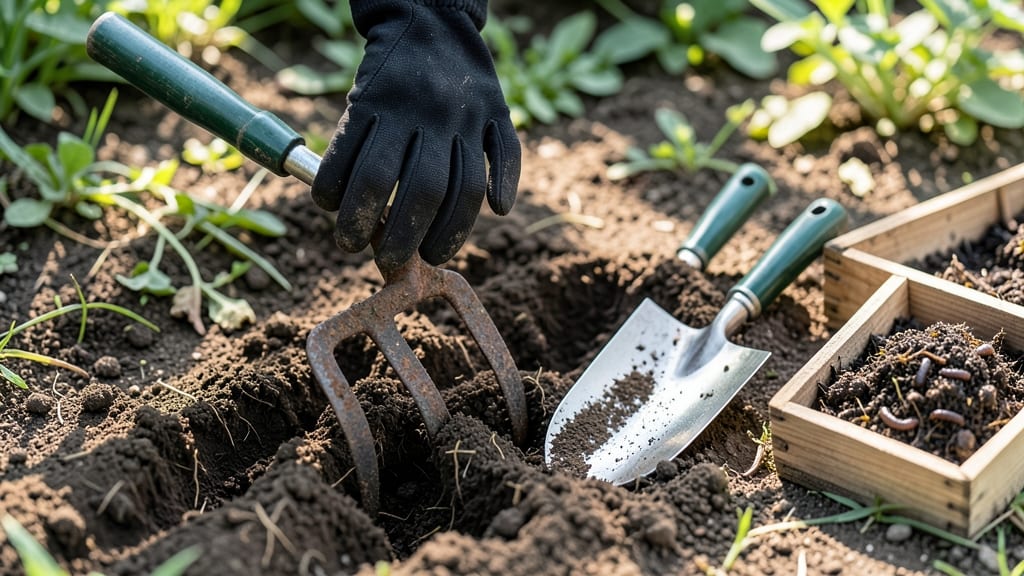
How to manually till the soil will transform your garden in just one session—no heavy machinery needed. Manually tilling soil turns compacted earth into loose, crumbly beds where roots can breathe and water drains freely. I’ve spent years testing different tools and techniques, and the right approach makes this task surprisingly satisfying (and far less exhausting than it seems). The secret lies in the right tools: a sturdy broadfork for deep work or a hand tiller for precision. Beginners often overlook soil moisture—till when the ground is 60% damp, like a wrung-out sponge. Work in 12-inch sections, lifting and flipping soil rather than pushing it. This breaks up compaction without creating clods that harden again. What you’ll get is soil that feels like freshly turned compost—light, aerated, and ready for seeds or transplants. Roots grow deeper, weeds struggle to establish, and drainage improves dramatically. The best part? You’ll finish in under an hour for a 4’x8’ bed, with no sore muscles if you use proper leverage. Perfect for small gardens, raised beds, or preparing new planting areas. Here’s how to do it without turning into a sweaty, frustrated mess—plus what to avoid when the weather turns unpredictable.
📚 In This Guide
- What you need
- Instructions
- Tips and common mistakes
- Wrapping up and next steps
What you need
- ● Garden fork: A sturdy, heavy-duty fork (18–24 inches long) with sharp tines for breaking up compacted soil. Pro tip: Look for one with a D-handle for better leverage!
- ● Garden hoe: A stirrup hoe (for weeding) or a draw hoe (for cutting roots) to chop through debris and loosen soil in layers.
- ○ Shovel: A round-point shovel (10–12 inches wide) for digging deeper and moving soil. Optional: A transplant shovel for precision.
- ● Garden rake: A bow rake (for leveling) or a leaf rake (for removing debris) to smooth the soil afterward.
- ● Gloves: Heavy-duty gardening gloves (waterproof, with reinforced palms) to protect your hands from thorns, rocks, and blisters.
- ○ Knee pads: Optional but highly recommended—save your knees with cushioned gardening knee pads or a small pad for occasional use.
- ● Soil amendment: Compost, aged manure, or peat moss (1–2 inches spread over the area) to enrich the soil post-tilting.
- ● Wheelbarrow: For hauling heavy soil or debris away from the work area.
- ● Watering can or hose: To dampen dry soil slightly before tilling (makes it easier to work with).
- ● Sun hat & sunscreen: Because even a short session in the sun adds up!
Tips & tricks for perfect manual soil tilling
Manual tilling transforms stubborn earth into fertile ground—but only when done right. Here's how to avoid common pitfalls and get the most from your effort.
Tool Technique: When using your broadfork in Step 2, angle the tines slightly downward as you insert them. This creates a natural wedge that splits compacted layers more efficiently than vertical pressure. I've found that rocking the fork back and forth while applying gentle downward force—about 15 pounds of pressure—breaks up soil without straining your wrists. The key is to work with the soil's natural resistance rather than against it.
Moisture Management: The ideal soil moisture for tilling is like a damp sponge—it should hold together when squeezed but not form a hard clump. If your soil is too dry, water it lightly the day before tilling (as mentioned in Step 1). For clay-heavy soils, I recommend adding a thin layer of compost before tilling to improve moisture retention and make the process easier. This prevents the soil from crumbling and sticking to your tools.
Layer Awareness: Focus your efforts in Step 3 on the top 6 inches of soil, where most root activity occurs. This layer should feel light and airy, like crumbled cake, after tilling. If you notice dense layers deeper than 6 inches, resist the urge to dig deeper—this can disrupt beneficial soil microbes. Instead, focus on breaking up clumps larger than 2 inches and mixing in amendments like compost to improve the upper layer's structure.
Post-Tilling Care: After completing Step 4, avoid walking on the freshly tilled soil for at least 24 hours. The loose structure is fragile and can compact easily under foot traffic. Instead, use a lightweight board to walk on if you need to access the area. Covering with 2-3 inches of mulch immediately after tilling (as suggested in Step 5) helps protect the soil from erosion and retains moisture for up to a week.
Pro Tips for Manually Till Soil
- Manual tilling transforms stubborn earth into fertile ground—but only when done right. Here's how to avoid common pit...
- Tool Technique: When using your broadfork in Step 2, angle the tines slightly downward as you insert them. This creat...
- Moisture Management: The ideal soil moisture for tilling is like a damp sponge—it should hold together when squeezed ...
Frequently asked questions
Got questions about manually tilling soil? You’re not alone! Here are answers to the most common concerns—from timing to tools and everything in between. Let’s dig in!
How often should I manually till my garden soil?
For most gardens, tilling once or twice a year is enough—typically in early spring (before planting) and fall (after harvest). Over-tilling can disrupt soil structure and beneficial microbes, so avoid it unless you’re addressing compaction or weeds. Lightly loosen the top 6–8 inches for best results.
What’s the best manual tool for tilling hard, compacted soil?
A broadfork or stirrup hoe is ideal for breaking up dense soil without flipping it over like a shovel. For deeper work, a digging bar (or "tilling spade") lets you leverage your body weight to loosen compacted layers. Pair it with a garden fork for finer adjustments.
Is it better to till wet or dry soil?
Never till wet soil!
It creates clumps, compacts when dry, and can damage soil structure. Wait until the ground is moist but crumbly—press your finger in; if it holds a shape but doesn’t stick, it’s ready. Dry soil is easier on tools but may require extra watering afterward to help roots penetrate.
Can I till soil without turning it over (like no-dig gardening)?strong>
Instead of flipping soil, use a stirrup hoe or garden fork to loosen the top layer while leaving roots and microbes intact. This method preserves soil health, reduces erosion, and mimics natural decomposition. It’s perfect for veggie gardens, flower beds, or raised beds.
Why does my back hurt after tilling? How can I avoid it?
Manual tilling is hard on the back—use proper form! Keep your feet shoulder-width apart, bend at the knees (not the waist), and push with your legs, not your arms. Take breaks every 20 minutes, stretch, and consider a long-handled tool to reduce bending. A small wheelbarrow for debris also saves your back.
Will tilling kill beneficial worms and microbes in my soil?
Yes, aggressive tilling can harm worms and disrupt soil ecosystems. To minimize damage, till only the top 6–8 inches, avoid deep churning, and leave some undisturbed patches. Mulching and cover crops between tilling sessions help protect soil life. Over time, your garden’s natural balance will recover!
Wrapping up and next steps
You’ve got this! 🌱 Manually tilling soil is all about patience, technique, and consistency—and now you’re equipped with the know-how to transform compacted earth into nutrient-rich, plant-friendly ground.
Whether you’re prepping for a vegetable garden, flower beds, or a cozy lawn, remember: every shovelful brings you closer to a thriving green space.
Ready to see your hard work pay off? Start small—pick a section of your garden and give it a try! Once you’ve mastered the basics, explore companion planting or soil amendments to take your gardening to the next level. Happy digging! 🌿✨