
How To
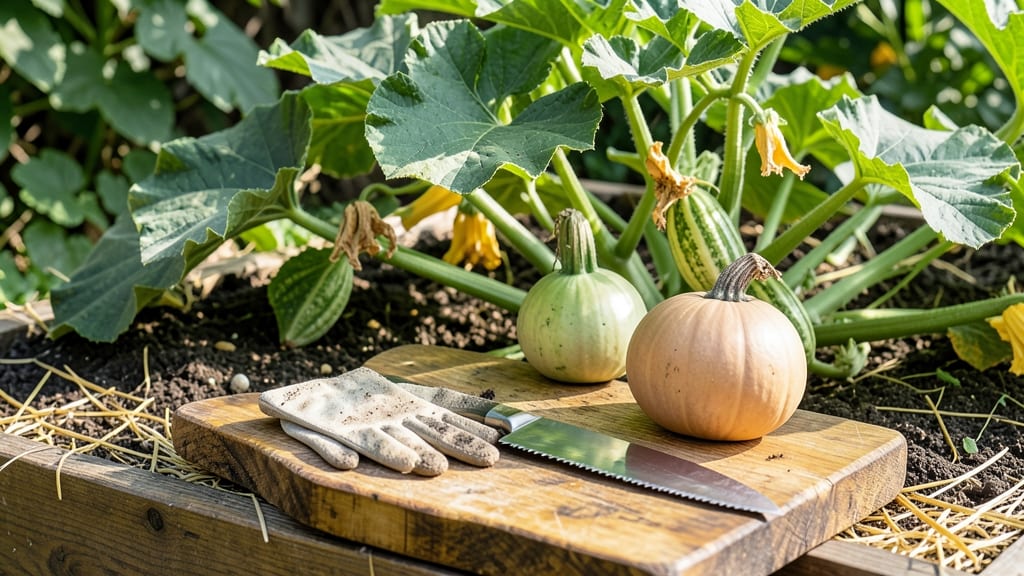
Knowing how to know when to harvest butternut squash can mean the difference between sweet, tender flesh and tough, flavorless disappointment. That perfect moment arrives when the rind turns from green to a rich tan-orange, but there’s more to it than just color.
I’ve learned the hard way that waiting too long can turn your harvest into stringy, overripe squash—while picking too early leaves you with bland, underdeveloped produce. The key is combining visual cues like stem changes and skin hardness with environmental factors like frost risk and days after flowering.
In this guide, I’ll walk you through five foolproof visual cues to determine ripeness, including the infamous "tap test" and how to read your squash’s skin and stem. Whether you’re in USDA Zone 6a or beyond, these tips will help you time your harvest for maximum flavor and storage potential.
By the end, you’ll confidently know when to snip that stem and bring your 🎃 butternut squash indoors—ready for curing, storing, or cooking up a storm. Let’s make sure your hard work pays off with a perfect harvest!
5 Visual cues to determine butternut squash ripeness
Harvesting butternut squash at the right moment transforms your garden labor into sweet, tender rewards. The key lies in observing five distinct visual cues that signal peak ripeness. These cues—often overlooked by beginners—ensure you avoid the pitfalls of underripe squash (tough and watery) or overripe squash (stringy and bland).
Let’s break down each telltale sign so you can confidently pick your squash at its flavor zenith.
First, focus on the skin color transition, the most obvious ripeness indicator. Young butternut squash start with a greenish hue, but as they mature, the skin gradually shifts to a deep tan or golden-orange.
This color change isn’t just about aesthetics—it signals the squash’s sugar content has peaked. Pay close attention to the neck area, where the color change is most pronounced. If the rind is still mostly green, hold off on harvesting.
Here’s where it gets tricky: Some gardeners mistake size for ripeness, but a large squash isn’t necessarily ready. Instead, press your thumbnail into the skin. If it springs back without leaving a dent, the squash needs more time. When the skin resists pressure and feels hard to the touch, that’s your cue to harvest. This hardness correlates with reduced moisture content, which improves storage life and flavor.
Skin Color Shift
From green to tan/orange—check the neck first. Uneven color? Wait a few days.
Thumbnail Test
Press firmly—no dent means it’s ready. A soft spot = underripe.
Stem Condition
A dry, papery stem that snaps when bent is a harvest signal. Flexible stems = more time needed.
Vine Health
Yellowing or dying back vines mean the plant is redirecting energy to the squash. Harvest within 3–5 days.
Tapping Test
Tap the squash—hollow sound = ripe. A dull thud means it needs more time.
The stem’s condition is another critical clue. As the squash matures, the stem connecting it to the vine dries out and hardens. When it’s ready, the stem should snap cleanly when bent—almost like a dry twig.
If the stem bends without breaking, your squash isn’t there yet. Pro tip: Don’t cut the stem when harvesting; leave a 1–2 inch stub to extend shelf life.
Next, observe the vines themselves. Butternut squash plants channel nutrients into the fruit as the growing season winds down. When the vines start yellowing and dying back, it’s a clear signal that the plant is focusing its energy on the squash.
At this stage, harvest within 3–5 days to avoid overripeness. Ignoring this cue can lead to squash that’s too fibrous or even rotting on the vine.
For a final verification, try the tapping test, a trick used by experienced gardeners. Gently tap the squash with your knuckles—it should sound hollow, like a drum. An underripe squash will produce a dull thud.
This test works because the seeds inside have fully developed, and the flesh has reached its ideal density. Combine this with the other cues for a foolproof harvest.
Regional variations can slightly alter these cues, especially in cooler climates. If your growing season is shorter, prioritize the skin hardness and stem condition over color changes, as cooler temperatures can slow the tan/orange shift.
In warmer zones, the color transition may happen faster, so monitor the vines’ decline more closely.
Once you’ve confirmed all five cues, it’s time to harvest. Use a sharp pruning shear or clean knife to avoid damaging the squash. Leave the stem intact—this helps the squash cure properly and last longer in storage.
After harvesting, let the squash rest in the sun for 10–15 minutes to toughen the skin further before storing.
5 Visual cues to determine butternut squash ripeness
Harvesting your butternut squash at the perfect moment transforms bland, tough flesh into sweet, velvety perfection. The key lies in observing subtle but unmistakable changes in the skin, stem, and overall plant health.
Unlike other squash varieties, butternuts rely on a combination of color shifts and physical texture—not just size—to signal readiness.
First, check the skin color. Immature butternuts display a pale green or yellowish hue, but ripe specimens develop a deep, creamy tan or orange shade. This color change happens gradually, so monitor your squash weekly as it matures.
Pay close attention to the neck area, where the color transition often begins first.
Skin Hardness Test
Press your thumbnail into the skin. If it resists pressure and doesn't dent, the squash is ready. A soft spot means it needs more time.
Stem Snap Test
Gently bend the stem near the squash. A ripe butternut's stem will snap cleanly—like dry kindling—without tearing. Flexible stems indicate immaturity.
Vine Dieback
Observe the vines. When they yellow and wither, it's a strong signal that the squash is nearing peak ripeness. This often coincides with the 95–100 day mark after planting.
The rind's dullness is another telltale sign. A ripe butternut's skin loses its glossy sheen, becoming matte and slightly rough to the touch. This change occurs as the squash's starches convert to sugars, enhancing its flavor.
Combine this with the stem snap test for the most reliable results—especially in cooler climates where ripening slows.
Regional variations matter too. In USDA Zone 6a (like much of the Midwest), butternuts typically reach harvest readiness by mid-October. However, if a frost warning appears before your squash shows all these cues, harvest immediately—they'll ripen further during curing. Never wait for hard frost, as damaged squash spoils quickly.
Pro tip: Use a sharp pruning shears to cut the stem, leaving a 1-inch stub. This prevents rot and makes storage easier. Once harvested, let your butternuts cure in warm, dry conditions (70–80°F) for 10 days to develop their full sweetness.