
How To
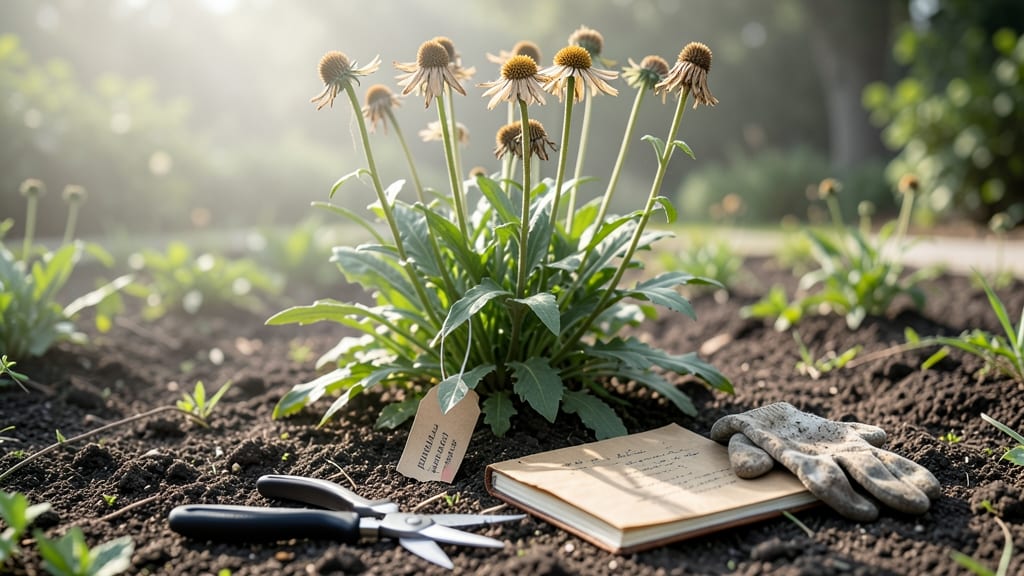
Harvesting shasta daisy seeds might seem like a simple task, but doing it right ensures you get healthy blooms for years to come. These cheerful flowers aren’t just pretty faces—they’re packed with potential for next season’s garden.
The key is knowing exactly when those seed heads are ready to collect, so you don’t miss your chance.
If you’ve ever watched a shasta daisy fade from its bright white or pink petals to a dry, papery center, you’ve seen nature’s way of telling you it’s time to act. But timing matters—harvest too early, and the seeds won’t be viable.
Too late, and you might lose them to birds or weather. Let me walk you through the perfect moment to pick those seed heads, plus the easiest methods for collecting and storing them.
Once you master the basics, you’ll discover these seeds are more versatile than you think. From growing new plants to creative uses like crafts, there’s a world of possibilities waiting.
Whether you’re a seasoned gardener or just starting out, I’ll show you how to turn those dry daisy heads into a gardening game-changer.
Ready to save money, preserve beauty, and extend your garden’s life? Let’s dive into the simple steps that’ll have you harvesting like a pro in no time. Your future blooms will thank you!


When and how to identify mature Shasta daisy seed heads
Harvesting Shasta daisy seeds starts with knowing exactly when to look. The key is waiting for the flower heads to transition from vibrant blooms to dry, brown seed centers. This usually happens 8-12 weeks after planting, depending on your climate and variety.
Start by examining the petals. When they’ve turned brown and crispy—almost like dried paper—it’s time to check the center. The disk florets (tiny flowers in the middle) should be deep brown or tan, not green or yellow.
Another telltale sign is the seed head’s firmness. Gently squeeze a mature head—if it feels dry and brittle (like a paper bag), it’s ready. Avoid harvesting if the center still feels squishy or moist, as seeds won’t be fully developed.
Timing matters too. In USDA Zones 5-8, aim to harvest seeds in late summer to early fall (August through October). In warmer zones (9-10), you might harvest as early as July. Always wait for a frost-free window to avoid premature drying.
Pro tip: Use a magnifying glass to inspect seed heads for plump, fully formed seeds. Immature seeds look shriveled or hollow—discard these to ensure high germination rates.
🌱
Step-by-Step Guide to Identifying Mature Shasta Daisy Seed Heads
- Step 1: Wait for petals to brown and crisp (usually 8-12 weeks post-bloom).
- Step 2: Check the center disk florets—they should be deep brown/tan, not green.
- Step 3: Squeeze the head—it should feel dry and brittle (like a paper bag).
- Step 4: Harvest in late summer/fall (Zones 5-8) or July (Zones 9-10).
- Step 5: Use a magnifying glass to spot plump, fully formed seeds (avoid shriveled ones).
If you miss the harvest window, don’t worry—Shasta daisies self-seed readily. However, saved seeds may not match the parent plant’s exact traits, especially if it’s a hybrid variety. For consistent results, harvest seeds from heirloom or open-pollinated cultivars.
Once you’ve identified mature heads, the next step is harvesting and drying. But first, let’s cover the best tools for the job: clean scissors, paper bags, and a dry, well-ventilated space. Avoid plastic bags—they trap moisture and risk mold.
🌿
Proper seed harvesting techniques for Shasta daisies
Once you’ve spotted those mature Shasta daisy seed heads, it’s time to harvest them correctly to preserve seed viability. The key is patience—rushing can ruin your seeds.
Start by gently snipping the seed heads with clean pruning shears or simply twist them off by hand when fully dry. Avoid pulling stems, which can damage the plant.
For optimal drying, place harvested seed heads in paper bags (not plastic) to allow airflow. Hang them upside down in a dry, shaded spot for 2-3 weeks.
This prevents mold while letting seeds fully mature. If you’re short on space, lay them on a screen or mesh bag in a ventilated area.
- Harvesting too early – Seeds won’t germinate if immature (check for brown, dry centers).
- Using plastic bags – Traps moisture, causing mold and seed rot.
- Storing seeds in humidity – Always keep seeds in a cool, dry place (like a sealed jar).
After drying, gently rub the seed heads between your fingers or use a fine-mesh sieve to separate seeds from chaff. Store them in paper envelopes or airtight containers with a silica gel packet to absorb moisture.
Label each with the harvest date—seeds stay viable for 2-3 years if stored properly.
For large batches, consider using mesh seed bags to speed up drying while keeping seeds contained. Place them in a well-ventilated area like a garage or shed, away from direct sunlight. This method works best for heirloom varieties, which often produce more seeds than hybrids.
Once seeds are clean and dry, test a few for germination viability by placing them on a damp paper towel in a sealed bag for 5-7 days. If they sprout, your harvest is ready for planting! Save extras for wildflower mixes or crafts like seed paper.
Proper harvesting ensures you’ll have healthy Shasta daisy seedlings next spring. With just a little care, you’ll turn this year’s blooms into next year’s garden staples—no store-bought plants needed! 🌱