
Size
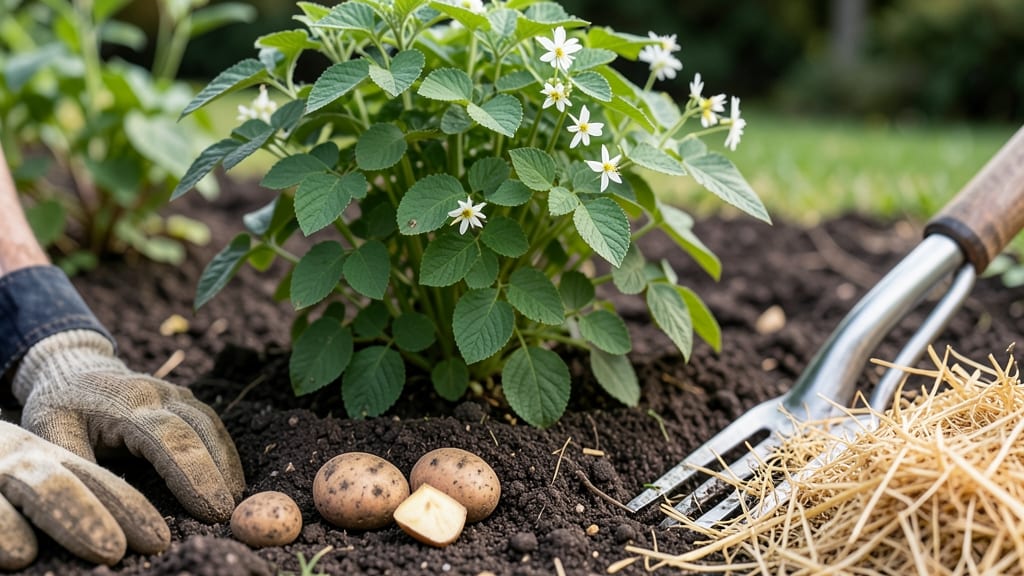
How to grow potatoes in North Carolina rewards you with crisp, homegrown spuds—if you pick the right varieties and timing. 🌱 The key? Choosing cold-hardy types like 'Yukon Gold' or 'Red LaSoda' that thrive in NC's mild winters and humid summers, plus planting after the last frost but before the heat peaks.
Most NC gardeners struggle with two things: soil prep and spacing. Break up heavy clay in the Piedmont with compost, and plant seeds 4 inches deep, 12 inches apart in rows 3 feet wide.
Hill soil around stems as plants grow to prevent greening and boost yield—this works even in containers if space is tight.
By harvest time (usually 90-120 days after planting), you'll dig up potatoes the size of baseballs, especially if you water consistently but avoid soggy soil. The secret weapon? Mulching with straw to keep moisture steady and deter pests like wireworms that love NC's clay-heavy dirt.
Even in humid summers, resistant varieties like 'Kennebec' handle late blight better than store-bought spuds. Time your harvest right—wait until foliage yellows but tubers are firm—and you'll enjoy fresh potatoes straight from your garden all the way into fall.
📚 In This Guide
- What you need
- Instructions
- Tips and common mistakes
- Wrapping up and next steps
What you need
- ● Potato seeds: Choose cold-hardy varieties like Yukon Gold, Red Pontiac, or Kennebec. Buy seed potatoes (not grocery-store spuds!) from a reputable supplier—aim for 3-5 lbs per 100 sq ft.
- ● Garden soil: Well-draining, loamy soil with a pH of 5.0–6.5. Amend with compost (2–3 inches mixed into the top 12 inches of soil) if your soil is heavy clay.
- ● Fertilizer: Balanced organic fertilizer (e.g., 5-5-5 or 10-10-10) – 1 lb per 100 sq ft at planting.
- ● Potassium-rich fertilizer (e.g., 0-0-50) – ½ lb per 100 sq ft when tubers form.
- ● Mulch: Straw or shredded leaves (3–4 inches thick) to retain moisture and regulate soil temperature.
- ● Garden fork or tiller – To loosen soil to a depth of 12 inches.
- ● Garden shovel or spade – For digging trenches or planting holes.
- ● Hoe – For weeding and hilling soil around plants.
- ● Gloves – To protect your hands from dirt and sharp seed potato edges.
- ● Watering can or hose with a gentle spray nozzle – Potatoes need 1–2 inches of water per week.
- ● Harvesting fork or pitchfork – For carefully digging up potatoes without damaging them.
- ● Row covers or frost cloth – To protect early plantings from late frosts (North Carolina’s last frost is typically around April 15).
- ● Plant tags or labels – To track varieties if you’re growing multiple types.
- ● Potato clipper or knife – For cutting seed potatoes into smaller pieces (if needed, ensuring each has at least 2–3 eyes).
- ● Soil test kit – To check nutrient levels before planting ($10–$20 at garden centers).
- ● Drip irrigation system – For consistent moisture, especially in hot summers.
Step-by-step instructions for growing potatoes in North Carolina
Here's how to grow cold-hardy potatoes that thrive in NC's climate—no fancy equipment needed.
🌱 Step 1: Choose the Right Varieties and Planting Time
North Carolina's mild winters and hot summers suit early-maturing varieties like 'Yukon Gold' or 'Red LaSoda.' Plant seed potatoes 4-6 weeks before your last frost date—typically early March in the mountains and late February in the Piedmont. Avoid planting store-bought potatoes; they're treated to prevent sprouting and won't grow well.
Cut seed potatoes into 2-inch chunks with at least one "eye" (the little dimples where sprouts form) per piece. Let them cure in a dark, cool spot for 24-48 hours so the cut surfaces heal. This prevents rot later. I like to store them in an egg carton to keep pieces organized and prevent rolling.
🪴 Step 2: Prepare the Soil and Plant
Potatoes need loose, well-draining soil with a pH between 5.0 and 6.5. Work in 2-3 inches of compost or well-rotted manure before planting to provide nutrients without burning tender roots. Avoid fresh manure—it can cause scab disease and stunted growth.
Plant seed potatoes 4 inches deep and 12 inches apart in rows spaced 3 feet apart. If your soil is heavy clay, mix in 1-2 inches of sand to improve drainage. Cover the potatoes with 3-4 inches of soil, leaving the sprouts exposed. This encourages strong stems to develop before burying them completely.
☀️ Step 3: Hill the Soil and Maintain Moisture
When sprouts reach 6 inches tall, mound soil around the stems up to the top leaves—this is called "hilling." Repeat every 2-3 weeks until the plants flower. Hilling prevents sunlight from turning potatoes green (which makes them bitter) and encourages more tuber formation. You'll know it's time to hill when the soil feels dry 2 inches below the surface—water first, then mound.
Keep the soil evenly moist but not soggy. Potatoes are drought-sensitive, so water 1-1.5 inches per week, especially during flowering and tuber formation. I use a soaker hose to water at the base and avoid wetting the leaves, which reduces disease risk. Mulch with 2-3 inches of straw after hilling to retain moisture and suppress weeds.
⏰ Step 4: Harvest at the Right Time
New potatoes can be harvested 2-3 weeks after flowering by gently digging around the plant with a fork. For a full harvest, wait until the top greens yellow and die back, usually 90-120 days after planting. Dig carefully—potatoes bruise easily, and rough handling shortens storage life.
Cure harvested potatoes in a dark, well-ventilated spot for 1-2 weeks at 50-60°F to thicken their skins. Store them in a cool, dark place (like a root cellar) where temperatures stay between 35-40°F and humidity is high. Properly stored potatoes keep for 4-6 months—longer if you remove any that sprout or soften early.
✂️ Step 5: Rotate Crops and Prevent Common Pests
Potatoes are heavy feeders, so rotate them—don't plant in the same spot next year. Wait 3-4 years before replanting in the same area to prevent disease buildup. Common pests in NC include colorado potato beetles and potato leafhoppers; I handpick beetles and their eggs when I see them.
Watch for scab disease (rough, scaly skin) and blight (brown spots on leaves). Scab thrives in alkaline soil, so test your pH and amend if needed. Blight spreads in wet conditions, so space plants for airflow and avoid overhead watering. If you notice wilting or yellowing leaves, pull affected plants immediately to prevent spread.
Tips & tricks for growing cold-hardy potatoes in North Carolina
Real talk: Growing potatoes in North Carolina isn't rocket science, but these small details make all the difference between a decent harvest and a bumper crop.
Seed Potato Prep: The 24-48 hour curing period after cutting seed potatoes is non-negotiable. I learned this the hard way after losing chunks to rot—those cut surfaces need time to form a protective layer. Store your pieces in an egg carton (trust me on this) to prevent rolling and keep them organized. This simple step prevents disease and ensures even sprouting.
Soil Science: North Carolina's diverse soil types mean you might need to amend yours. If you have heavy clay, mix in 1-2 inches of sand before planting to improve drainage—potatoes hate soggy feet. For sandy soils, add extra compost (2-3 inches) to help retain moisture. Test your soil's pH first; potatoes thrive between 5.0 and 6.5, and adjusting with sulfur or lime can prevent scab disease before it starts.
Hilling Strategy: When your sprouts hit 6 inches, it's time to hill—but don't overdo it. Mound soil just up to the top leaves, not the entire stem. This prevents green (toxic) potato formation while encouraging more tuber growth underground. I like to hill every 2-3 weeks until flowering, always checking soil moisture first. Dry soil? Water before you mound—wet soil sticks better and protects better.
Watering Wisdom: The 1-1.5 inches per week guideline is your baseline, but timing matters more than quantity. Water deeply in the morning so foliage dries quickly, reducing blight risk. I've found that using a soaker hose right at the base (not overhead) prevents leaf diseases while keeping roots happy. And that 2-3 inches of straw mulch? It's not just for looks—it keeps moisture consistent and blocks weeds that compete for nutrients.
Pro Tips for Grow Potatoes In North Carolina
- Real talk: Growing potatoes in North Carolina isn't rocket science, but these small details make all the difference b...
- Seed Potato Prep: The 24-48 hour curing period after cutting seed potatoes is non-negotiable. I learned this the hard...
- Soil Science: North Carolina's diverse soil types mean you might need to amend yours. If you have heavy clay, mix in ...
Frequently asked questions
Got questions about growing potatoes in North Carolina? You’re not alone! Here are some of the most common concerns—plus straightforward answers to help you grow like a pro.
What’s the best time to plant potatoes in North Carolina?
For spring planting, aim for early March to early April when soil temps hit 40–50°F. If you prefer fall planting, late August to early September works—just harvest before hard frost. NC’s mild winters let you try winter planting too (Nov–Dec), but use cold-hardy varieties like Yukon Gold or Red LaSoda.
How long does it take for potatoes to grow in North Carolina’s climate?
Most varieties mature in 90–120 days, but early types (like Red Pontiac) can be ready in 60–70 days. Late blight (a fungal disease) is a bigger risk in NC’s humidity, so plant seed potatoes 2–3 weeks earlier than usual to beat the season. Check your variety’s days-to-maturity tag for precision!
What pests or diseases should I watch for in North Carolina?
NC’s warm, wet springs invite colorado potato beetles, aphids, and late blight. Prevent pests with row covers early on, and rotate crops yearly. For blight, choose resistant varieties like Kennebec or Adirondack Blue. If you spot wilting or brown spots, remove infected plants immediately and avoid watering foliage.
Can I grow potatoes in containers or small spaces in North Carolina?
Use 5-gallon buckets or fabric grow bags (12–18 inches deep) for bush varieties like Red Norland. Fill with well-draining soil, plant seed potatoes 4–6 inches deep, and hill soil as they grow. Containers let you grow potatoes on patios, balconies, or even raised beds—just ensure they get 6+ hours of sun daily.
What’s the best way to store homegrown NC potatoes long-term?
Cure potatoes for 1–2 weeks in a dark, 50–60°F spot (like a garage) to toughen skins. Then store in a cool (40–50°F), humid (85–90%) place—like a ventilated cardboard box or paper bags. Avoid plastic (it causes rot!) and check monthly for sprouts or mold. With proper care, your harvest can last 4–6 months!
Still stumped? Drop your NC-specific potato-growing challenges in the comments—we’ve got answers!
Wrapping up and next steps
Growing potatoes in North Carolina is a rewarding journey that starts with the right cold-hardy varieties and a little patience. From selecting seed potatoes to mastering hilling and pest control, each step brings you closer to a homegrown harvest—fresh, flavorful, and full of pride. 🌱✨
Now that you’re armed with knowledge, why not plant your first batch this season? Start small, experiment with varieties, and soon you’ll be sharing your crisp, homegrown spuds with friends and family. Happy gardening!