
Tools
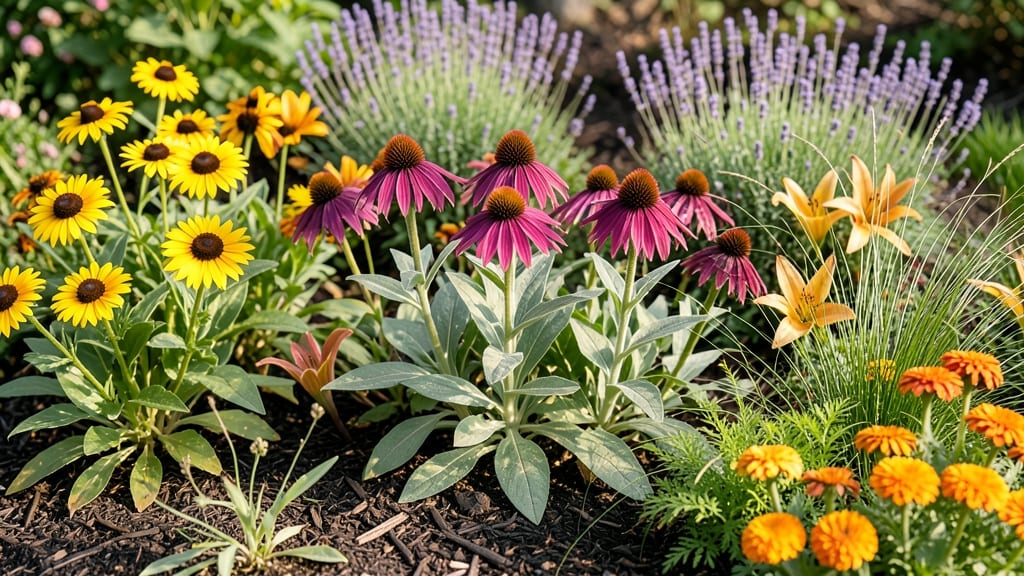
How to draw a flower garden unlocks creativity before the first shovel hits soil. ✨ I’ve turned blank paper into vibrant layouts that actually work in my backyard—no formal training required. The key? Starting with simple shapes and letting your imagination guide the colors and textures.
You’ll need just a few basics: graph paper for spacing, colored pencils or markers for plants, and a ruler to keep lines crisp. Digital apps like SketchUp or even free tools like Canva work too if you prefer screen over paper.
The goal isn’t perfection—it’s planning a garden that excites you to plant.
By the end, you’ll have a stylized map showing where sun-loving blooms thrive, how to layer heights for drama, and where to tuck in fragrant herbs. My first attempt looked like a child’s doodle, but it became the blueprint for a garden that won neighborhood compliments—and still grows beautifully.
This method works for containers, raised beds, or full yards. Once your sketch feels right, you’ll have a clear vision to bring to life—whether you’re planting next week or saving ideas for spring. Let’s get your pencil moving!
📚 In This Guide
- What you need
- Instructions
- Tips and common mistakes
- Wrapping up and next steps
What you need
- ● Drawing Paper: A sketchbook or pad with at least 80gsm (120gsm recommended) for smooth blending and layering.
- ● Pencils: 1 HB or 2B pencil for light sketching and outlines.
- ● 1 4B or 6B pencil for shading and dark accents (e.g., flower centers or shadows).
- ● Eraser: A kneaded eraser (for precision) and a standard white eraser (for bold corrections).
- ● Blending Tools: 1 tortillon or blending stump (for smooth gradients).
- ● 1 soft brush (size 4 or 6) for watercolor or colored pencil blending.
- ● Colored Pencils/Markers: A set of watercolor pencils or alcohol-based markers (e.g., Copic) for vibrant colors.
- ● Watercolor Set: A small pan set with bright floral hues (e.g., pinks, purples, yellows, greens).
- ● Reference Images: Printed photos or a tablet with high-resolution flower garden references for accuracy.
- ● Ruler: A 6-inch metal ruler for straight lines (e.g., garden borders or paths).
- ● Spray Bottle: For lightly misting watercolor paper to prevent streaks.
Tips & tricks for perfect flower garden sketches
Here's how to take your garden sketches from good to stunning with these simple but game-changing techniques.
Simplify with Basic Shapes: In Step 2, when sketching your garden layout, remember that flowers and plants can be broken down into simple geometric shapes. A delphinium might be a tall rectangle with a wavy top, while a rose bush becomes a rounded oval. This approach makes your sketch feel more organized and intentional, even if you're just starting out. Start with these basic shapes before adding details in Step 3.
Use Light Lines First: Throughout all steps, especially when adding flower clusters in Step 3, always begin with light pencil strokes. This allows you to adjust your composition easily before committing to darker lines. I've ruined more sketches than I can count by darkening lines too soon—trust me, it's better to erase than to struggle with stubborn marks later. The HB or 2B pencil mentioned in Step 1 is perfect for this.
Create Depth with Layering: When adding your flower clusters in Step 3, think about depth by placing taller plants in the back and shorter ones in the front. This technique mimics real garden spaces and makes your sketch feel more three-dimensional. You can even use different-sized circles to show varying heights—larger circles for plants in the foreground and smaller ones for those in the distance.
Optional: Add Texture with Cross-Hatching: For a more advanced look, try adding subtle texture to your leaves and flower petals during Step 5. Use light cross-hatching (layered lines) with your pencil or marker to suggest the natural texture of foliage. This technique adds dimension without overwhelming your design. Start with just a few lines and build gradually—you can always erase if you go too heavy!
Pro Tips for Draw Flower Garden
- Here's how to take your garden sketches from good to stunning with these simple but game-changing techniques.
- Simplify with Basic Shapes: In Step 2, when sketching your garden layout, remember that flowers and plants can be broken down into simple geometric shapes.
- Use Light Lines First: Throughout all steps, especially when adding flower clusters in Step 3, always begin with light pencil strokes.
Frequently asked questions
Got questions about drawing a flower garden?
Here are answers to the most common ones to help you create stunning botanical art with ease!
What are the best tools for beginners to draw a flower garden?
Start with a pencil (HB or 2B for sketching), eraser, and paper (smooth, like sketch paper). Add a fine-liner pen (like Micron) for outlines and colored pencils/markers for details. Avoid overcomplicating—simple tools work best!
How long does it take to draw a flower garden?
It depends on your skill level! A basic sketch can take 10-30 minutes, while detailed work (with shading and colors) may take 1-3 hours. Break it into steps—focus on one flower or section at a time to save time.
Can I draw a flower garden without knowing how to draw realistically?
Use stylized shapes (circles for petals, lines for stems) or geometric patterns instead of realism. Look for tutorials on abstract or cartoon-style gardens—they’re just as beautiful and way more forgiving!
What’s the best way to add color without making it look messy?
Start with light layers and build up slowly. Use blending tools (tortillons, cotton swabs) for smooth gradients. For markers, let colors dry slightly between layers. Pro tip: Outline petals first to keep colors contained!
My drawing looks messy—how do I fix it?
Don’t stress! Lightly sketch guidelines (like center points for flowers) to keep shapes consistent. Use an eraser shield to protect clean areas while erasing mistakes. If all else fails, embrace imperfections—they add charm!
How do I draw a flower garden with rain or shadows?
For rain, add wavy lines (like drips) and blurred textures for water. Shadows? Use soft pencil strokes under petals or leaves, then blend lightly. Keep shadows subtle—overdoing them flattens the effect.
Wrapping up and next steps
Drawing a flower garden is all about embracing creativity and patience—you’ve got this! 🌸 Whether you’re sketching delicate petals or lush foliage, remember that every artist starts with a single stroke. Your garden sketch will bloom beautifully with practice, so grab your tools and let your imagination grow.
Ready for more? Take your skills further:
- Experiment with watercolor or colored pencils to add depth.
- Try sketching from real-life flowers for inspiration!
- Share your artwork—join art communities or post on social media!