
How To
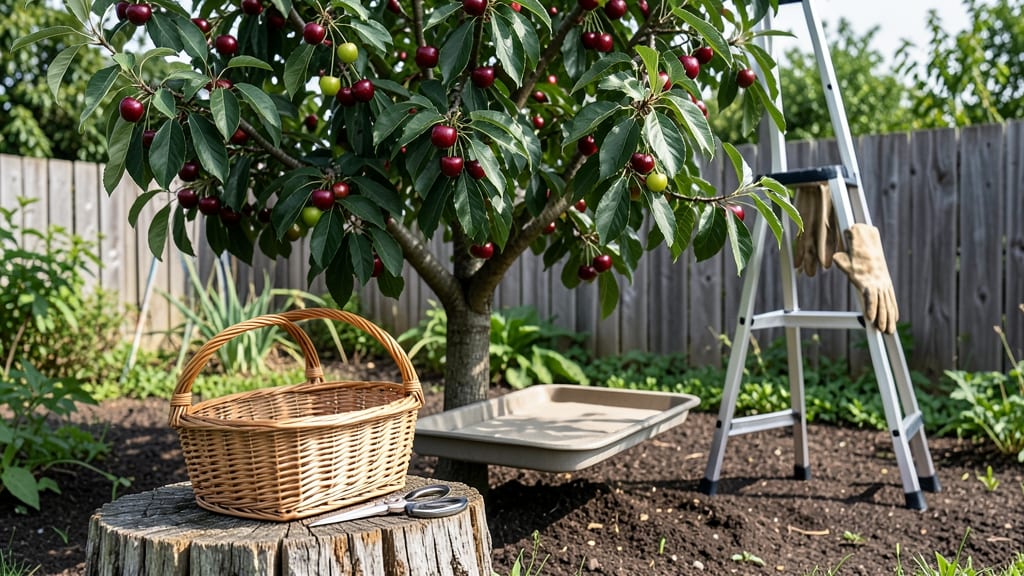
There’s nothing like biting into a perfectly ripe cherry fresh from your own tree—but knowing how to pick cherries from a tree can turn a sweet harvest into a frustrating mess if you’re not careful. 🍒 Whether you’re dealing with a Zone 6 cherry tree or just starting your gardening journey, timing and technique make all the difference between a bucket of juicy gems and a pile of squished disappointment.
The secret to a great harvest lies in watching for those three key signs of ripeness: vibrant color, a slight give when gently squeezed, and stems that twist off cleanly.
Miss these cues, and you’ll either end up with tart, underripe fruit or mushy overripe cherries that birds and pests will snap up before you do. But don’t worry—once you know what to look for, picking becomes easier than ever.
Beyond just spotting ripe cherries, the right tools and methods can save your hands and your harvest. From using a picking pole to avoid ladder mishaps to knowing when to shake (and when not to), small tweaks make a big impact.
And let’s not forget post-harvest care—how you store those cherries after picking determines how long they’ll stay fresh and delicious.
In this guide, I’ll walk you through the exact steps I use to harvest cherries like a pro, including the best time of day to pick, how to handle different varieties, and even how to tell if your cherries are already too late for the table.
Ready to turn your cherry tree into a bounty? Let’s get started.


When to pick cherries: signs of perfect ripeness and best harvest timing
Timing your cherry harvest is everything—pick too early, and you’ll get tart, mealy fruit; too late, and you’ll end up with a fermented mess that attracts pests. The best time to pick cherries depends on three key ripeness indicators: color, firmness, and stem separation.
For most varieties, this window falls between late June and early August, but regional climates and tree maturity can shift this by 1-2 weeks.
Start by checking the fruit color. Sweet cherries (like Bing or Rainier) turn a deep red or yellow, while tart varieties (such as Montmorency) darken to a rich purple or black. Avoid picking cherries that are still pale or unevenly colored—they won’t ripen further off the tree.
Pro tip: Use a cherry color chart if you’re unsure, as some varieties have subtle shade differences at peak ripeness.
The firmness test is your next clue. A perfectly ripe cherry should yield slightly to gentle pressure but not feel mushy. Press a cherry between your thumb and forefinger—if it gives just enough to leave a faint print but doesn’t bruise, it’s ready.
Overripe cherries will feel soft and squishy, while underripe ones will feel hard as a rock.
The stem test is the most reliable way to judge ripeness. Grasp a cherry and twist the stem gently—if it twists off cleanly (like unscrewing a jar lid), the cherry is ready. If the stem snaps or resists, it’s not ripe yet.
This test works even for cherries that look colored but aren’t fully sweet. For large trees, test stems from different branches to account for uneven ripening.
Watch for wildlife cues too! When birds and squirrels start feasting on your cherries, it’s a sign they’re ripe. However, don’t wait until the tree is stripped bare—harvest in 2-3 day intervals to stay ahead of pests.
If you notice cracked or split cherries, these are overripe and should be picked immediately, as they’ll ferment quickly and attract fruit flies.
Morning is the ideal time to pick cherries because the fruit is cooler and firmer, reducing bruising. Avoid picking after a hot day or heavy rain, as cherries can be softer and more prone to damage.
If you must pick in the afternoon, work quickly and store cherries in the fridge within 2 hours to preserve freshness.
Regional timing matters! In Zone 6 (like much of the Midwest), cherries typically ripen in late July. But if you’re in Zone 8 or 9 (Southern California, Florida), your harvest might start as early as June.
Check your local frost dates too—cherry trees need chilling hours (300-900, depending on variety) to fruit properly, so late-spring frosts can delay ripening.
For first-time cherry growers, it’s easy to overlook subtle ripeness clues. Start by picking a small batch and tasting them—if they’re sweet and juicy, you’ve nailed it.
If they’re still tart, wait another 2-3 days. Remember, cherries won’t ripen further once picked, so timing is critical for flavor and texture.
Once you’ve mastered the art of spotting ripe cherries, your harvest will be sweeter, fresher, and more abundant. Next, we’ll cover the best tools and techniques to pick cherries without bruising a single one—plus how to handle overripe fruit before it becomes a pest magnet. 🍒🌡️✂️
Step-by-step cherry picking techniques to avoid bruising and maximize yield
Picking cherries the right way prevents bruising and ensures your harvest stays fresh longer. Start by selecting a cool morning after dew has dried—this minimizes fruit damage and makes stems easier to twist off cleanly.
Wear gloves to protect your hands from thorns and stains, and bring a small bucket or harvest basket with you to avoid dropping cherries.
For hand-picking, gently grasp the cherry between your thumb and forefinger, then twist the stem clockwise until it separates cleanly. Avoid pulling straight down, which can tear the fruit.
If cherries are high up, use a cherry picking pole with a small hook or basket to reach branches without climbing.
For larger harvests, shaking branches can work—but only if you’ve already checked for ripeness. Place a large tarp or sheet beneath the tree to catch fallen cherries, then gently shake branches. Sort through the pile immediately to remove unripe or damaged fruit, as these spoil faster.
Leave cherries on the tree too long, and they’ll ferment, attracting pests like fruit flies and wasps. Harvest in small batches every 2-3 days during peak season to stay ahead of spoilage.
When handling cherries, never stack them in piles—this causes bruising. Instead, place them in a single layer in shallow containers. For storage, keep cherries in the fridge (not the crisper drawer) for up to 1 week, or freeze them for longer-term use.
If you notice mold or soft spots, discard those cherries immediately to prevent the rest from spoiling.
Pro tip: Pick cherries when they’re slightly underripe if you can’t eat them all at once. They’ll ripen at room temperature over 1-2 days, but never refrigerate until fully ripe—cold temperatures can dull their flavor.
After harvesting, prune any damaged branches and remove fallen fruit to reduce disease risk. A well-maintained tree will reward you with bigger yields next season! 🍒✂️🌳