
How To
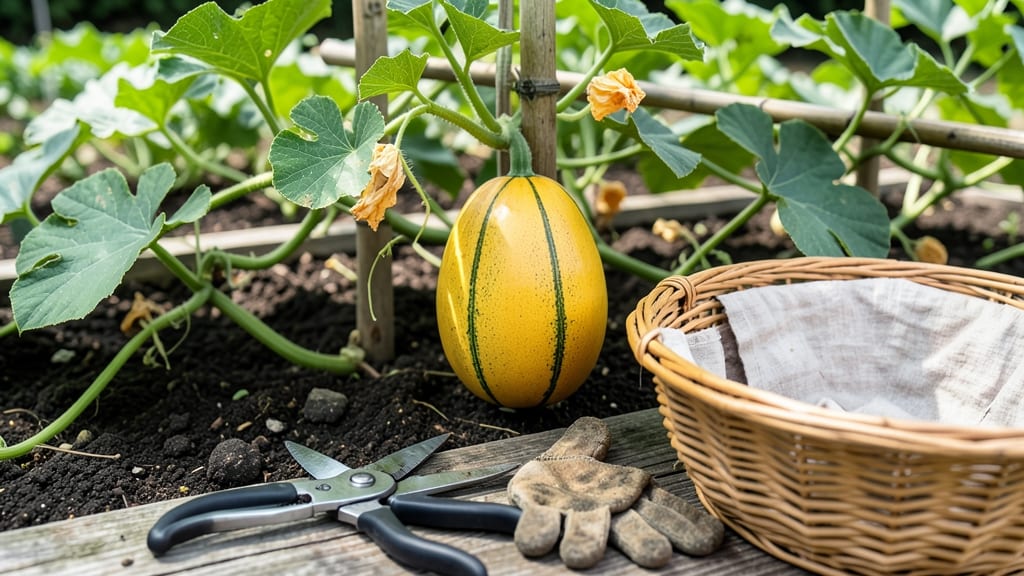
That moment when you bite into a Canary Melon 🍈 and it’s perfectly sweet—versus the disappointment of a rock-hard or bland one—all comes down to how to pick a Canary Melon. Learning the right moment means the difference between a flavor explosion and a wasted harvest.
Most gardeners assume ripeness is all about color, but there’s more to it. The secret lies in combining visual cues with simple touch tests—no knife required. I’ll show you exactly what to look for so you never second-guess your harvest again.
From checking the stem’s dryness to testing firmness, these 3 easy tricks will help you pick melons that burst with flavor. Whether you’re harvesting from your garden or selecting at the farmers' market, these tips ensure you bring home the best.
Ready to master the art? Let’s dive into the foolproof way to tell when your Canary Melon is truly ripe—and how to avoid the most common mistakes that ruin the taste.


3 Visual and tactile tests to check canary melon ripeness
Picking a canary melon at its peak ripeness means no more mushy disappointments or bland, underripe fruit. The secret lies in three simple tests you can do right in your garden—or at the farmers' market—without ever cutting into it.
These science-backed indicators focus on what you can see, feel, and sometimes even smell to guarantee that perfectly sweet flavor and texture.
First, let’s tackle the color transformation. A ripe canary melon should transition from its initial green hue to a vibrant, even yellow-orange shade. Think of it like a ripe banana—just without the squishiness.
The rind should be uniformly colored, with no lingering green patches near the stem, which often means the fruit was harvested too early.
Here’s where it gets fun: the stem check. When a canary melon is ready, its stem will feel dry and papery, almost like crumpled tissue paper. If you gently tug and it separates easily, that’s your cue to pick it.
A green, plump stem is a red flag—it means the melon still has days (or even weeks) until full ripeness.
- Color Test: Look for uniform yellow-orange rind with no green spots.
- Stem Test: Stem should be dry and papery—tug gently to confirm.
- Weight & Feel Test: Pick a melon that feels heavy for its size and yields slightly when pressed.
The third test is all about weight and texture. A ripe canary melon should feel heavy for its size, almost like it’s packed with juice.
When you gently squeeze the melon near the stem, it should give just a tiny bit—think of it as the "slightly soft" test. If it feels rock-hard, it’s not ready yet. Conversely, if it’s too mushy, it’s overripe and past its prime.
Bonus tip: Give it a sniff test. A ripe canary melon will have a sweet, floral aroma near the stem. If it smells dull or musty, it’s not ready. This scent is your melon’s way of saying, "I’m perfect—pick me now!"
Pro tip: Morning is the best time to pick your canary melons. The cooler temperatures help preserve their freshness, and you’ll avoid the afternoon heat that can make them overripe faster. Plus, morning melons tend to have brighter colors and a more intense aroma.
If you’re shopping at a market, ask the vendor when they harvested the melons. Many stores pick fruit early to ship it, so you might need to ripen it at home (we’ll cover that in the bonus section!).
But if you’re growing your own, these tests will ensure you’re harvesting at the peak of sweetness every time.
Remember, patience pays off. If your melon isn’t quite there yet, leave it on the vine for another day or two. A perfectly ripe canary melon is worth the wait—its creamy texture and honey-like sweetness are unmatched when you nail the timing.
Now that you’ve mastered the art of picking, let’s talk about what to avoid—because even with these tricks, some melons still end up disappointing. Stay tuned for the next section on common mistakes that turn sweet dreams into bland reality.
3 Visual and tactile tests to check canary melon ripeness
Canary melons are sweetest when picked at peak ripeness, but many gardeners struggle to tell the difference between just-right and underripe fruit. The good news? You don’t need to cut one open to test ripeness—just use these three simple tests backed by melon science.
These tricks work for both homegrown and store-bought melons, ensuring you never bring home a bland or rock-hard disappointment again.
First, focus on the rind color. A ripe canary melon will have a uniform yellow hue with no lingering green patches. The yellow should cover at least 75% of the melon’s surface, signaling the sugars have fully developed.
If you spot green spots, the melon needs more time on the vine—those areas stay tough and bitter. This color shift happens naturally as the melon matures, so don’t rush it.
Next, examine the stem attachment. The stem should feel dry and papery, almost like it’s ready to fall off with a gentle tug. If you pull and it resists, the melon isn’t ripe yet.
This dryness indicates the plant has stopped feeding the fruit, allowing sugars to concentrate. Pro tip: Gently twist the stem—if it separates easily, you’ve got a winner. If it snaps cleanly, it’s overripe.
Finally, perform the gentle squeeze test. A ripe canary melon should feel heavy for its size and yield slightly when pressed with your fingertips—think of the give in a ripe peach, not the hardness of an unripe apple. If it feels hollow or too firm, it needs more time.
Overripe melons, on the other hand, will feel mushy or have a fermented scent, so trust your nose too! This tactile check is your best friend when shopping at farmers' markets.
Bonus tip: Give the melon a light shake. A ripe canary melon will feel solid and dense inside, while an unripe one sounds hollow. This trick works especially well for melons still on the vine—shake it gently, and if it rattles, it’s not ready yet.
Combine all three tests for foolproof results every time.
Mastering these tests means you’ll always pick canary melons at their peak sweetness, whether you’re harvesting from your garden or selecting at the store. No more bland or hard melons—just perfectly ripe fruit every time! 🌱