
How To
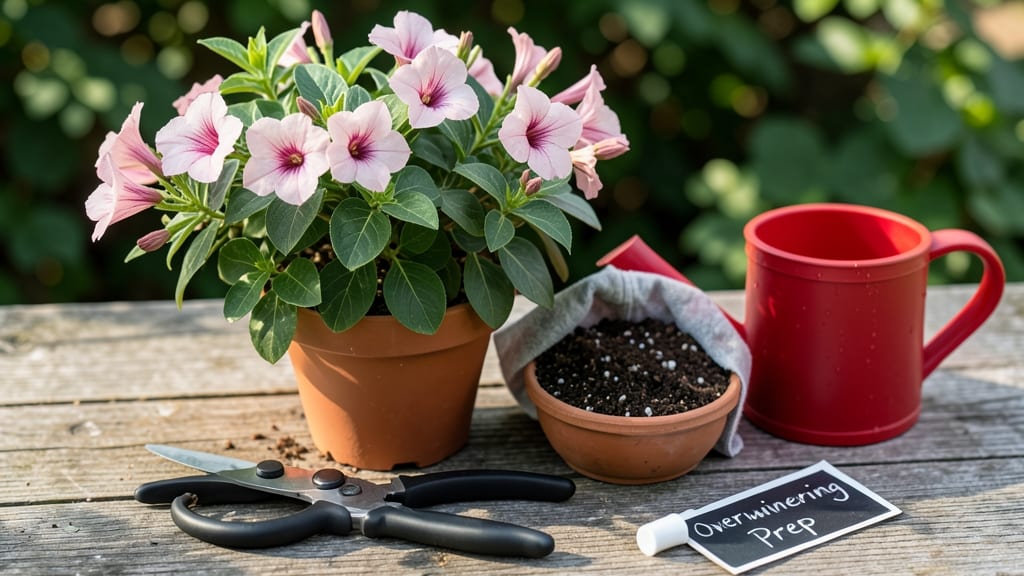
Your Dipladenia’s vibrant blooms don’t have to disappear when frost arrives. ✨ I’ve overwintered mine for three winters now, and the secret is treating dormancy like a delicate hibernation—not a death sentence. These tropical beauties just need the right conditions to wake up stronger in spring.
The key is replicating their natural environment: bright but indirect light, cool (not cold) temperatures, and minimal water. Most people overwater during dormancy, thinking the plant is thirsty—it’s not.
You’ll know it’s ready to wake when new growth appears, usually by late winter. Prune back by one-third before bringing it indoors, and watch for those first tentative leaves.
By spring, your Dipladenia will rebound with even more vigorous blooms than before. The trick is consistency—no sudden temperature swings or drafts. Even a slight chill can shock the roots, so keep it near a sunny window or under grow lights.
Patience pays off: with proper care, you’ll have a plant that flowers from June through October.
This method works for both potted plants and those in containers you can move indoors. The only difference is adjusting watering frequency—once every 2-3 weeks is plenty during dormancy. Let’s get your Dipladenia through winter unscathed and ready to shine again.
📚 In This Guide
- What you need
- Instructions
- Tips and common mistakes
- Wrapping up and next steps
What you need
- ● Dipladenia plant(s) – Healthy, potted plants (1-3 per container, depending on size).
- ● Well-draining potting mix – A blend of cactus/succulent mix (50%) + perlite or coarse sand (30%) + peat moss (20%) for aeration.
- ○ Larger container (optional but recommended) – 1-2 inches wider/deeper than current pot for root expansion (if repotting).
- ● Drainage tray or saucer – To catch excess water and prevent root rot.
- ● Pruning shears – Sharp, sterilized shears (clean with rubbing alcohol).
- ● Slow-release fertilizer – Balanced 10-10-10 or 20-20-20 (1 tbsp per gallon of soil, applied before dormancy).
- ● Grow lights or LED bulbs – Full-spectrum 6500K (12-14 hours/day during winter).
- ● Thermometer/hygrometer – To monitor temps (ideal: 50–60°F) and humidity (40–60%).
- ● Bright, indirect light source – South-facing window or grow lights (avoid direct sun).
- ○ Cooling system (optional) – Frost-free refrigerator (set to 40–50°F) or unheated garage (if temps stay above 32°F).
- ● Humidity tray or pebble tray – Fill with water + pebbles to increase moisture (especially for dry-air environments).
- ● Misting bottle – For occasional light misting (avoid soggy leaves!).
- ● 💡 Skip the fertilizer during dormancy—wait until spring to resume feeding.
- ● 🌡️ No freezing! Dipladenia cannot tolerate temps below 32°F—move indoors before the first frost.
- ○ ✨ Root pruning (optional): Gently tease roots if repotting to encourage new growth.
Step-by-Step instructions for overwintering dipladenia
Here's how I protect my dipladenia through winter—keeping those vibrant blooms coming year after year.
🌱 Step 1: Prune Back and Reduce Watering
When nighttime temperatures dip below 50°F, it's time to act. First, trim back the stems by half, cutting just above a leaf node. This encourages new growth in spring and prevents the plant from wasting energy maintaining dead foliage. I use clean, sharp pruners to make 45-degree cuts—this helps water run off and prevents rot.
Next, reduce watering dramatically. Dipladenia stores water in its stems, so you want the plant to enter dormancy gradually. Water only when the top 2 inches of soil feel completely dry—usually every 2-3 weeks in winter. Overwatering now is the fastest way to invite root rot, especially in cool, damp conditions.
🪴 Step 2: Move to a Cooler, Bright Location
Dipladenia thrives in warmth but needs a cool, dry rest in winter. Move your plant to a spot where temperatures stay between 45-55°F—a garage with indirect light or a north-facing windowsill works well. Avoid basements unless they're well-ventilated, as stagnant air and humidity can stress the plant.
Keep it near a window where it gets bright, indirect light for 4-6 hours daily. You'll notice the leaves may yellow or drop—this is normal! The plant is conserving energy for spring. If leaves persist, it's a sign the plant isn't getting enough rest and may struggle to rebloom.
⏰ Step 3: Monitor and Adjust for Dormancy
Check your dipladenia every 2-3 weeks for signs of stress. If stems feel soft or mushy, you're overwatering—reduce frequency immediately. If the soil stays bone-dry for weeks, mist the leaves lightly to maintain some humidity, but avoid soggy soil at all costs.
This is also the time to inspect for pests. Dipladenia can attract spider mites or mealybugs in dry indoor air. Wipe leaves gently with a damp cloth if you spot any webbing or sticky residue. A neem oil spray (mixed per package instructions) applied every 4 weeks keeps pests at bay without harming the plant.
☀️ Step 4: Prepare for Spring Revival
In late winter, when daytime temperatures consistently rise above 60°F, it's time to wake your dipladenia. Increase watering gradually—soak the soil when the top inch feels dry, then let it drain completely. You'll see new growth within 2-3 weeks as a sign it's breaking dormancy.
Move the plant back to its sunny, warm spot (full sun to partial shade) and resume regular care. Prune again lightly if stems look leggy, and fertilize with a balanced liquid fertilizer (10-10-10) diluted to half strength. This jumpstarts blooming for the upcoming season—your reward for careful winter care!
Tips & tricks for perfect dipladenia dormancy care
Keeping your dipladenia thriving through winter takes thoughtful adjustments—here's how to avoid common pitfalls and ensure a strong spring revival.
Pruning Precision: When you trim back stems by half in Step 1, focus on cutting just above a leaf node where new growth will emerge. I've learned the hard way that cutting too close to the node can compromise next year's blooms. Use a clean, sharp pruner to make crisp cuts—dull blades crush stems and invite rot. The 45-degree angle isn't just for aesthetics; it helps water bead away from the cut rather than pool and cause decay.
Temperature Transition: The 45-55°F range in Step 2 is critical for dormancy. If your garage or indoor space runs cooler than 45°F, consider moving the plant closer to a window or adding a small space heater (set to low) to maintain that sweet spot. Too cold, and the plant may struggle to revive; too warm, and it won't properly rest. I've seen dipladenia wake up too early in 60°F conditions, only to get shocked by sudden cold snaps.
Light Management: That 4-6 hours of bright indirect light in Step 2 is non-negotiable for winter survival. If your north-facing window doesn't provide enough light, supplement with a grow light for 2-3 hours daily. Watch for leaves that stay green instead of yellowing—this is your plant's way of saying it's not getting enough rest. I've had plants that looked fine all winter only to produce sparse blooms because they didn't get true dormancy.
Pest Prevention: The 4-week neem oil schedule in Step 3 is your best defense against winter pests. I've found that spider mites particularly love dry indoor air, and they can devastate a plant before you notice. Apply neem oil in the evening when bees aren't active, and always mix it fresh—old solutions lose effectiveness. A preventive spray every 4 weeks is better than waiting until you see webbing.
Pro Tips for Overwinter Dipladenia
- Keeping your dipladenia thriving through winter takes thoughtful adjustments—here's how to avoid common pitfalls and ensure a strong spring revival.
- Pruning Precision: When you trim back stems by half in Step 1, focus on cutting just above a leaf node where new growth will emerge.
- Temperature Transition: The 45-55°F range in Step 2 is critical for dormancy.
Frequently asked questions
Got questions about keeping your dipladenia thriving through winter? You’re not alone! Here are some of the most common concerns—and straightforward answers—to help you overwinter with confidence.
What’s the best temperature range for overwintering dipladenia?
Dipladenia thrives in cool but not freezing conditions. Aim for 45–55°F (7–13°C) during the day and slightly cooler at night. Avoid drafts or sudden temperature swings, which can stress the plant. A garage, basement, or unheated sunroom works well if humidity stays moderate.
When should I bring my dipladenia indoors for winter?
Start moving your dipladenia indoors before the first frost—typically late September to early November, depending on your climate. Watch for yellowing leaves or slowed growth, which signal it’s time to transition. Harden off the plant gradually to prevent shock from sudden temperature changes.
Can I overwinter dipladenia in pots outdoors?
Yes, but only if your winters are mild (above 25°F/-4°C). Use insulated pots or wrap the container in bubble wrap, then bury it in mulch or straw for extra protection. Group pots together to share warmth, and avoid soggy soil—drainage is key to preventing root rot.
What do I do if my dipladenia drops leaves or looks sick during dormancy?
Don’t panic! Leaf drop is normal—dipladenia sheds foliage to conserve energy. If you spot mushy stems, brown spots, or mold, it’s likely overwatering or fungal issues. Reduce watering to every 2–3 weeks and ensure the area has good airflow. Prune dead growth to encourage fresh spring regrowth.
How do I know when it’s safe to bring my dipladenia back outside in spring?
Wait until nighttime temperatures stay above 50°F (10°C) for at least a week. Start by placing the plant in a shady, sheltered spot for a few hours daily, then gradually increase sun exposure. Watch for new growth—this is your cue that it’s adapting well!
Wrapping up and next steps
Overwintering your dipladenia doesn’t have to be stressful—with the right care, you’ll keep those vibrant blooms thriving year after year! 🌿 By following these simple steps—like pruning, protecting from frost, and adjusting watering—you’re setting your plant up for a stunning comeback in spring. Your next step? Grab your supplies, give your dipladenia some TLC, and watch it reward you with even more gorgeous flowers next season!