
Vegetables
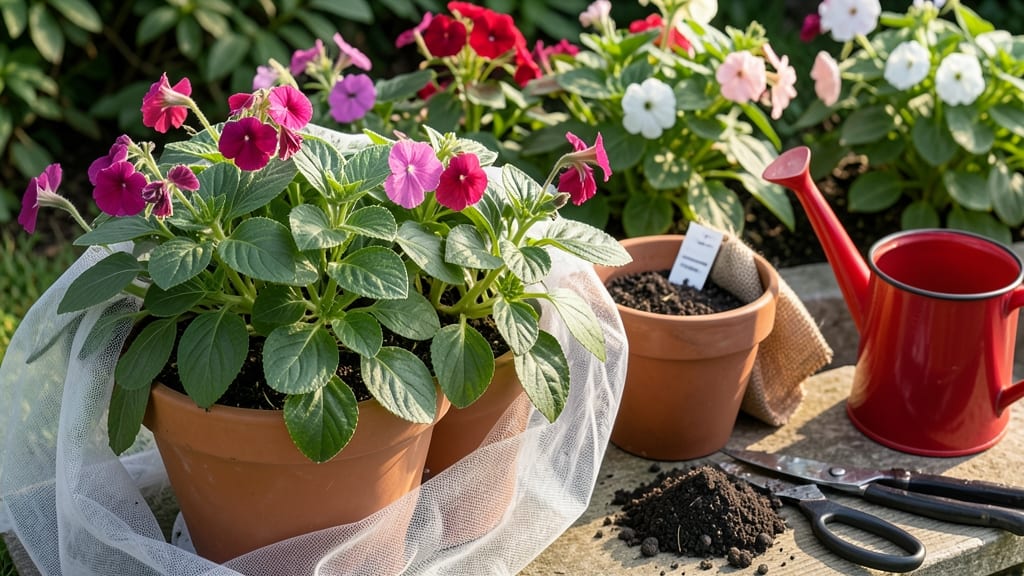
How to over winter impatiens saves you from replanting every spring. ✨ These shade-loving darlings can live through winter with the right prep—cutting back, adjusting light, and protecting roots from frost. I’ve brought mine through three winters now, and they bounce back with even more vibrant blooms than before.
The secret isn’t complicated: trim them back by half after frost, move pots indoors (or mulch heavily in the ground), and keep them in bright but cool light.
Most people overwater in winter, which drowns roots—let the soil dry slightly between waterings. A single south-facing window or grow light keeps them alive until spring.
By late winter, you’ll see fresh growth shooting up, and by May, those familiar red, pink, or white blooms will return. The plants stay compact, healthy, and ready to spill over containers or garden beds again. It’s like hitting the reset button for next season’s show.
Works for both container-grown impatiens and those in garden beds—just adapt the method to your climate. Here’s how to do it without losing a single plant to winter’s chill.
📚 In This Guide
- What you need
- Instructions
- Tips and common mistakes
- Wrapping up and next steps
What you need
- ● Healthy impatiens plants: Choose well-established, disease-free plants (avoid those with yellowing leaves or pests!).
- ● Containers: 1–2 clean, well-draining pots per plant (6–8 inches in diameter). Use plastic or terracotta—your call!
- ● Potting mix: 1 bag (1–2 cubic feet) of high-quality, sterile seed-starting mix or a blend of peat moss, perlite, and vermiculite (50/25/25 ratio).
- ● Pruning shears: 1 pair of sharp, sterilized shears (rubbing alcohol wipe between cuts!).
- ○ Rooting hormone (optional but helpful): 1 small bottle (e.g., Clonex or similar) to boost root growth.
- ● Grow lights or sunny windowsill: A 4–6 foot LED grow light (or a south-facing window) for 12–14 hours of light daily.
- ● Humidity dome or plastic wrap: 1–2 small domes or a clear plastic bag to retain moisture while rooting.
- ● Watering can or spray bottle: 1 with a fine mist setting to avoid overwatering.
- ● Thermometer: 1 indoor/outdoor thermometer to monitor temps (ideal range: 60–70°F during dormancy).
- ● Fungicide: 1 bottle (e.g., copper-based) to prevent mold or rot if humidity runs high.
- ● Slow-release fertilizer: 1 small pack (e.g., Osmocote) to feed plants lightly in early spring.
- ● Growth regulator: 1 bottle (e.g., B-Nine) to compact stems and encourage bushier growth post-dormancy.
- ● Label markers: 1 pack to tag plants by variety (trust us, you’ll forget!).
- ● Heating mat (for cold climates): 1–2 small mats (if temps drop below 55°F).
Tips & tricks for overwintering impatiens
These small details make all the difference when bringing your impatiens through winter successfully.
Pruning Precision: When cutting back in Step 1, make your snips at a slight angle just above the growth nodes—this creates a larger surface area for new growth to emerge. I've found that using sterilized pruners (dipped in rubbing alcohol) prevents introducing any hidden pathogens to your plants. For larger plants, work in stages over a few days to avoid shocking the entire plant at once.
Rootball Division Strategy: In Step 2, aim for divisions with at least 3-4 stems each, but don't force it—smaller divisions with 2-3 stems can work too, as long as they have good root systems. The key is ensuring each section has a healthy mix of roots and foliage. I like to use a clean, sharp knife to gently separate stubborn roots if my fingers can't do the job without damage.
Light Management: For Step 3's 12 hours of grow light, position the light source 6-12 inches above the plants to mimic natural sunlight intensity. Too close can scorch leaves, while too far away won't provide enough energy for photosynthesis. I use a simple LED grow light on a timer—it's more energy-efficient than keeping lights on manually. Watch for signs of leggy growth, which means they need more light.
Storage Environment: When storing at 40-50°F in Step 4, add a small tray of water with pebbles beneath the pots to increase humidity slightly—this prevents the soil from drying out completely between your 4-6 week checks. I've had success using a clear plastic bin with ventilation holes to create a mini greenhouse effect while still keeping it dark. Just be sure to remove any condensation that forms on the sides.
Pro Tips for Over Winter Impatiens
- These small details make all the difference when bringing your impatiens through winter successfully.
- Pruning Precision: When cutting back in Step 1, make your snips at a slight angle just above the growth nodes—this creates a larger surface area for new growth to emerge.
- Rootball Division Strategy: In Step 2, aim for divisions with at least 3-4 stems each, but don't force it—smaller divisions with 2-3 stems can work too, as long as they have good root systems.
Frequently asked questions
Got questions about saving your impatiens through winter? Here are some of the most common concerns—and their answers—to help you prep like a pro!
Can impatiens survive winter outdoors in cold climates?
Most impatiens (Impatiens walleriana) are tender perennials and won’t survive freezing temps (below 30°F/-1°C). However, cold-hardy varieties like Impatiens capensis (jewelweed) or Impatiens balsamina can tolerate light frost. For tropical impatiens, dig them up before the first frost and overwinter indoors.
When is the best time to harvest and overwinter impatiens?
Time it right! Start 4–6 weeks before your first frost date (usually late summer/early fall). Wait until after flowering slows but before hard frost—ideally when temps drop to 50°F (10°C). This gives plants time to adjust to indoor conditions without stress.
What’s the easiest way to overwinter impatiens indoors?
Use 6–8 inch pots with well-draining soil, place in a cool (50–60°F/10–15°C), bright spot (like a sunroom), and reduce watering to prevent rot. Prune back by ⅓ before bringing them inside to minimize pests. No grow lights needed—just natural light!
How do I prevent pests or diseases when overwintering impatiens?
Inspect plants weekly for spider mites, aphids, or whitefly. Quarantine new plants for 2 weeks before introducing them to your collection. Prune yellowing leaves immediately to stop fungal spread. Mist leaves occasionally in dry indoor air to deter pests.
Can I overwinter impatiens in a garage or basement?
Yes, but avoid unheated basements or damp garages—consistent 50–60°F (10–15°C) temps and humidity control are key. If using a garage, add a small fan for airflow and group plants together to retain moisture. No direct drafts or freezing windows!
Will my overwintered impatiens bloom as well next year?
With proper care, yes! Prune back heavily in early spring (March/April) to encourage new growth. Fertilize lightly with a balanced 10-10-10 mix when repotting, and gradually acclimate them to outdoor light before transplanting. Patience pays off—blooms may be slightly delayed but just as vibrant!
Wrapping up and next steps
Overwintering impatiens might seem tricky, but with the right care—like trimming, proper storage, and a little patience—you can bring back those vibrant blooms year after year! 🌱 Remember, healthy plants start with the right prep, so take your time with each step.
Now that you’re armed with tips and tricks, why not give it a try? Grab those shears, gather your supplies, and get ready to enjoy next season’s stunning impatiens—your future garden will thank you!
Next step: Mark your calendar for late winter or early spring to repot and transition your impatiens back outside. Happy gardening! 🌸