
Blooming
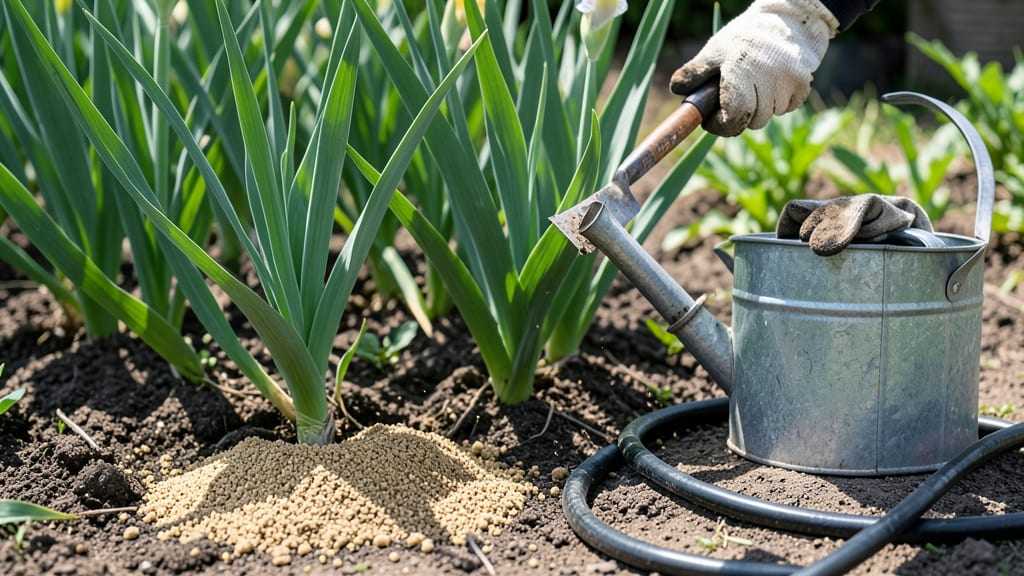
Your irises are hiding their purple magic—until now. 🌸 The secret to blooms isn’t mystery; it’s sunlight, soil, and timing. I’ve turned my once-sleepy clumps into a riot of color by fixing just three things most gardeners miss.
Start with full sun (6+ hours daily) and well-draining soil—irises hate soggy feet. Amend heavy soil with sand or gravel, and fertilize lightly in early spring with a balanced 10-10-10. The key? Pruning spent blooms at the base after they brown, never cutting the fan-shaped leaves.
By next spring, you’ll see fat, plump buds pushing through—proof the rhizomes are happy. Overcrowding? Divide clumps every 3-4 years in late summer. And if blooms still refuse? Check for nitrogen overload (too much = leafy monsters, no flowers). This works for bearded, Siberian, and even reblooming varieties.
Let’s wake up those dormant buds!
📚 In This Guide
- What you need
- Instructions
- Tips and common mistakes
- Wrapping up and next steps
What you need
- ● Iris rhizomes: Healthy, dormant rhizomes (preferably bearded irises for beginners). Aim for 3–5 rhizomes per plant, depending on desired clump size.
- ● Well-draining soil: A mix of 60% garden soil, 30% compost, and 10% coarse sand or perlite (to prevent rot). Irises hate soggy roots!
- ● Sunlight: A full-sun location (6+ hours of direct sunlight daily). Partial shade may reduce blooms.
- ● Watering can or hose: With a gentle spray nozzle to avoid displacing rhizomes.
- ● Pruners or sharp scissors: Clean, sterilized (rubbing alcohol or bleach wipe) to avoid disease spread.
- ● Organic mulch: 2–3 inches of straw or wood chips (keep it 3+ inches away from rhizomes to prevent rot).
- ● Fertilizer: Balanced granular fertilizer (10-10-10) or low-phosphorus formula (5-10-10) for established plants.
- ● Bone meal (1–2 tbsp per plant) at planting time for phosphorus (encourages root growth).
- ● Soil pH test kit: Irises thrive in slightly acidic to neutral soil (pH 6.0–7.0). Adjust with lime or sulfur if needed.
- ● Slow-release fertilizer spikes: For hassle-free feeding over 3–6 months.
- ● Garden gloves: To protect hands from rhizome sap (can irritate skin).
- ● Stakes or trellis: If growing tall bearded irises (e.g., ‘Florence Scott’), to support blooms in windy areas.
- ● Compost tea or fish emulsion: For a natural nutrient boost during the growing season.
Step-by-Step instructions for encouraging iris blooms
Here’s how to transform your irises from leafy stalks into a vibrant, blooming display every season.
☀️ Step 1: Position for Maximum Sunlight
Irises demand full sun—at least 6-8 hours daily—to produce their signature blooms. I always check my garden’s sun patterns first: mark the sunniest spot with a stake, then move irises there if needed. Even partial shade can weaken flower production, leading to sparse or no blooms.
If your yard lacks full sun, consider container growing. Place pots where they’ll receive morning sun and afternoon shade, but prioritize south-facing exposures. You’ll notice a difference within a single season—plants in full sun develop thicker rhizomes and more robust flower stalks.
🪴 Step 2: Amend Soil for Optimal Drainage and Nutrition
Irises thrive in well-draining soil with a slightly alkaline pH (around 6.8-7.4). I mix in sand or grit to prevent waterlogging, which rots rhizomes. For heavy clay soil, dig in a 2-inch layer of coarse sand or perlite before planting. Avoid rich, organic soil—too much nitrogen promotes leafy growth at the expense of blooms.
Top-dress with a balanced 10-10-10 fertilizer in early spring, then again after blooming. I use a slow-release granular formula to avoid burning the rhizomes. Water deeply after fertilizing to help nutrients penetrate the soil. This ensures the plant directs energy toward flower production, not just foliage.
✂️ Step 3: Prune Strategically After Blooming
Never cut back iris foliage until it turns completely brown—this is how the plant stores energy for next year’s blooms. I wait until late summer or early fall, then trim the dead leaves to 2-3 inches above the rhizome. This prevents disease and keeps the plant tidy without sacrificing next season’s flowers.
Remove spent flower stalks at the base immediately after blooming. This redirecting energy back to the rhizome encourages stronger growth for the following year. I also thin out crowded clumps every 3-4 years, dividing rhizomes in early spring when new shoots appear. This rejuvenates the plant and prevents overcrowding, which stifles blooming.
💧 Step 4: Water Deeply but Infrequently
Irises are drought-tolerant once established, but they need consistent moisture during their first growing season. Water deeply 1-2 times per week during dry spells, ensuring the soil drains freely. Overwatering is the fastest way to kill rhizomes—always let the top 2-3 inches of soil dry out between waterings.
I avoid overhead watering, which can cause fungal issues. Instead, use a soaker hose or drip irrigation to deliver water directly to the soil. Mulch lightly with gravel or coarse sand to retain moisture while preventing rot. This balance keeps rhizomes healthy and encourages robust blooming.
⏰ Step 5: Time Fertilization for Peak Performance
Apply a phosphorus-heavy fertilizer (like 5-10-5) in early spring to promote blooming. I skip nitrogen-heavy feeds—too much leaf growth means fewer flowers. After blooming, switch to a balanced formula to rebuild the plant’s energy reserves. Always water thoroughly after fertilizing to prevent root burn.
I also add a handful of bone meal to the soil in early spring. The phosphorus boosts flower production dramatically, and the slow release means I don’t have to fertilize again until fall. This timing ensures the plant is ready to burst into color when the season warms up.
Tips & tricks for perfect iris blooms
These subtle adjustments will transform your irises from leafy stalks into a stunning floral display every season.
Sunlight Strategy: The 6-8 hours of daily sunlight in Step 1 is non-negotiable for blooms, but here's the secret: track your garden's sun patterns for at least a week first. Use a simple solar tracker app to identify the true sunniest spot—this prevents moving plants unnecessarily. Morning sun (6am-12pm) is most critical, so prioritize south-facing locations in the Northern Hemisphere. If your yard has shifting shade patterns, consider portable containers you can move seasonally.
Soil Science: When amending soil in Step 2, test your pH first—most garden centers offer quick test kits. Irises prefer slightly alkaline soil (6.8-7.4), so if your test shows lower pH, add crushed limestone (1-2 pounds per 100 square feet) in fall. For drainage, I mix in a 2-inch layer of coarse sand or perlite but also add a handful of garden lime to prevent compaction over time. This combination creates the perfect environment for rhizome growth and flower production.
Pruning Precision: The timing in Step 3 is crucial: wait until foliage turns completely brown before cutting back. Here's how to tell when it's ready—gently tug a leaf. If it pulls away easily, it's time to trim. For crowded clumps, divide rhizomes in early spring when you see new shoots emerge (about 2-3 inches tall). This rejuvenation step can double your bloom count within two seasons. I always disinfect my pruning tools with rubbing alcohol between cuts to prevent disease spread.
Watering Wisdom: The 1-2 times per week guideline in Step 4 works, but here's the key: water in the morning so foliage dries quickly, reducing fungal risks. Use the "squeeze test" to check moisture—grab a handful of soil; if it forms a ball but crumbles when squeezed, it's time to water. For established plants, you can reduce to once every 10-14 days during dry spells, as irises store water in their rhizomes. This drought tolerance is why they thrive in Mediterranean climates!
Pro Tips for Make Irises Bloom
- These subtle adjustments will transform your irises from leafy stalks into a stunning floral display every season.
- Sunlight Strategy: The 6-8 hours of daily sunlight in Step 1 is non-negotiable for blooms, but here's the secret: track your garden's sun patterns for at least a week first.
- Soil Science: When amending soil in Step 2, test your pH first—most garden centers offer quick test kits.
Frequently asked questions
Got questions about coaxing those stunning iris blooms? You’re not alone! Here are answers to the most common queries—from timing tricks to troubleshooting woes.
Why aren’t my irises blooming this year?
Irises often need a rest after flowering. If they’re not blooming, check for overcrowding (dig up clumps every 3–4 years) or poor sunlight (they crave 6+ hours of direct sun daily). Also, ensure they’re planted in well-draining soil—they hate soggy roots!
When is the best time to plant irises for blooms?
Plant bare-root irises in early fall (4–6 weeks before frost) or container-grown ones in early spring. Fall planting gives roots time to establish before winter, while spring planting avoids dormancy delays. Pro tip: Avoid summer planting—heat stress can stunt growth!
Can I make irises bloom earlier or later than usual?
Yes! To delay blooms, plant in late summer or provide afternoon shade. For earlier blooms, choose early-season varieties (like ‘Adonis’ or ‘Blue Flag’) or plant in fall. Warning: Forcing blooms out of season can weaken the plant—balance is key!
How do I prune irises to encourage more blooms?
Cut back leaf stalks only after they yellow (never in summer!). Deadhead spent blooms, but leave the seed pods unless you’re propagating. Critical: Never trim more than ⅓ of the foliage—irises store nutrients in their leaves for next year’s blooms!
What if my irises keep getting iris borer damage?
Iris borers are sneaky pests! Prevent them by removing old leaf debris (their hiding spot) and applying neem oil or diatomaceous earth in early spring. For severe cases, handpick larvae or use Bt (Bacillus thuringiensis)—a natural bacteria treatment.
Are there iris varieties that bloom more reliably?
Yes! Bearded irises (like ‘Blue Magic’ or ‘White Swan’) are hardy and prolific. Siberian irises (e.g., ‘Caesar’s Brother’) thrive in cooler climates and rebloom. Reblooming varieties (like ‘Florence Scott’) produce two flushes of blooms with proper care!
Wrapping up and next steps
With the right mix of sunlight, soil care, and strategic pruning, your irises can burst into vibrant blooms year after year! 🌸 Remember, patience and consistency are key—whether you’re adjusting their sunlight exposure, enriching their soil, or timing your cuts just right.
Once you’ve mastered these steps, you’ll be rewarded with stunning, healthy flowers that brighten up your garden.
Ready to take the next step? Share your progress with fellow gardeners or experiment with new iris varieties to keep your garden thriving! 🌿