
How To
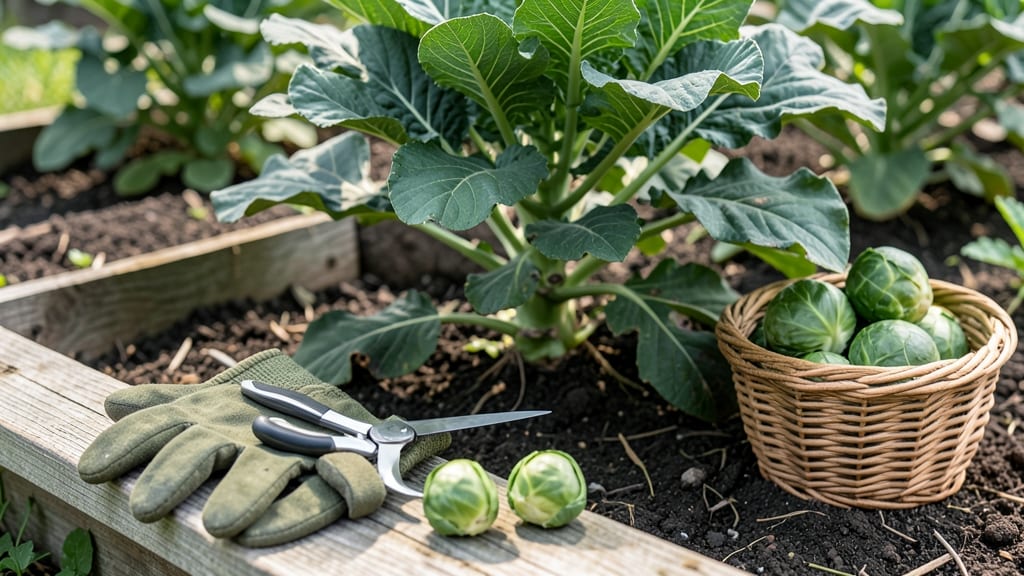
Knowing how to know when Brussels sprouts are ready to pick can turn a mediocre harvest into a flavor-packed feast—or leave you with bitter, overgrown disappointments.
The difference often comes down to three simple checks: size, color, and a quick stem test that reveals whether your 🥦 are ready to eat or still need time.
Most gardeners wait until the sprouts reach 1 to 1.5 inches in diameter, but timing isn’t just about measurements—it’s also about color. Deep purple or rich green hues signal peak sweetness, while pale or uneven tones mean they’re not quite there.
And if you’re unsure, give the stem a gentle twist: a clean snap means they’re ready to harvest.
Harvesting at the right moment isn’t just about taste—it’s about avoiding waste. Too early, and they’ll be tough; too late, and frost will turn them bitter. In cooler climates like USDA Zone 6a, aim for October to November when temperatures drop, as the chill actually enhances their flavor.
Let me show you how to nail this every time.
Whether you’re a first-time grower or a seasoned gardener, these foolproof methods will help you pick Brussels sprouts at their sweetest. No more guesswork—just perfect, homegrown flavor straight from your garden to your plate.


Brussels sprouts ripeness guide: size, color, and snap test explained
Determining the perfect moment to harvest Brussels sprouts hinges on three foolproof indicators: size, color, and the stem snap test. These cues ensure your sprouts deliver that signature nutty sweetness rather than bitter disappointment. Let’s break down what to look for in your garden.
First, focus on size. Ready-to-pick sprouts typically measure between 1 to 1.5 inches in diameter. Think of them as golf balls—not too small (underripe) and not too large (overripe). Smaller than 1 inch, and they’ll lack flavor; larger than 1.5 inches, and they’ll become tough and woody.
Next, observe the color. Most varieties transition from bright green to a deeper purple-green hue as they mature. For example, 'Ruby Ball' sprouts will darken to a rich purple, while 'Long Island Improved' stays green but intensifies in shade. Pale or inconsistent coloring signals immaturity.
Here’s where the stem snap test comes in—this is your secret weapon. Gently twist a sprout between your fingers. If it snaps cleanly with a slight resistance, it’s ready. If it pulls away without snapping or feels mushy, it’s not there yet. This test confirms both ripeness and texture.
Pro tip: Start harvesting from the bottom of the stalk upward. This encourages the plant to produce more sprouts higher up. Use a sharp knife or your fingers to twist them off—never yank!—to avoid damaging the stem. This method also extends your harvest window by 2–4 weeks.
Timing matters too. Brussels sprouts sweeten in response to cooler fall temperatures, typically between 50°F and 60°F. If a hard frost is forecasted, harvest before temperatures drop below 25°F to prevent spoilage. In warmer climates, you might need to harvest earlier, around 90–120 days after planting.
Watch for the plant’s natural signals too. As the days grow shorter, the lower leaves will yellow and die back, signaling it’s time to harvest aggressively.
This is nature’s way of telling you: "Pick me now!" Ignore this cue, and the entire plant may bolt, leaving you with tough, inedible sprouts.
Finally, don’t overlook the seasonal flavor boost. Sprouts harvested after the first light frost develop a sweeter, more complex flavor thanks to natural sugar conversion. But if you’re in a mild-winter zone, aim to finish harvesting by early winter to avoid woody texture.
Master these three checks—size, color, and snap test
Brussels sprouts ripeness guide: size, color, and snap test explained
Brussels sprouts mature from the bottom up, so the lowest buds are always the first ready for harvest. This staggered ripening means you can enjoy fresh sprouts over weeks, not just one day.
The key is checking three simple cues: size, color, and the stem snap test. Master these, and you’ll never waste a single sprout.
Start by measuring the diameter of your sprouts. Aim for 1 to 1.5 inches across—any smaller, and they’ll be too woody or bland. Larger than 2 inches, and they’ll turn bitter or tough.
Use a ruler or compare to a quarter for quick checks while you garden. Consistency in size ensures uniform flavor across your harvest.
🌱 Brussels Sprouts Ripeness Summary
| Indicator | Ready Signs | Not Ready Signs |
|---|---|---|
| Size | 1–1.5" diameter, firm | <1" or >2", soft |
| Color | Deep green/purple, uniform | Pale, streaky, or yellowing |
| Snap Test | Twists off cleanly with slight resistance | Stays attached or breaks easily |
The color of Brussels sprouts shifts as they ripen. Start with light green buds, but peak flavor comes when they turn deep green or even purple (for varieties like 'Ruby Ball').
Avoid sprouts with yellowing leaves or brown spots, as these signal overripeness or pest damage. A healthy sprout should look vibrant, not faded.
Never skip the stem snap test—this is your secret weapon. Gently twist a sprout between your fingers. If it snaps cleanly with a slight resistance, it’s ready. If it won’t budge or breaks too easily, wait a few days.
This test ensures you’re harvesting at the peak crunch and sweetness, not toughness. Pro tip: Test the lowest sprouts first—they mature earliest.
Timing matters too. Brussels sprouts sweeten in cooler weather, so aim to harvest when nighttime temps drop below 60°F. This usually happens in late September to October in most climates.
If a frost is forecast, harvest everything immediately—frost won’t kill the plant, but it’ll turn your sprouts mushy and unpleasant. Use a sharp knife or your fingers to cut or twist sprouts cleanly from the stem.
Once you’ve mastered these cues, you’ll enjoy a prolonged harvest of flavorful sprouts. Start with the bottom buds, work your way up, and you’ll keep your plants producing for 6–8 weeks.
Store harvested sprouts in the fridge for up to a week, or blanch and freeze for long-term use. Happy harvesting—your taste buds will thank you!