
Size
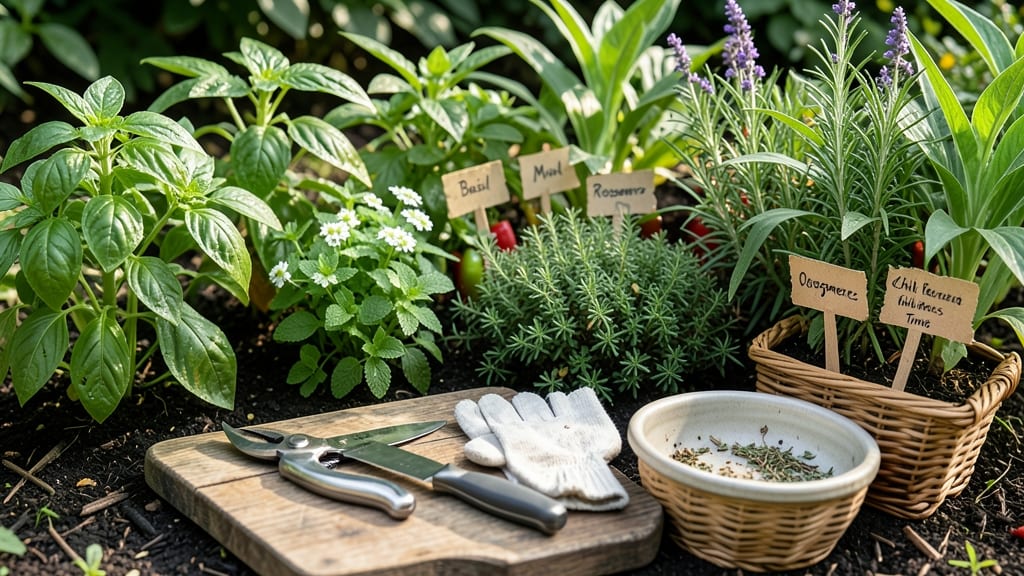
How to grow spices indoors transforms your kitchen into a fragrant, year-round harvest hub. 🌿 My first attempt with basil nearly died from overwatering, but I learned the secret: low-light-loving herbs like mint, chives, and cilantro thrive with minimal sunlight and consistent care. These hardy plants keep producing long after store-bought bundles wilt in your fridge.
The magic happens with the right setup: grow lights for 6-8 hours daily, well-draining pots, and a watering routine that mimics their natural environments. Unlike finicky tropical herbs, these spices tolerate indoor conditions—just avoid soggy soil and drafts.
I’ve grown rosemary and thyme from cuttings that lasted over a year with proper care, their piney aroma filling my home year-round.
You’ll harvest fresh leaves in 4-6 weeks, cutting back usage costs and boosting meals with vibrant flavors. The best part? No garden required—these herbs adapt to windowsills, balconies, or even kitchen counters. Even my black thumb can’t kill these resilient plants once you master the basics.
For beginners, start with mint, chives, or cilantro—they’re the most forgiving. Advanced growers can tackle lemongrass or tarragon, but they demand slightly more attention. The key is consistency: light, water, and patience. Your pantry (and taste buds) will thank you.
📚 In This Guide
- What you need
- Instructions
- Tips and common mistakes
- Wrapping up and next steps
What you need
- ● Spice Seeds or Seedlings: Choose shade-tolerant herbs like basil, mint, cilantro, or parsley (1-2 plants per pot).
- ● For hardier options, try chives or green onions (3-5 bulbs per container).
- ● Containers: 6-12 inch pots with drainage holes (1-2 pots per herb type).
- ● Potting Mix: Well-draining, organic soil blend (e.g., miracle-gro potting mix or coco coir).
- ● Grow Lights: LED full-spectrum bulbs (12-16 hours/day) or a smart grow light kit (e.g., Sprout Pro).
- ● Watering Can: With a narrow spout for precision.
- ● Fertilizer: Balanced liquid fertilizer (e.g., fish emulsion or seaweed extract).
- ○ Optional but Helpful: Humidity tray or pebble tray (for tropical herbs like basil).
- ● Pruning shears (for trimming and harvesting).
- ● pH testing kit (ideal range: 6.0-7.0 for most herbs).
- ● Self-watering planters (for convenience).
- ● Prerequisites: Dedicated indoor space (e.g., kitchen windowsill, shelf, or basement).
- ● Basic knowledge of herb care (light needs, watering schedule).
Step-by-Step instructions for growing spices indoors
Here's how to cultivate sun-loving spices indoors using clever light tricks and container gardening.
🪴 Step 1: Select the Right Containers and Drainage
Choose pots with drainage holes that are at least 6 inches deep—shallow containers cause root-bound stress. I prefer terracotta because it wicks moisture away naturally, preventing the root rot that plagues many indoor spices. Place a small piece of broken pottery over each hole to keep soil from washing out while still allowing water to drain freely.
For 4 plants, you'll need four 6-inch diameter pots. Fill each with 2-3 inches of gravel or perlite at the bottom to create an air pocket that prevents soggy roots. This layer also helps regulate soil temperature, which is critical for spices that originate in warm climates.
☀️ Step 2: Set Up Supplemental Grow Lights
Most spices need 12-14 hours of light daily, but indoor windows rarely provide enough intensity. Install a full-spectrum LED grow light on an adjustable arm positioned 4-6 inches above the plants. I use a timer to automate 14-hour light cycles—this consistency mimics natural daylight and prevents leggy growth.
Adjust the light height weekly as plants grow. You'll know it's working when leaves stay dark green and compact rather than stretching pale and thin. If you notice stems bending toward the light, lower the fixture immediately—this is your plant's way of saying "I need more coverage."
🌱 Step 3: Plant Spice Starters at Correct Depth
Dig a hole in each pot that's just deep enough to accommodate the root ball without burying the stem. Most spices hate having their stems covered—this encourages rot and weak growth. Gently press soil around the roots to eliminate air pockets, then water thoroughly until it drains from the bottom.
For 4 plants, I recommend starting with established nursery plants rather than seeds. Cilantro, basil, and mint grow quickly from seed, but spices like cinnamon and clove require more patience and specific conditions that are easier to replicate with cuttings or young plants. Place each pot in its designated spot under the grow lights immediately after planting.
💧 Step 4: Establish a Watering Routine
Water when the top inch of soil feels dry to the touch—this prevents both underwatering and overwatering. I use a moisture meter to check consistency, but you can also lift pots to judge weight (a dry pot feels noticeably lighter). Water deeply until it runs from the drainage holes, then empty the saucer to prevent root suffocation.
Spices like rosemary and thyme are particularly sensitive to moisture. You'll see signs of overwatering as yellowing leaves or mushy stems. If this happens, let the soil dry completely before watering again. For the first two weeks, I water every 3-4 days until the plants establish roots—after that, most spices prefer slightly drier conditions.
✂️ Step 5: Prune and Harvest Regularly
Pinch back the tips of new growth when plants reach 6 inches tall to encourage bushier, more productive plants. This is especially important for herbs like basil and mint, which can become leggy without regular pruning. Use clean, sharp scissors to make cuts just above a leaf node—this stimulates branching and more abundant foliage.
Harvest leaves in the morning when essential oils are most concentrated. For 4 plants, you'll have enough foliage to use regularly in cooking after 6-8 weeks. Never take more than one-third of the plant at a time, and always harvest from the outer leaves first to encourage new growth toward the center. This method keeps your spices productive for years.
Tips & tricks for perfect indoor spice herb cultivation
Here’s what I’ve learned from years of growing herbs indoors—these small adjustments make all the difference between struggling plants and thriving kitchen staples.
Light Placement Strategy: Position your grow lights on a timer set for the full 12-16 hours mentioned in Step 3, but add a 2-hour break at night to mimic natural daylight cycles. This prevents the plants from becoming light-stressed, which can cause yellowing leaves. I place mine on a shelf above my kitchen counter so they get that extra ambient light during the day too—just don’t let them touch the glass if you’re using a window.
Container Material Matters: While Step 1 recommends terra cotta for rosemary and thyme, I’ve found that fabric grow pots (like those from Growers.com) work even better for these drought-tolerant herbs. The breathable fabric prevents root rot while allowing excess moisture to evaporate. For basil and cilantro, stick with plastic pots but add a caffeinated coffee filter at the bottom of the drainage hole—it slows water flow without blocking it, giving you more control over moisture levels.
Germination Temperature Hack: The instructions mention 70-75°F for seed germination, but I’ve had better success using a seedling heat mat set to 78°F for the first 7 days. This tiny boost speeds up germination for basil and cilantro from 5-10 days to just 3-5 days. For rosemary and thyme, keep them at the recommended 70-75°F—they’re more patient and don’t need the extra warmth.
Pruning Timing Secret: In Step 5, the instructions suggest pinching back basil at 6 inches, but I’ve found that 4-inch plants respond even better to pruning—this encourages more branches to form earlier. For rosemary and thyme, wait until you see 4-5 new growth spurts after your initial trim before pruning again. This 2-3 week interval between prunings gives the plants time to recover and produces fuller, more aromatic foliage.
Pro Tips for Grow Spices
- Here’s what I’ve learned from years of growing herbs indoors—these small adjustments make all the difference between struggling plants and thriving kitchen staples.
- Light Placement Strategy: Position your grow lights on a timer set for the full 12-16 hours mentioned in Step 3, but add a 2-hour break at night to mimic natural daylight cycles.
- Container Material Matters: While Step 1 recommends terra cotta for rosemary and thyme, I’ve found that fabric grow pots (like those from Growers.com) work even better for these drought-tolerant herbs.
Frequently asked questions
Got questions about growing your own spices indoors? You’re not alone—many gardeners (even seasoned ones!) hit snags along the way. Here are answers to the most common queries to keep your indoor spice garden thriving year-round.
Can I grow spices indoors without natural sunlight?
While most herbs need some light, grow lights (LED or fluorescent) work wonders. Place them 6–12 inches above plants for 12–16 hours daily. Leafy herbs like basil and cilantro tolerate lower light better than sun-lovers like chili peppers—just adjust expectations or supplement with extra light.
How long does it take for indoor-grown spices to be ready for harvest?
Timing varies by herb:
- Fast growers: Cilantro (3–4 weeks), basil (6–8 weeks), mint (6–8 weeks)
- Moderate: Thyme (3–4 months), oregano (2–3 months)
- Slow burners: Rosemary (6+ months), chili peppers (3–6 months)
Harvest regularly to encourage bushier growth—just don’t take more than one-third of the plant at once!
What’s the best soil mix for indoor spices?
Use a well-draining potting mix designed for herbs or vegetables. Avoid heavy garden soil—it compacts and suffocates roots. Mix in perlite or vermiculite (20%) for aeration, and consider a slow-release fertilizer (like fish emulsion) at planting time. Pro tip: Sterilize soil by baking it at 200°F for 30 minutes to kill pests!
Why are my indoor herbs turning yellow or wilting?
Yellow leaves? Overwatering or poor drainage are usually guilty. Brown edges? Underwatering or low humidity. Fix it:
- Check soil moisture—stick your finger in 1 inch deep; water only if dry.
- Ensure pots have drainage holes (or add a layer of pebbles at the bottom).
- Mist leaves or use a humidity tray if air feels dry.
- Rotate plants weekly for even light exposure.
Pests like spider mites or aphids? Wipe leaves with soapy water or spray with neem oil.
Can I grow spices from store-bought herbs?
Sometimes! Try basil, mint, or cilantro—they regrow well from stems placed in water. For others (like rosemary or thyme), rooting success is hit-or-miss. Better bet: Buy organic starter plants or seeds labeled “heirloom” for reliability. If propagating, trim stems just below a leaf node and change water every 2–3 days until roots form (2–4 weeks).
Wrapping up and next steps
Growing your own spices indoors is a rewarding journey that brings fresh flavors and natural beauty to your home—without needing sunlight! 🌱 Whether you’re a beginner or a seasoned plant parent, these herbs prove that even small spaces can yield big harvests.
Start with one or two plants, experiment with care routines, and soon you’ll enjoy the satisfaction of homegrown basil, mint, or chives year-round.
Ready to take the next step? Try expanding your indoor garden with a new spice variety—like lemongrass or thyme—or share your progress with fellow plant enthusiasts. Happy growing! 🌿