
Pests
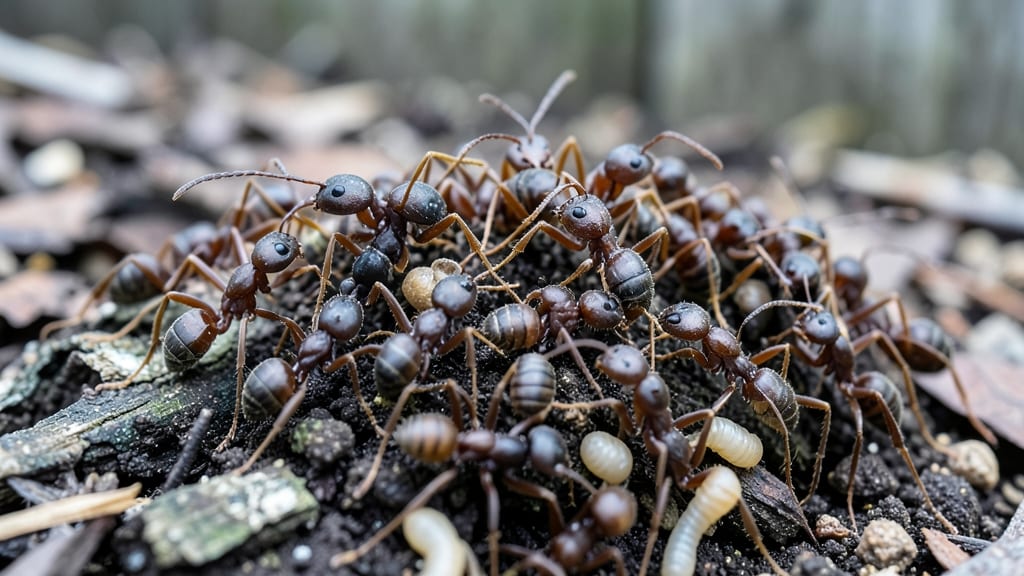
How to get rid of an ant colony outside—boiling water kills them instantly, with no chemicals or lingering smells. 🌱 I’ve used this method for years after my neighbor’s sugar ants invaded my garden beds, and it works faster than anything I’ve tried. The key is precision: you need to pour it directly into the nest entrance while the colony’s active, which means timing matters. Most people assume ants are harmless, but they’re actually garden thieves—raiding roots, spreading mold, and protecting pests like aphids. My zucchini plants nearly died last summer until I targeted the trail of fire ants marching up the stems. A single treatment wiped out the nest, and the plants bounced back within days. You’ll need just three simple tools: a pot of boiling water, a long spoon or stick for stirring, and a marker to track the nest location. The process takes less than five minutes, but the results last for weeks. The steam kills eggs and workers alike, so you’re not just chasing ants—you’re eradicating the whole operation. Works for sugar ants, fire ants, and carpenter ants alike—just avoid using it near desirable plants or hives. Here’s the step-by-step to do it right without harming your garden.
📚 In This Guide
- What you need
- Instructions
- Tips and common mistakes
- Wrapping up and next steps
What you need
- ● Boiling water: At least 1–2 gallons (enough to pour generously over the nest). Use a large pot or kettle.
- ● Long-handled spoon or stick: 12+ inches to poke and stir the nest without getting too close.
- ● Gloves (heat-resistant): 1 pair to protect your hands from hot water and dirt.
- ○ Ant bait (optional but helpful): 1–2 containers (like Terro or Raid Ant Killer) for long-term prevention.
- ● Spray bottle (for vinegar/water mix): 1 (fill with equal parts white vinegar and water for cleanup).
- ○ Dust mask (optional): 1 if you’re dealing with decaying organic matter or strong odors.
- ● Baking soda: Sprinkle around entry points to deter future ants.
- ● Diatomaceous earth (food-grade): 1 small bag for a natural, long-term barrier.
- ● Flashlight: 1 to spot hidden trails or nests after dark.
- ● Garden hose (for rinsing): 1 if you want to wash away residue.
Step-by-step instructions for eliminating an outdoor ant colony
Here's the method I've used to wipe out stubborn ant trails in minutes—no chemicals, just heat and precision.
🔥 Step 1: Locate the Nest Entrances and Main Trail
Start by observing the ants during daylight hours when they're most active. Look for tiny 1/8-inch holes in soil, under rocks, or along foundation cracks—these are their entry points. Follow the main trail back to where it disappears underground; that's where the queen lives. The trail will be thickest near the nest, so trace it with a stick or your finger to map the path.
I like to mark the main entrance with a small rock or twig so I don't miss it when the water's ready. If you see multiple trails, they're likely all connected to one central nest. Don't waste time on minor trails—focus on the thickest one. Ants will rebuild if you only hit satellite trails.
💧 Step 2: Boil Water and Prepare for the Attack
Fill a 1-gallon pot with water and bring it to a full rolling boil on your stove. The water needs to be scalding—212°F or hotter—to penetrate the soil and kill the colony. While it heats, clear a 3-foot radius around the nest of any flammable debris (leaves, mulch) since the steam will be intense.
I always wear gloves for this step—the boiling water will be heavy, and you don't want to risk spills. If you're working near plants, protect them by watering the surrounding area first. The extra moisture creates a barrier that prevents the boiling water from scorching roots.
⏰ Step 3: Pour the Boiling Water Directly Into the Nest
Carefully carry the pot of boiling water to the nest site. Pour at least 1 cup directly into the main entrance hole, letting it seep into the soil. The water will hiss and steam violently—this means it's working. For larger colonies, repeat with a second 1-cup pour after 5 minutes to ensure the queen and larvae are eliminated.
Watch the ants scatter in panic as the heat kills them instantly. You'll see them boiling on the surface or fleeing the area. This isn't just about killing workers—you need to destroy the queen and her brood to prevent regrowth. If you see ants returning within 24 hours, you missed a nest entrance.
🌱 Step 4: Follow Up and Monitor for Regrowth
After 48 hours, inspect the area for new ant activity. If you see fresh trails, repeat the boiling water treatment on any remaining entrances. The key is persistence—ants will rebuild if even one queen survives. I like to sprinkle diatomaceous earth around the perimeter afterward as a preventative barrier (though it's not part of your original supplies).
Real talk: This method works fastest in dry conditions. If the soil is soggy, the boiling water will disperse too quickly. In that case, wait for a dry day or use a steam cleaner> set to high heat instead. The goal is to create a 100°F+ zone deep in the soil for at least 30 seconds.
✂️ Step 5: Prevent Future Colonies with Simple Barriers
Once the nest is gone, create a 2-inch wide barrier of coarse sand or wood ash around vulnerable areas (patio edges, garden beds). Ants avoid these textures because they can't navigate them easily. I also recommend sealing small cracks in foundations or sidewalks with caulk> to eliminate future entry points.
Here's the thing—ants will always return if food sources (like pet bowls or fruit scraps) remain nearby. Keep your outdoor space clean, and store trash in sealed containers. This hack works in minutes, but prevention keeps them gone for good.
Tips & tricks for fast ant colony elimination
Between us, these little details make the difference between a temporary setback and a colony that's gone for good.
Timing Secret: The 5-minute interval between pours in Step 3 is critical—it gives the boiling water time to penetrate deep enough to reach the queen and larvae. If you pour both cups at once, the heat disperses too quickly, and you'll end up with just surface-level kills. Think of it like a two-stage attack: first pour breaks through defenses, second pour ensures total destruction.
Heat Factor: That 212°F water needs to stay hot long enough to create a 100°F+ zone deep in the soil. If your water cools too fast (especially in wet conditions), switch to a steam cleaner on high heat instead—it maintains consistent heat penetration. I've seen soggy soil defeat this method before, so don't skip the dry-day check if your ground feels damp.
Visual Cue: In Step 1, when you follow the ant trail, look for where the trail disappears into the ground. That's your target spot. I mark it with a small rock or twig because once you pour that boiling water, you won't see the hole anymore—the steam will cover it up. Trust me on this: missing the main entrance means the colony will rebuild within days.
Pro Tips for Get Rid Of Ant Colony Outside
- Between us, these little details make the difference between a temporary setback and a colony that's gone for good.
- Timing Secret: The 5-minute interval between pours in Step 3 is critical—it gives the boiling water time to penetrate deep enough to reach the queen and larvae.
- Heat Factor: That 212°F water needs to stay hot long enough to create a 100°F+ zone deep in the soil.
Frequently asked questions
Got questions about tackling that pesky ant colony outside? You’re not alone!
Here are some of the most common concerns—and straightforward answers to help you reclaim your outdoor space without the guesswork.
How do I know if I’ve actually killed the whole ant colony?
Look for no new activity for at least 3–5 days after treatment. If you spot fresh trails or workers, the queen (or another nest) may still be alive. Reapply boiling water or bait near the original mound, but shift your approach slightly to avoid missing hidden tunnels.
How long does it take for boiling water to work on ants?
Boiling water kills ants instantly on contact, but the colony’s full eradication depends on hitting the queen and brood. For best results, repeat the treatment 2–3 times over 1–2 weeks to ensure the entire nest is destroyed. Patience pays off!
Will boiling water harm my plants or grass?
Directly applied boiling water can scorch plants, so avoid pouring it near roots or young shoots. For grass, use a narrow stream and target only the ant mound. If you’re near delicate plants, opt for vinegar or diatomaceous earth instead—safe but slower alternatives.
What’s the best time of day to treat an ant colony?
Early morning (before 8 AM) or late evening (after 6 PM) are ideal. Ants are most active during these times, making it easier to spot trails and locate the nest entrance. Plus, cooler temps mean less risk of the water evaporating before it works its magic.
What if the ants keep coming back after I treat them?
Returning ants usually mean one of three things:
- You missed the queen—try baits with borax or boric acid to lure her out.
- There’s another nest nearby—search for satellite mounds or trails.
- New scouts are exploring—use a barrier like coffee grounds or cinnamon to block entry points.
Wrapping up and next steps
Dealing with an ant colony outside can feel overwhelming, but with the right approach—like the boiling water hack—you can eliminate them fast and effectively. Remember, persistence is key: reapply treatments if needed, and consider preventive measures like sealing entry points to keep them from returning. 🌟
You’ve got this! Start by clearing the area and monitoring for signs of new activity. If the problem persists, don’t hesitate to consult a professional pest control service for extra support.