
Tools
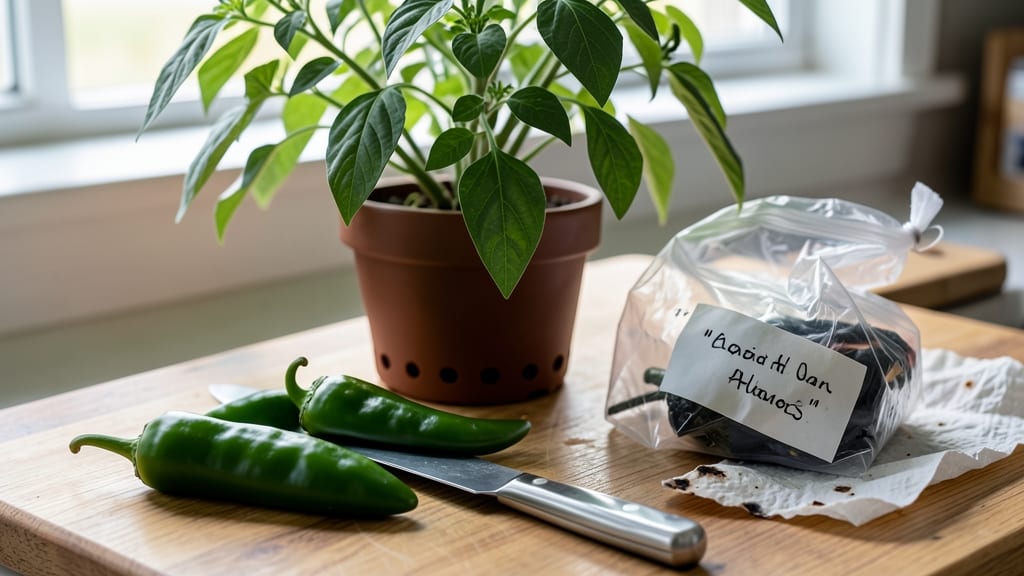
Freezing garden jalapenos saves their fiery kick for winter dishes. ✨ The trick is prepping them right—washing, peeling, and seeding—so they stay crisp and flavorful for months. I’ve frozen hundreds this way, and the difference between mushy, bland peppers and perfect ones comes down to a few simple steps.
Start by blanching for 2-3 minutes in boiling water, then plunging into ice water to stop cooking. This preserves texture and color better than freezing raw. Use freezer bags (squeeze out air) or airtight containers—both work, but bags save space.
Label them with the date; they’ll keep for up to a year without losing heat.
When you’re ready to cook, thaw in the fridge overnight. Frozen jalapenos work great in salsas, stews, or even homemade hot sauce—they’ll add the same sharp, smoky punch as fresh. Just avoid overcooking; they soften faster than raw peppers. The payoff? No more sad, shriveled peppers in January.
Pro tip: Freeze whole or sliced—just don’t skip blanching. I’ve seen raw peppers turn mushy and moldy within weeks. With this method, yours will stay vibrant and ready to spice up any dish. Now, let’s get those peppers preserved!
📚 In This Guide
- What you need
- Instructions
- Tips and common mistakes
- Wrapping up and next steps
What you need
- ● Fresh jalapeños – Harvest fully ripe but firm peppers (avoid overripe or soft ones). Aim for 1–2 pounds (adjust based on your garden yield).
- ● Blanch pot or large pot – A 6–8 quart pot with a steamer basket or colander (or a large bowl for small batches).
- ● Ice bath bowl – A large, deep bowl (or clean sink) to hold ice water (enough to submerge peppers).
- ● Slotted spoon or tongs – For easy transferring of peppers.
- ● Paper towels or clean kitchen towels – 2–3 sheets for drying.
- ● Freezer-safe bags or containers – Option 1: Quart-sized freezer bags (with ziplock seals) – 2–4 bags (depending on pepper size).
- ● Option 2: Rigid plastic containers (with airtight lids) – 1–2 containers (leave 1-inch headspace for expansion).
- ● Permanent marker – To label bags/containers with date and pepper type (e.g., "Jalapeños – 10/2024").
- ● Stovetop or microwave – For blanching (if not using a steamer).
- ● Timer – To monitor blanching time (precisely 3 minutes for jalapeños).
- ● Vacuum sealer – Extends shelf life by removing air (great for long-term storage!).
- ● Glass jars with lids – For small-batch freezing (leave ½-inch headspace).
- ○ Salt or citric acid packets – ¼ tsp per bag to preserve color and flavor (optional for pickled-style peppers).
- ● Freezer storage tray – Helps organize peppers before bagging (speeds up the process!).
- ● Food-safe gloves – If you’re extra sensitive to capsaicin (jalapeño oils can irritate skin!).
Step-by-step instructions for freezing jalapenos from your garden
Preserve that garden-grown heat with this simple method—your freezer will thank you later.
🌱 Step 1: Harvest and Prep Jalapenos for Freezing
Pick fully mature jalapenos—bright green, firm, and about 3-4 inches long. Rinse them gently under cool water to remove any dirt or debris, then pat them completely dry with a clean towel. Wet peppers won’t freeze well and can turn mushy. I like to leave the stems on for easy handling, but you can trim them off if you prefer.
Here’s the thing—jalapenos freeze best when blanched first. This step preserves their color, texture, and that signature kick. Bring a large pot of water to a rolling boil and prepare an ice bath in a separate bowl. Blanch the jalapenos for exactly 2-3 minutes—no longer, or they’ll turn mushy. Immediately plunge them into the ice bath for 2 minutes to stop the cooking process.
✂️ Step 2: Blanch and Dry for Optimal Freezing
After blanching, drain the jalapenos thoroughly and spread them out on a clean kitchen towel or paper towels. Let them air-dry completely—this prevents ice crystals from forming on the surface during freezing. You’ll know they’re ready when the skin feels dry to the touch, usually about 10-15 minutes.
While they dry, decide how you’ll package them. For whole jalapenos, I use 1-gallon freezer bags—they’re sturdy and let you see the contents. For sliced or chopped jalapenos, use quart-sized bags or airtight containers. Remove as much air as possible before sealing to prevent freezer burn.
💧 Step 3: Package and Label for Long-Term Storage
Lay the dried jalapenos in a single layer on a tray lined with parchment paper. Freeze them solid for 1-2 hours—this makes them easier to handle without sticking. Once frozen, transfer them to your labeled freezer bags or containers. If using bags, press out excess air and seal tightly. Label each bag with the date and contents—trust me, you won’t remember what’s in there after a few months.
For sliced jalapenos, spread them out on the tray first to freeze individually before transferring to bags. This prevents clumping and makes it easy to grab just what you need later. Store in the coldest part of your freezer, ideally at 0°F or below, for up to 12 months.
☀️ Step 4: Thaw and Use Like Fresh Jalapenos
When you’re ready to use your frozen jalapenos, there’s no need to thaw them completely. Simply toss them directly into hot dishes like salsas, soups, or stir-fries. The texture will be slightly softer than fresh, but they’ll still pack that same fiery punch. For pickling or stuffing, thaw them in the fridge overnight for best results.
Real talk: frozen jalapenos won’t be as crisp as fresh ones, but they’ll retain their heat and flavor beautifully. If you’re making a dish where texture matters (like a fresh salsa), add them at the very end to minimize sogginess. For cooked dishes, they’ll blend right in without any fuss.
Tips & tricks for freezing jalapenos like a pro
Freezing garden jalapenos right means keeping that crisp bite and fiery flavor locked in—here’s how to avoid the common pitfalls that turn them into freezer-mush.
Blanching Precision: That 2-3 minute blanch in boiling water is critical—set a timer! Over-blanching by even 30 seconds will soften the peppers permanently. I use a kitchen timer placed right next to my pot so I don’t get distracted. The ice bath stop (exactly 2 minutes) is just as important—this shock treatment preserves color and texture better than any other step.
Drying is Non-Negotiable: Skipping the 10-15 minute drying step is what causes ice crystals and freezer burn. I’ve learned this the hard way—my first batch had peppers with frost on them after just 2 weeks! Pat them thoroughly, then lay them on a clean towel in a single layer. If any pepper feels damp, it’ll ruin the whole batch when frozen.
Freezer Bag Strategy: For whole jalapenos, use 1-gallon freezer bags with the zip-top seal—this creates a vacuum-like seal when you press out all the air. For sliced peppers, freeze them individually on a tray first (as mentioned in Step 3), then transfer to bags. This prevents them from sticking together into one giant ice block. Label each bag with both the date and what’s inside—trust me, you’ll forget!
Storage Temperature Matters: The 0°F or below rule isn’t just a suggestion—it’s crucial for maintaining quality. If your freezer runs warmer (check with a thermometer!), consider adding a freezer thermometer or using a separate chest freezer. The colder the better for preserving that signature heat and preventing texture loss over time.
Pro Tips for Freeze Jalapenos From My Garden
- Freezing garden jalapenos right means keeping that crisp bite and fiery flavor locked in—here’s how to avoid the common pitfalls that turn them into freezer-mush.
- Blanching Precision: That 2-3 minute blanch in boiling water is critical—set a timer!
- Drying is Non-Negotiable: Skipping the 10-15 minute drying step is what causes ice crystals and freezer burn.
Frequently asked questions
Got questions about freezing your homegrown jalapeños? You’re not alone—here are some of the most common concerns (and answers!) to help you freeze like a pro.
Can I freeze jalapeños directly without blanching?
Nope! Blanching is a must—it stops enzymes that cause texture loss and color fading. For jalapeños, blanch whole or sliced peppers for 2–3 minutes in boiling water, then plunge into ice water. Skipping this step = mushy, discolored peppers later.
How long do frozen jalapeños stay good?
When stored in airtight, freezer-safe bags or containers, blanched jalapeños keep their quality for 8–12 months. After that, they may lose flavor or texture, but they’re still safe to eat. Label your freezer stash with the date to track freshness!
Can I freeze jalapeños with the stems and seeds still on?
Yes, but remove the stems and seeds first if you plan to use them in cooked dishes (like salsas or stews). For pickling or whole-pepper freezing, leave seeds/stems intact—but know they’ll add heat! Just rinse and pat dry thoroughly before blanching.
What’s the best way to thaw frozen jalapeños?
Thaw in the fridge overnight for even texture, or use them frozen in soups, chilis, or stir-fries (no need to thaw!). Avoid microwave thawing—it can make peppers soggy. Pro tip: Drain excess liquid from thawed peppers to keep dishes from getting watery.
My frozen jalapeños turned black—what went wrong?
Black spots = oxidation, usually from not blanching properly or storing peppers with excess moisture. Fix it by:
- Ensuring peppers are fully dry before freezing.
- Using freezer bags with zip locks to squeeze out air.
- Blanching for the full 2–3 minutes next time.
Wrapping up and next steps
Freezing your homegrown jalapeños is a game-changer—preserving their bold flavor and crisp heat for months while saving you time and money. Whether you’re prepping for winter meals or stocking up for homemade hot sauce, this simple method ensures you’ll always have fresh-tasting peppers at your fingertips. 🌶️❄️
Now that you’re equipped with the know-how, roll up your sleeves and give it a try! Start with a small batch to perfect your technique, then scale up as you gain confidence. Before you know it, you’ll be the go-to chef for spicy, homemade goodness—no grocery store in sight!