
Vegetables
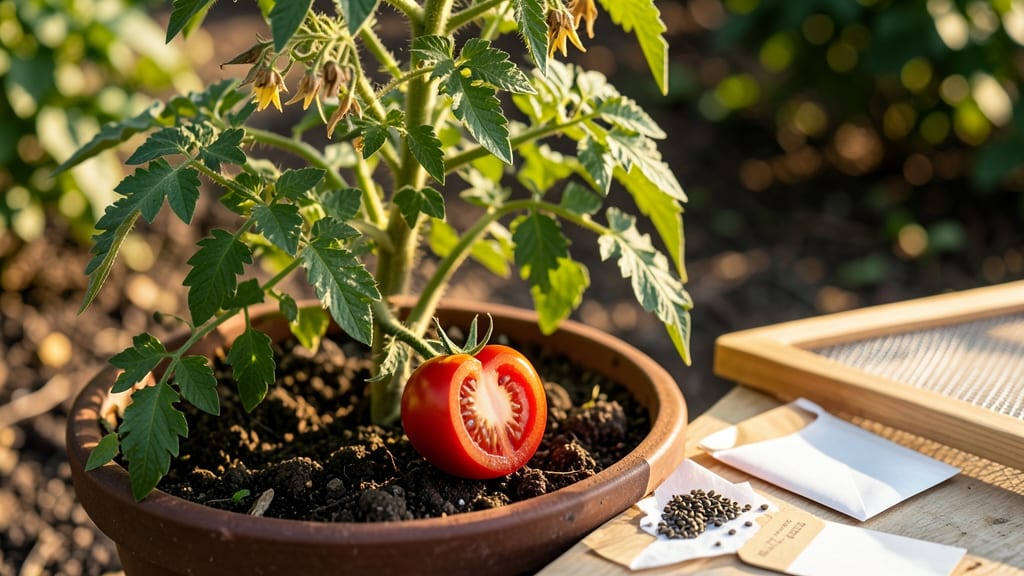
How to dry tomato seeds for planting ensures 90%+ germination next spring. 🌱 The key? Letting nature do the work by fermenting the pulp first—this simple step removes bad seeds and coats good ones in protective gel. I’ve saved hundreds of dollars over the years by drying my own seeds, and the process takes just 3-5 days from ripe tomato to ready-to-plant seed. You’ll need ripe tomatoes, a jar, water, and a fine mesh strainer. The fermentation step (2-3 days) separates viable seeds from the pulp, while the air-drying phase (2-3 more days) hardens the seeds for long-term storage. No fancy equipment—just patience and a warm, dry spot. By the end, you’ll have dark, firm seeds that’ll sprout reliably when planted. The gel coating from fermentation even protects against early rot. Store them in a cool, dry place, and they’ll stay viable for 3-5 years. This method works for heirloom tomatoes, cherry varieties, and even hybrid seeds. Here’s how to do it without losing a single seed to mold or poor drying.
📚 In This Guide
- What you need
- Instructions
- Tips and common mistakes
- Wrapping up and next steps
What you need
- ● Ripe tomatoes: 3–5 medium-sized, fully ripe tomatoes (preferably heirloom or organic for best results).
- ● Sharp knife or scissors: For slicing open the tomatoes.
- ● Small bowl or container: A shallow dish (at least 6 inches wide) to hold tomato pulp and seeds.
- ● Water: Enough to cover the seeds (about 1–2 cups).
- ● Fine-mesh strainer or cheesecloth: A strainer with holes no larger than 0.02 inches (0.5 mm) or cheesecloth to separate seeds from pulp.
- ● Paper towels or coffee filters: 2–3 sheets for drying seeds (unbleached and seed-free).
- ● Small envelope or seed packet: A labeled envelope (e.g., kraft paper or manila) for storing dried seeds.
- ● Pencil or marker: For labeling your seeds with the variety and date.
- ● Fermentation jar: A clean, lidded jar (like a mason jar) for the fermentation step (if you prefer this method over water fermentation).
- ● Labeling tags: Pre-made seed tags for easy organization in your storage container.
- ● Desiccant packets: Small silica gel packets to keep moisture out of seed storage.
- ● Humidity-controlled storage box: For long-term seed viability (e.g., a sealed container with a desiccant).
- ● Handheld fan or dehumidifier: To speed up drying in humid climates.
Step-by-Step instructions for fermenting and drying tomato seeds
Here’s my foolproof method for saving seeds from your homegrown tomatoes—no fancy tools needed.
🍅 Step 1: Scoop Out the Gel-Filled Seeds
Cut open ripe tomatoes and squeeze out the pulp into a clean bowl. The seeds are embedded in a sticky, gel-like coating that needs to break down for germination. I use a spoon to scoop out the flesh, but you can also mash the tomatoes and strain the pulp through a fine-mesh sieve if you prefer.
Don’t rinse the seeds yet—the gel contains enzymes that help remove the seed coat, which is key for healthy germination. If you’re working with multiple tomatoes, label the bowl with the variety name so you don’t mix them later.
💧 Step 2: Ferment the Seeds for 3-5 Days
Fill the bowl with water until the seeds are fully submerged, then stir gently to release any remaining pulp. Cover loosely with a cloth or paper towel to keep out debris while allowing airflow. Place the bowl in a warm spot—70-75°F is ideal, like a sunny windowsill or countertop.
Watch for mold or foul odors, which mean the seeds are fermenting too long. After 3-5 days, the good seeds will sink to the bottom while empty or damaged ones float. Skim off the scum and debris that rises to the surface—this is where bad seeds and pulp collect.
☀️ Step 3: Rinse and Dry the Viable Seeds
Pour the remaining seeds and water through a fine-mesh strainer to separate them from the gel. Rinse them thoroughly under cool water until the water runs clear—this removes any lingering fermentation residue. Shake off excess water gently but don’t let them dry completely yet.
Spread the seeds in a single layer on a clean, dry paper towel or seed-saving tray. Place them in a warm, dry spot with good airflow—75-80°F and indirect sunlight works best. They’ll need 3-5 days to dry fully, so check daily. The seeds are ready when they’re hard, dry, and crumble slightly when pinched.
🪴 Step 4: Store Seeds for Long-Term Viability
Once completely dry, transfer the seeds to a small envelope or airtight container. Label it with the tomato variety and the year—seeds lose viability over time, and freshness matters. Store them in a cool, dark place, like a pantry or seed vault. Properly dried seeds stay viable for 3-5 years.
I like to add a silica gel packet to the container to absorb any remaining moisture, which helps prevent mold. If you’re storing multiple varieties, keep them separate—cross-pollination can happen even with saved seeds!
Tips & tricks for perfect tomato seed drying
Here's what I learned after saving seeds from dozens of tomato varieties—these little details make all the difference.
Fermentation Check: In Step 2, you want the water to smell slightly fruity, not rotten. That's your cue the fermentation is working right. After 3-5 days at 70-75°F, if you see mold or a strong vinegar smell, your seeds have over-fermented—rinse them immediately and start fresh. The good seeds will sink like little stones, while empty ones float like confetti.
Drying Strategy: For Step 3, I recommend using a seed-saving tray or even a paper plate with holes poked in the bottom. Place it on a mesh screen or wire rack to allow airflow from both sides. This prevents moisture buildup that can cause mold. Check daily—the seeds are ready when they're hard enough to crumble slightly between your fingers, not when they look dry to the eye.
Temperature Matters: Keep those drying seeds between 75-80°F consistently. Too hot and they'll crack; too cool and they'll stay damp. I've found that placing them on a sunny windowsill during the day and moving them to a warm spot at night works perfectly. A small fan on low setting can help circulate air without blowing them around.
Storage Wisdom: When storing your seeds in Step 4, I add a tiny pinch of powdered milk to each envelope before sealing. This absorbs any remaining moisture better than silica gel packets alone. Write the variety name AND year on the envelope—trust me, you'll forget which heirloom was which next spring!
Pro Tips for Dry Tomato Seeds For Planting
- Here's what I learned after saving seeds from dozens of tomato varieties—these little details make all the difference.
- Fermentation Check: In Step 2, you want the water to smell slightly fruity, not rotten. That's your cue the fermentat...
- Drying Strategy: For Step 3, I recommend using a seed-saving tray or even a paper plate with holes poked in the botto...
Frequently asked questions
Got questions about drying tomato seeds? You’re not alone! Here are some of the most common concerns—and straightforward answers—to help you master the process like a pro.
How long does it take to dry tomato seeds completely?
Drying time depends on your method, but seeds typically need 5–7 days in a cool, dry spot (like a paper towel or mesh bag) or 1–2 days in a food dehydrator at 95°F (35°C). Test for readiness: if seeds snap when bent, they’re ready! Patience pays off—rushed seeds may not germinate.
Can I speed up the drying process?
Yes! Use a food dehydrator (set to low heat) or a fan in a warm, dry room to cut drying time to 24–48 hours. Just avoid direct sunlight or high heat, which can kill seeds. Pro tip: Spread seeds in a single layer for even airflow—no clumping!
What if my seeds still have pulp after drying?
Leftover pulp is normal! Simply rinse the seeds in a fine-mesh strainer under cool water, then let them dry again. For stubborn pulp, gently rub seeds between your fingers or use a cheesecloth to filter them out. Clean seeds store better and germinate faster.
How should I store dried tomato seeds for next year?
Store seeds in a cool, dark, dry place (like a sealed envelope or airtight container) with a desiccant packet to prevent moisture. Label with the variety and date—seeds stay viable for 2–4 years if kept dry. Freezing seeds (0°F/-18°C) can extend their life even longer!
What if my seeds won’t germinate after drying?
Check for these common issues:
- Under-dried seeds: Try drying them longer or in a warmer spot.
- Old seeds: Test germination by soaking a few in water for 24 hours—if they sink, they’re still good!
- Poor storage: Moisture or heat can ruin seeds. Start fresh with a new batch if needed.
Wrapping up and next steps
Drying tomato seeds properly is your ticket to a thriving garden next season!
By fermenting and curing them with care, you’ll ensure strong, viable seeds ready for planting. Now that you’re equipped with the know-how, grab those ripe tomatoes and get started—your future harvest is just a few steps away! 🌱
Ready to plant? Once your seeds are dry and stored, check out our guide on saving and sowing them for a foolproof gardening experience.