
Pruning
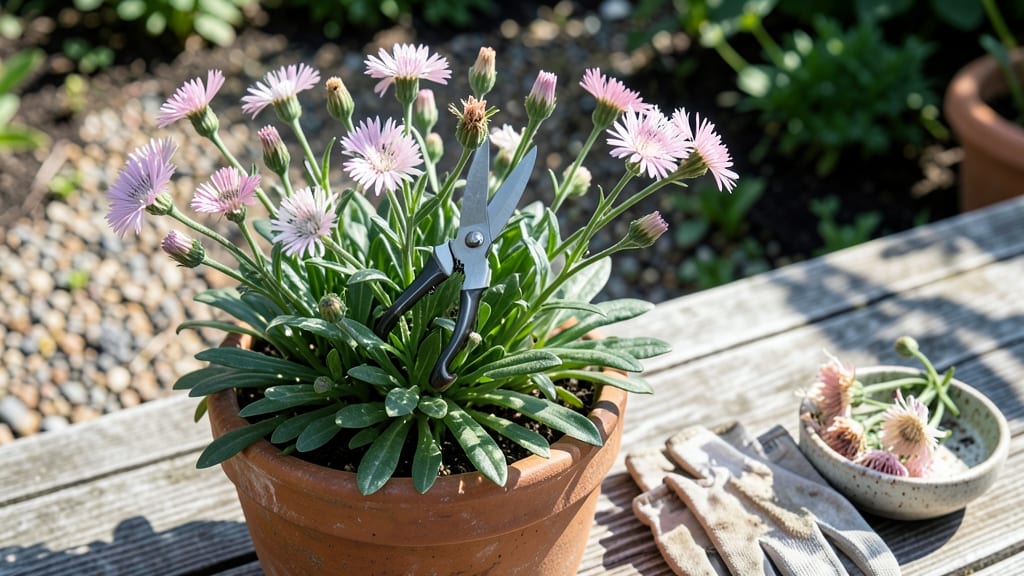
Dianthus in pots demand a twist-and-snip approach to keep blooms coming. ✂️ I’ve deadheaded these fragrant flowers for years, and the difference between a single flush of color and months of vibrant blooms comes down to timing and technique—especially when space is limited in containers.
You’ll need just three things: clean pruners (or your fingers for small flowers), a sunny morning to work, and about 10 minutes to transform a spent bloom into next week’s bud.
The key is acting fast—once those petals fade to papery gray, the plant redirects energy to seed production instead of new flowers.
After snipping, you’ll notice fresh buds forming within 5-7 days, and the plant stays compact in its pot. Proper deadheading keeps dianthus blooming 30-50% longer than neglected plants, while preventing leggy growth that spills over container edges.
For container growers, this method also improves airflow, reducing fungal risks. Just avoid cutting into fresh green growth—always target fully spent stems just above a leaf node. The results? A pot that looks like a living bouquet all season long.
📚 In This Guide
- What you need
- Instructions
- Tips and common mistakes
- Wrapping up and next steps
What you need
- ● Pruning shears or sharp scissors – Choose bypass pruners (clean cuts) or small handheld shears for precision. Size: 4-6 inches (10-15 cm) for easy handling in pots.
- ○ Gloves (optional but recommended) – Wear gardening gloves to protect your hands from thorns or rough stems. Type: Lightweight, breathable fabric (e.g., cotton or nitrile-coated).
- ● Small container or bucket – A 5-gallon bucket or shallow tray to collect spent blooms and debris.
- ● Rubbing alcohol or bleach solution – For sterilizing tools between cuts. Mix: 1 part bleach to 9 parts water (or 70% isopropyl alcohol).
- ● Watering can or hose with a gentle nozzle – To hydrate plants post-pruning. Tip: Use room-temperature water to avoid shocking roots.
- ● Hand lens or magnifying glass – For spotting hidden pests or examining stems closely.
- ● Plant food or balanced fertilizer – A low-nitrogen, high-phosphorus fertilizer (e.g., 5-10-5 ratio) to encourage reblooming. Apply: 2-3 weeks after deadheading.
- ● Mulch (e.g., shredded bark or compost) – To retain moisture and protect roots, especially in hot climates.
- ● Disposable plastic bags – For quick cleanup of pruned debris (avoid composting diseased material).
Tips & tricks for perfect dianthus deadheading
Mastering the twist-and-snip method transforms your potted dianthus from seasonal blooms to year-round color. Here's how to elevate your technique beyond the basics.
Precision Timing: The 7-10 day deadheading schedule in Step 5 is your secret weapon for nonstop blooms. I've found that when you spot faded blooms from across the patio, it's usually been exactly 7 days since your last session. Mark your calendar for every 7 days during peak season—this consistency prevents the plant from diverting energy to seed production. The 10-day maximum gives you flexibility for weekends or vacations without missing critical sessions.
Tool Technique: That 45-degree angle cut in Step 2 isn't just about aesthetics—it's a water management system. The angled cut directs rainwater away from the stem, preventing rot at the pruning site. I've seen beginners make straight cuts that create little water traps, leading to fungal issues. For extra protection, I dip my pruners in rubbing alcohol between cuts, especially when working with multiple plants. This sterilization step prevents cross-contamination that can spread diseases between stems.
Seasonal Adaptation: The fall pruning advice in Step 5 about cutting back stems by ⅓ their height works wonders for winter prep. I've noticed that plants given this late-season haircut produce more robust growth in spring. The key is timing—do this after your first frost warning but before temperatures drop below freezing. This gives the plant time to heal before winter dormancy. For container plants, this also prevents the stems from becoming top-heavy in winter winds.
Light Monitoring: Those 6-8 hours of direct sunlight mentioned in Step 4 are non-negotiable for dianthus. I've learned to watch for subtle signs of light deprivation: buds that form but fail to open are your first warning. In my experience, moving pots just 2 feet closer to a south-facing window can make all the difference. For indoor growers, supplement with a full-spectrum LED grow light for 4-6 hours daily during winter months when natural light is scarce.
Pro Tips for Deadhead Dianthus In Pots
- Mastering the twist-and-snip method transforms your potted dianthus from seasonal blooms to year-round color.
- Precision Timing: The 7-10 day deadheading schedule in Step 5 is your secret weapon for nonstop blooms.
- Tool Technique: That 45-degree angle cut in Step 2 isn't just about aesthetics—it's a water management system.
Frequently asked questions
Got questions about deadheading dianthus in pots?
You’re not alone! Here are answers to the most common concerns—so you can keep your dianthus blooming like a pro.
When is the best time to deadhead dianthus in pots?
Deadhead dianthus as soon as flowers fade—ideally in the morning when blooms are dry. This prevents seed formation and redirects energy to new growth. For continuous blooms, repeat weekly during the growing season (spring to fall). Just avoid pruning after frost or in extreme heat!
Do I need special tools to deadhead dianthus?
Nope! While sharp pruners or scissors make it easier, your fingers work too. Just pinch or snip just above the first set of leaves (about ¼ inch up) for clean cuts. For stubborn stems, a small pair of nail clippers can save your hands from pinching fatigue.
What if my dianthus stops blooming after deadheading?
Don’t panic! Over-pruning or stress (like underwatering or poor light) can slow blooms. Check your plant’s needs: Ensure it gets full sun (6+ hours/day), well-draining soil, and consistent moisture. If blooms still lag, fertilize lightly with a balanced formula (10-10-10) to encourage regrowth.
Can I deadhead dianthus in pots differently if it’s not flowering much?
Yes! If your dianthus is sparse, focus on rejuvenating cuts instead. Trim back 1/3 of the plant (including some stems) in early spring to encourage bushier growth. Avoid this in late summer—it’ll cut short the fall blooming season.
What should I NOT do when deadheading dianthus?
Avoid these mistakes:
- Leaving spent flowers—they sap energy and look messy.
- Cutting too close to the base—this can damage the crown.
- Deadheading in winter—dianthus rests then; wait until spring.
- Using dull tools—they crush stems, inviting disease.
Pro Tip: Label your pots!
If you grow multiple dianthus varieties, label them before deadheading. Some types (like Dianthus barbatus) need more aggressive pruning than others. A quick note saves guesswork later!
Wrapping up and next steps
Deadheading your potted dianthus doesn’t have to be a daunting task—just a quick twist-and-snip routine to keep those blooms coming! 🌸 By removing spent flowers regularly, you’ll encourage lush growth, vibrant colors, and a longer display season.
Whether you’re a seasoned gardener or just starting out, this simple method is your secret to nonstop color in your containers.
Now that you’re armed with the know-how, grab those shears and get pruning! 🌱 Check your pots weekly for fresh blooms, and soon, your dianthus will be the star of your outdoor space. Happy gardening!