
Propagation
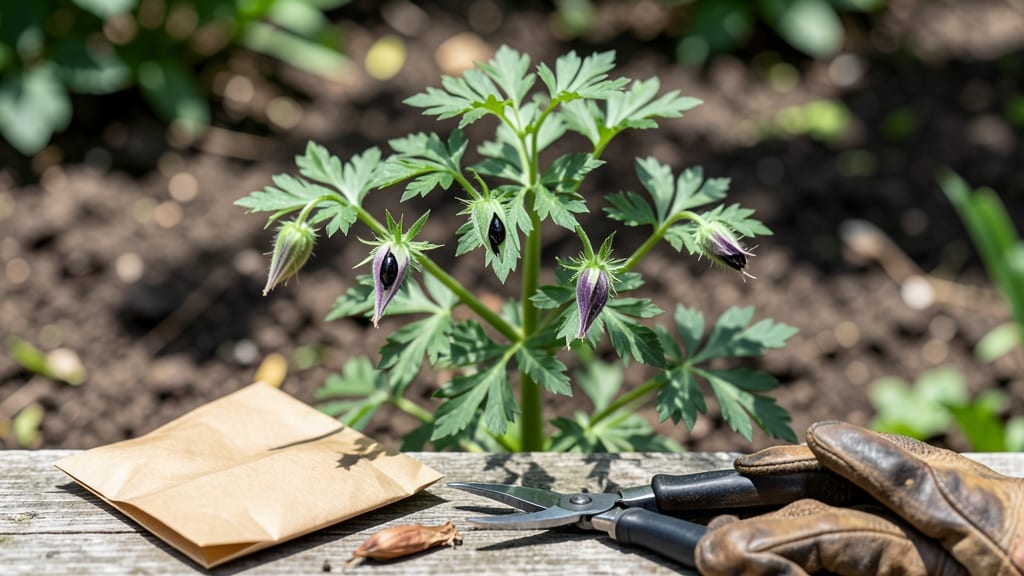
How to collect columbine seeds is the secret to turning this year’s blooms into next spring’s effortless showstoppers—if you time it just right. 🌿 I’ve learned the hard way that rushing the process means shriveled seeds or empty pods. The key is patience: letting those papery seed heads mature fully before touching them.
You’ll need just a few simple tools: pruning shears for clean cuts, paper bags to catch the seeds, and a sunny spot for drying. The pods turn from green to brown and start splitting open—that’s your cue.
Collect them on a dry day when humidity won’t ruin your seeds in storage.
Once you’ve gathered them, spread the seeds on a tray to dry completely for a few days. Store them in an envelope or jar in a cool, dark place until planting time. Viable seeds should germinate within weeks, giving you a head start on free, homegrown columbines.
Pro tip: Avoid saving seeds from hybrids—they won’t come true to type. Stick to heirloom varieties for predictable blooms. With this method, you’ll have a patch of these delicate beauties returning every year with almost no effort.
📚 In This Guide
- What you need
- Instructions
- Tips and common mistakes
- Wrapping up and next steps
What you need
- ● Mature columbine plants – Choose healthy plants with fully developed seed pods (usually late summer to early fall).
- ● Pruning shears or sharp scissors – For cleanly snipping seed pods without damaging the plant.
- ● Paper bags or brown paper lunch bags – At least 3-5 bags (one per plant or per pod cluster) to collect seeds and prevent spillage.
- ● Permanent marker or label tags – To label bags with the columbine variety and collection date.
- ● Drying tray or screen – A flat, breathable surface (like a wire mesh or cardboard) to spread pods for drying.
- ○ Small envelope or seed packet – For storing dried seeds long-term (optional but helpful!).
- ● Gloves – Protects hands from prickly seed pods (especially for sensitive skin!).
- ● Newspaper or cardboard – For lining workspaces to catch stray seeds.
- ● Desiccant packets – Helps speed up drying if you’re in a humid climate.
- ● Notebook – To jot down notes on pod ripeness, germination tips, or plant characteristics.
Step-by-Step instructions for harvesting columbine seeds
Here’s how I’ve learned to time the seed collection perfectly—no more empty pods or rotting seeds.
🌿 Step 1: Identify Mature Seed Pods
Columbine seed pods start green and firm but ripen into dry, papery husks that split open when ready. Wait until the pods turn tan or brown and feel brittle when gently squeezed. This usually happens 4-6 weeks after flowering, but timing varies with your climate—cooler summers delay ripening.
Check pods in the morning when humidity is lowest. If they crumble easily between your fingers, they’re ready. If they’re still green or leathery, give them another week. I always harvest a few pods early to test—overripe seeds scatter on the ground, so timing matters.
✂️ Step 2: Harvest and Dry the Pods
Use clean, sharp scissors or pruning shears to snip the pods just above the stem attachment point. Avoid pulling or twisting, which can damage the plant. Place the pods in a paper bag (not plastic—it traps moisture) and store them in a dry, shaded spot indoors. A cool basement or garage works well.
Leave the pods undisturbed for 7-10 days to fully dry. They’ll split open naturally as they release seeds. If you’re impatient, you can gently crush a few pods to check for seed readiness—seeds should be plump and dark, not shriveled or hollow.
🌱 Step 3: Extract and Store the Seeds
Once the pods are completely dry, empty the seeds into a bowl. Discard any empty husks, debris, or shriveled seeds. Columbine seeds are small and irregularly shaped, so I use a fine-mesh strainer to separate them from chaff. For 4 plants, you’ll collect roughly 20-30 seeds—enough for replanting or sharing.
Store the seeds in an airtight container with a silica gel packet or a few drops of damp sand to maintain moisture without rot. Label the container with the date and variety. Seeds stay viable for 2-3 years if stored in a cool, dark place—my basement keeps them perfect for next spring.
🌱 Step 4: Prepare for Next Year’s Planting
Columbine seeds need cold stratification to germinate, so I plant them outdoors in fall or early winter (when soil temps drop below 40°F). Scatter the seeds on prepared soil, barely covering them with ¼ inch of soil. Lightly water and leave them until spring—nature handles the stratification for you.
If you can’t plant immediately, mimic winter by placing seeds in a ziplock bag with damp peat moss, sealing it, and refrigerating for 4-6 weeks. After stratification, sow them in pots with well-draining soil and keep them in a cool, bright spot until germination (usually 2-4 weeks).
⏰ Step 5: Monitor for Germination and Early Growth
Once planted, keep the soil evenly moist but not soggy—columbine seedlings hate wet feet. Germination happens best in partial shade (morning sun is ideal). You’ll see the first true leaves (not the tiny seed leaves) in 3-6 weeks, signaling it’s time to thin seedlings to 6 inches apart.
Here’s the thing—columbine seedlings grow slowly at first. Don’t rush to transplant; let them establish roots. If you notice leggy stems or pale leaves, they’re stretching for light. Move them to a sunnier spot or add a grow light for 12-14 hours daily until they’re sturdy enough for the garden.
Tips & tricks for perfect columbine seed collection
Timing and technique make all the difference when harvesting these delicate seeds—here's how to avoid common pitfalls.
Pod Maturity Check: In Step 1, don't rely solely on color—combine visual cues with texture. A truly mature pod should feel like it'll crumble between your fingers when gently squeezed, almost like dry paper. I test a few pods early in the morning when humidity is lowest, as dew can make them feel deceptively moist. The 4-6 week window after flowering is flexible, especially in cooler climates where pods may take longer to ripen.
Harvesting Technique: When snipping pods in Step 2, use sharp scissors to avoid crushing the delicate seed chambers. I find that cutting just above the stem attachment point prevents damage to both the plant and the developing seeds inside. Place pods immediately in paper bags—plastic traps moisture and can cause premature seed release or mold. A cool basement or garage maintains the ideal drying environment without risking temperature fluctuations.
Drying Strategy: The 7-10 day drying period in Step 2 is crucial, but don't rush it. If you're impatient, crush a few pods to check for seed readiness—they should release plump, dark seeds rather than empty husks. I've learned the hard way that forcing the process by using heat can actually sterilize the seeds. Position your drying location away from direct sunlight, which can overheat the pods and reduce seed viability.
Storage Wisdom: For long-term seed viability, the airtight container in Step 3 should be your priority. I've found that adding a silica gel packet or damp sand creates the perfect microclimate—just enough moisture to prevent desiccation without risking rot. Labeling with the date is essential, as columbine seeds maintain viability for 2-3 years, but their germination rates decline after the first year. Store containers in the darkest part of your basement or refrigerator crisper drawer for maximum longevity.
Pro Tips for Collect Columbine Seeds
- Timing and technique make all the difference when harvesting these delicate seeds—here's how to avoid common pitfalls.
- Pod Maturity Check: In Step 1, don't rely solely on color—combine visual cues with texture.
- Harvesting Technique: When snipping pods in Step 2, use sharp scissors to avoid crushing the delicate seed chambers.
Frequently asked questions
When is the best time to collect columbine seeds?
The ideal time is late summer to early fall (August–September), once the seed pods turn brown and papery but before they split open. Collect them on a dry day to prevent mold. If pods crack prematurely, gather seeds immediately—they’ll dry quickly!
How do I know if the seeds inside are viable?
Viable columbine seeds are plump, dark brown, and smooth. Shriveled or hollow seeds won’t sprout. For extra assurance, test a few by planting them in moist soil—germination should start in 2–4 weeks if stored properly.
Can I collect seeds in winter or spring?
No—columbine seeds lose viability if exposed to freezing temps or moisture. If you miss the fall window, try greenhouse cultivation or stratification (mimicking winter cold) to trick seeds into germinating. Otherwise, wait for the next growing season!
What if my columbine pods never form seeds?
Check for pollinators (hummingbirds, bees) or hand-pollinate with a soft brush. Over-fertilizing or crowded plants may also reduce seed production. Try deadheading spent blooms to encourage new growth and seed development.
How should I store seeds until planting?
Place seeds in a paper envelope (not plastic!) in a cool, dry spot (35–40°F). Label with the date—most retain viability for 1–2 years. For faster germination, stratify seeds in damp peat moss for 4–6 weeks before planting.
Wrapping up and next steps
Collecting columbine seeds is a rewarding way to ensure next year’s vibrant blooms—just follow these simple steps! 🌸 With patience and the right timing, you’ll soon have a trove of seeds ready for planting.
Once you’ve mastered the process, why not share your newfound knowledge with fellow gardeners or even start a seed swap in your community? Happy growing, and may your garden flourish with these delicate, charming flowers!