
Fertilization
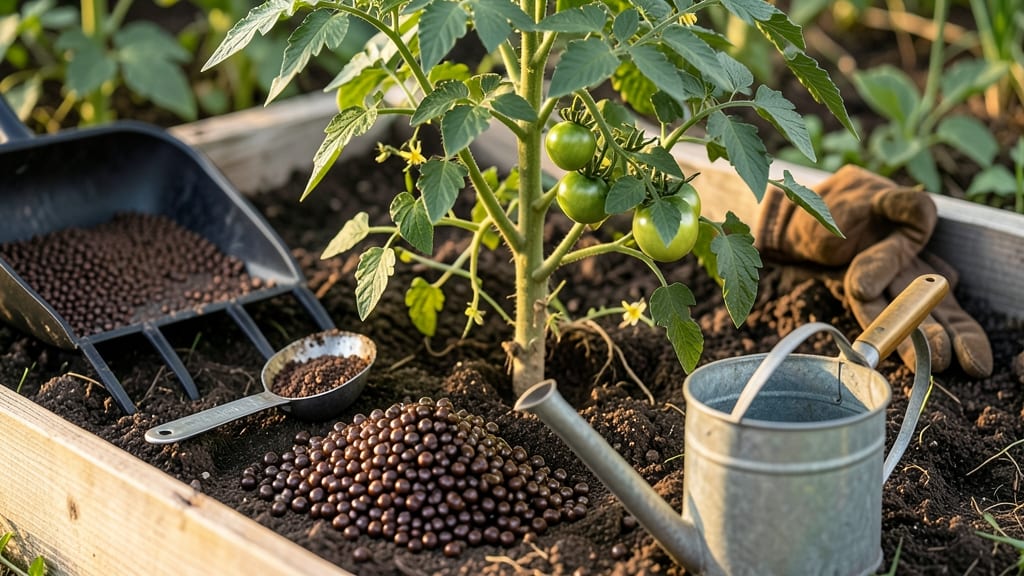
Learning how to apply fertiliser correctly can transform your garden—saving money and preventing stunted plants. ✨ I’ve burned more than a few seedlings by overdoing it—until I learned these precision techniques that actually work. The key isn’t just what you use, but how and when you apply it.
Start with the right type for your plants: granular for slow-release feeding, liquid for quick uptake, or organic for long-term soil health. Timing matters too—pre-planting sets the foundation, mid-season keeps growth strong, and post-harvest replenishes nutrients. Beginners often guess; pros measure and monitor.
You’ll see lush, vibrant growth in weeks, not months, with fewer leaf burn or root damage. The secret? Less is more—follow the label, but adjust for your soil and plants. Over-fertilizing is the fastest way to kill progress, not boost it.
Works for vegetables, flowers, or lawns—just tweak the ratios. Here’s how to do it right the first time, without the trial-and-error.
📚 In This Guide
- What you need
- Instructions
- Tips and common mistakes
- Wrapping up and next steps
What you need
- ● Fertiliser: Granular (e.g., 10-10-10 or slow-release blends) – 1-2 lbs per 100 sq ft
- ● Liquid (e.g., water-soluble or fish emulsion) – 1-2 tbsp per gallon of water
- ● Organic (e.g., compost, worm castings, or manure) – 2-3 inches as a top dressing
- ● Measuring Tools: Measuring cups/spoons (for liquid fertiliser)
- ● Handheld spreader (for granular fertiliser) – adjustable rate settings
- ● Application Tools: Garden hose with spray nozzle (for liquid fertiliser)
- ● Gloves (nitrile or rubber) – to protect hands from chemicals
- ● Watering can (for small or potted plants)
- ○ Prerequisites: Soil test kit (optional but recommended) – to check pH and nutrient levels
- ● Water source (hose, bucket, or rainwater)
- ● Calm weather forecast – avoid applying fertiliser before heavy rain
- ● Soil Amendments: Gypsum (for clay soil) – 1 lb per 100 sq ft
- ● Lime or sulfur (to adjust pH) – follow soil test recommendations
- ● Safety Gear: Safety goggles (if handling concentrated chemicals)
- ● Mask (for dusty granular fertiliser)
- ● Tech Tools: pH meter (for precise monitoring)
- ● Smart sprinkler timer (for automated liquid fertiliser application)
Precision techniques for applying fertiliser effectively
Here’s how I apply fertiliser to boost plant health—without overdoing it or burning roots.
🌱 Step 1: Choose the Right Fertiliser for Your Plants
Not all fertiliser is created equal. For vegetables and flowering plants, I use a balanced 10-10-10 formula, while acid-loving plants like blueberries need acidic, slow-release granules. Always check the label for nutrient ratios (N-P-K) and application rates—these tell you exactly how much to use.
Organic options like compost or fish emulsion work well for long-term soil health, but they require more frequent applications. Synthetic fertilisers release nutrients faster, so they’re better for quick fixes like reviving stressed plants. I prefer organics for established gardens and synthetics for seedling kickstarts.
💧 Step 2: Prepare the Soil Before Application
Loosen the top 2-3 inches of soil around your plants with a fork or trowel. This helps roots absorb nutrients efficiently. If the soil is compacted, aerate it first—compacted soil repels water and blocks nutrient uptake. For container plants, mix fertiliser into the top inch of soil instead.
Water the area lightly 24 hours before fertilising unless the soil is bone-dry. This prevents salt burn, where concentrated fertiliser damages roots. You’ll know moisture is right when the soil feels damp but not soggy—like a wrung-out sponge.
☀️ Step 3: Apply Fertiliser at the Correct Rate and Time
Follow the label’s instructions for application rates, but adjust for your plants’ needs. For example, newly planted seedlings need half the recommended dose, while heavy feeders like tomatoes can handle the full amount. I apply liquid fertilisers to damp soil in the early morning to avoid leaf burn from evaporation.
Granular fertilisers should be sprinkled evenly in a 1-2 inch band around the plant’s drip line (the outer edge of the canopy). Water deeply afterward to activate the nutrients and wash any excess away from roots. Never fertilise stressed plants—wait until they’ve recovered from transplant shock or drought.
✂️ Step 4: Monitor and Adjust for Optimal Growth
Watch for signs of over- or under-fertilising. Yellowing leaves or stunted growth mean you’re overdoing it, while pale foliage signals a nutrient deficiency. I keep a journal of fertiliser applications and plant responses to refine my approach each season.
For container plants, flush the soil with water every 4-6 weeks to prevent salt buildup. You’ll know it’s time when water runs clear from the drainage holes—this keeps roots healthy and prevents toxicity. Adjust your fertiliser schedule based on plant type: fast growers need more frequent feeding, while perennials thrive on seasonal applications.
Tips & tricks for perfect plant fertilisation
These precision techniques will help you avoid common mistakes and maximise nutrient uptake for thriving plants.
Fertiliser Selection Strategy: Always check the NPK ratio on your fertiliser label—this tells you the nitrogen (N), phosphorus (P), and potassium (K) percentages. For example, a 10-10-10 formula provides equal parts of all three nutrients, ideal for general plant health. I recommend keeping a separate high-phosphorus fertiliser (like 5-10-5) on hand specifically for flowering stages—this helps tomatoes and roses produce more abundant blooms. The key is matching the fertiliser to your plant's current growth phase rather than using a one-size-fits-all approach.
Soil Preparation Insight: Before applying any fertiliser, take a moment to examine your soil's texture and moisture level. Sandy soils drain quickly and may need more frequent, lighter applications, while clay soils hold nutrients longer and can handle less frequent fertilising. In Step 2, when loosening soil to 6 inches deep, I always check for compaction—if the soil feels hard or resistant, I'll add some compost to improve structure before fertilising. This preparation step makes all the difference in how effectively your plants can access those nutrients.
Application Technique Tip: For granular fertilisers, I've found that using a spreader with adjustable settings gives me the most consistent results. When applying to established plants, focus on the outer edges of the root zone rather than the center—this encourages roots to grow outward in search of nutrients. After scattering, lightly scratch the granules into the top 1-2 inches of soil with a rake or your fingers. This small effort prevents wind from blowing granules away and ensures they're positioned where roots can access them most easily.
Watering Wisdom: The 1-inch deep watering mentioned in Step 3 is non-negotiable for proper nutrient absorption. I always water at the base of plants rather than overhead to prevent leaf burn and nutrient runoff. For container plants, I use a moisture meter to verify that water reaches 6 inches down—this tells me the nutrients are being carried exactly where they need to go. If you notice brown leaf tips or crusty residue after fertilising, it's your signal to flush the soil with extra water immediately to prevent damage.
Pro Tips for Apply Fertiliser
- These precision techniques will help you avoid common mistakes and maximise nutrient uptake for thriving plants.
- Fertiliser Selection Strategy: Always check the NPK ratio on your fertiliser label—this tells you the nitrogen (N), phosphorus (P), and potassium (K) percentages.
- Soil Preparation Insight: Before applying any fertiliser, take a moment to examine your soil's texture and moisture level.
Frequently asked questions
Got questions about fertiliser application? You’re not alone! Here are some of the most common queries—plus straightforward answers to keep your plants thriving.
How often should I apply fertiliser to my plants?
Frequency depends on the fertiliser type and plant needs. For liquid fertilisers, follow the label instructions (often every 2–4 weeks during growing season). Slow-release granules last 3–6 months, while organic options (like compost) can be applied every 2–3 months. Over-fertilising harms plants—always err on the side of caution!
What’s the best time of day to apply fertiliser?
Apply fertiliser in the early morning (before 10 AM) to avoid leaf burn from heat or evaporation. Avoid late afternoon/evening applications, as moisture stress can occur overnight. Water thoroughly after applying to help nutrients absorb.
Can I use too much fertiliser? What are the signs?
Yes! Over-fertilising causes burnt leaves (brown edges), stunted growth, or white crust on soil. If this happens, flush the soil with water and reduce future doses. Start with half the recommended amount for new plants or sensitive species like azaleas.
Are homemade fertilisers (like coffee grounds or banana peels) as effective as store-bought ones?
Homemade fertilisers work but are less balanced than commercial options. Coffee grounds add nitrogen but can acidify soil, while banana peels provide potassium—great for flowering plants. Use them as supplements, not replacements. For consistent results, combine DIY with a balanced NPK fertiliser.
What should I do if I forget to fertilise for a few weeks?
Don’t panic! Plants are resilient. If you’ve missed a feeding, water deeply first, then apply a diluted dose (half-strength) of fertiliser to avoid shocking roots. Resume your regular schedule afterward. For container plants, a foliar spray can help deliver nutrients faster.
Does fertiliser work in extreme heat or cold?
Fertiliser is least effective in extreme temperatures. In heat, nutrients burn roots faster—apply only when soil is cool (early morning) and mulch to retain moisture. In cold, fertilise before the first frost (early spring/fall) or use winterising fertilisers designed for slow release in cooler months.
Wrapping up and next steps
Mastering how to apply fertilizer is your ticket to a thriving garden or farm—precision pays off! 🌱 By choosing the right type, timing, and method, you’ll nurture healthier plants, boost yields, and save resources. Start small, observe your plants, and adjust as you go—every expert was once a beginner!
Ready to level up? Take action today:
- Test your soil to fine-tune your fertilizer plan.
- Experiment with organic or synthetic options based on your goals.
- Track progress and share your green success with fellow gardeners!